Autodesk® Revit® plugin to import your models into SkyCiv S3D
Getting Started
SkyCiv’s Revit plugin allows users to import their existing Revit models into S3D for structural analysis. The plugin will handle all the necessary information needed for structural analysis (nodes, members, sections, materials etc…) with the only requirement being a user’s file location on the SkyCiv file manager and their API details.
Note: SkyCiv can also export models from SkyCiv Structural 3D -> Revit. Click here for this article on how to export a Revit model from SkyCiv Structural 3D.
There are two ways to go about this, users with access to a Revit application (2018-2023) will be able to use the local Revit plugin and those without, have the option of uploading their model to S3D through our cloud plugin where it will handle importing of the model.
Compatibility
This Revit plugin has been tested and optimized for Revit API and is fully functional for 2018 – 2024 versions. We have also released the Beta versions for Revit 2025 & Revit 2026. Uploading models of previous versions will take a longer time importing as the model has to first be upgraded to the current Revit version.
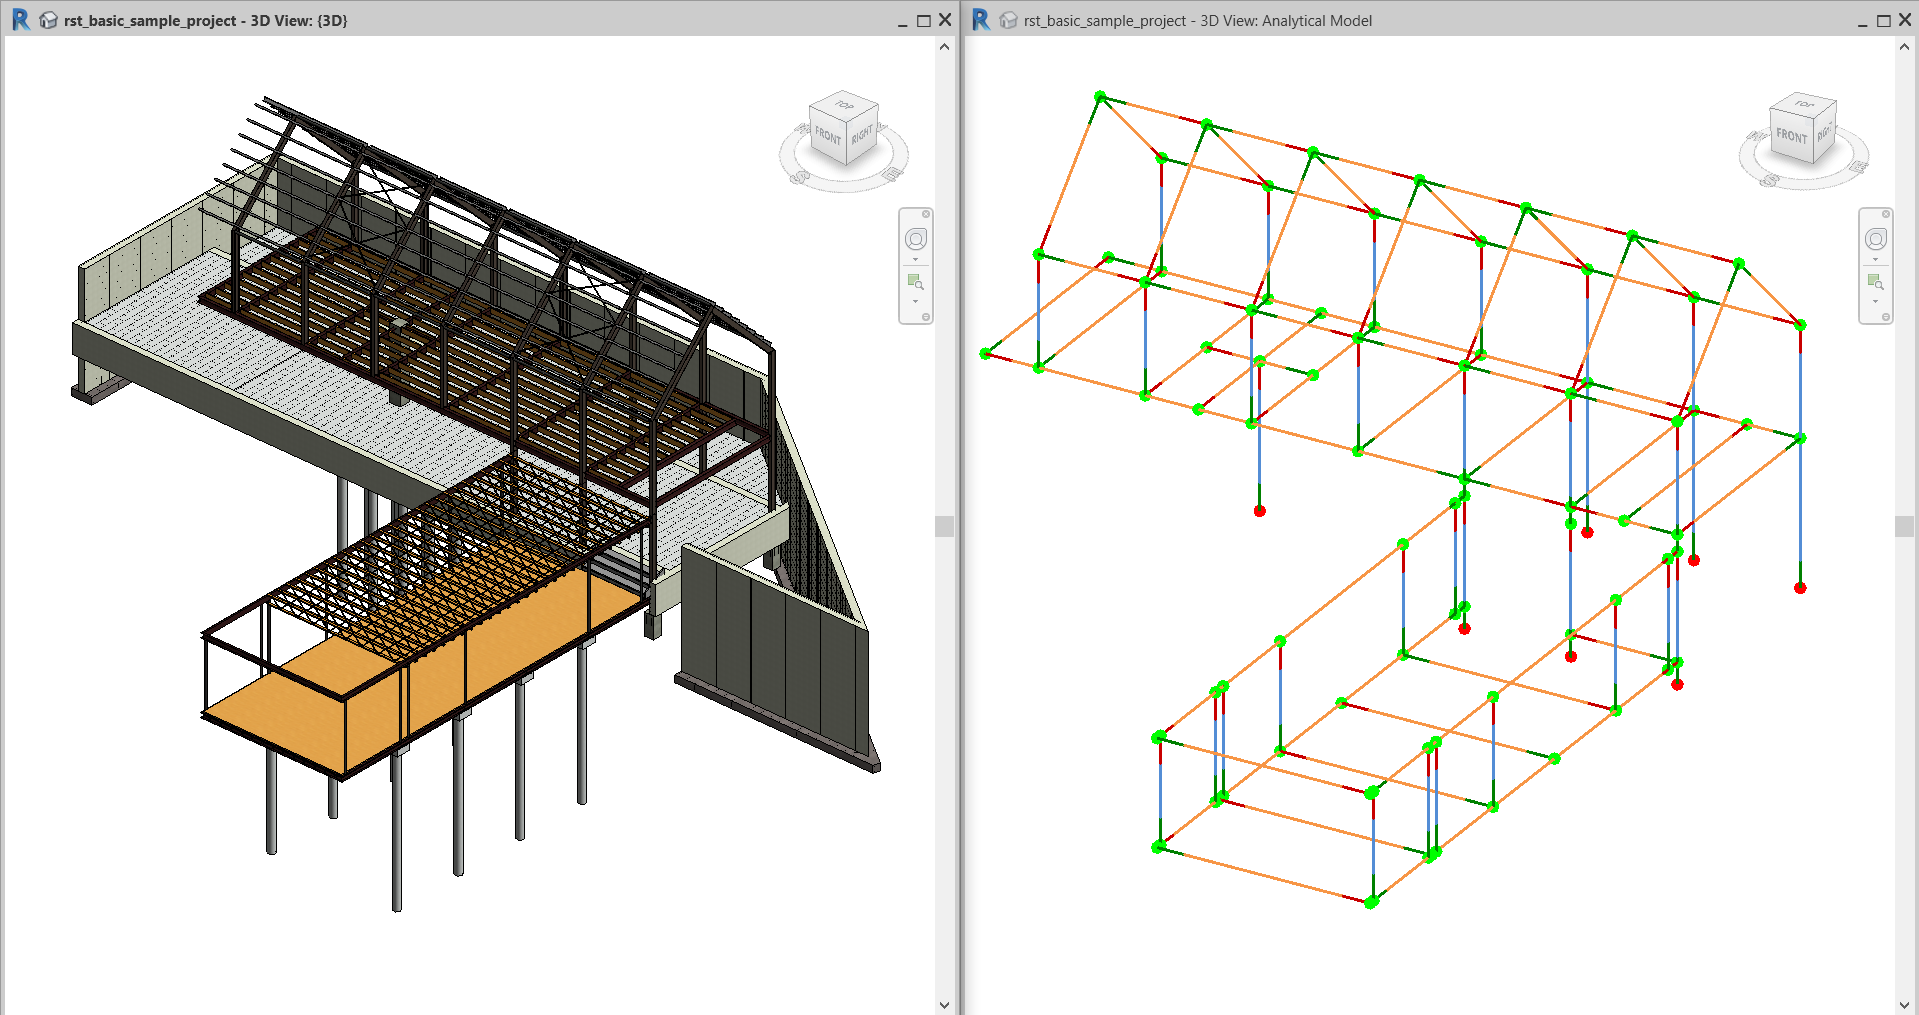
Revit models must also contain an Analytical Model. This is the model that will be imported as it contains the necessary structural information such as materials, nodes, boundary conditions, section properties and loads.
Local Plugin Setup
For users with access to Revit, they can download the plugin from the Revit Plugin store or using the button below
After downloading the file, double click the installer (.msi) file and open Revit.
A security question will be asked when Revit is opened together with plugin for the first time. This is normal, clicking “Always load” will always load the plugin every time Revit is opened.

If the plugin loaded successfully, the SkyCiv tab and settings should appear under “SkyCiv” Panel like so

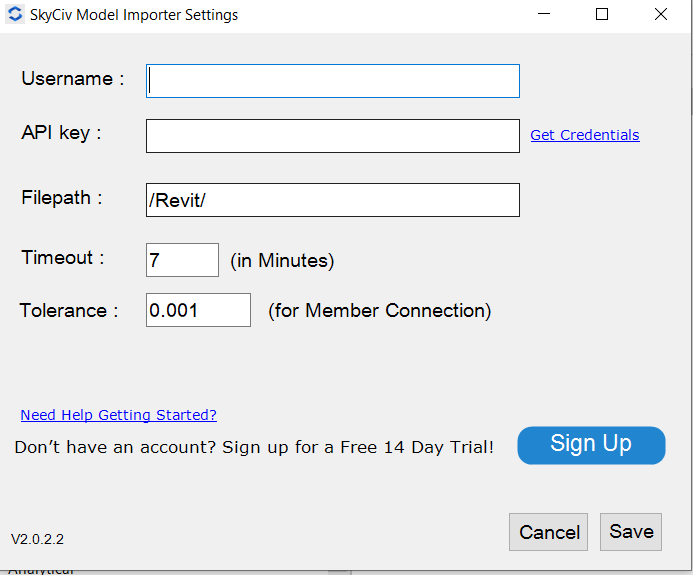
By clicking on the “settings” button, a form will appear allowing users to configure their settings, including entering their API details
Export Model
For Exporting the Revit Model to SkyCiv’s S3D Platform, User can click on the “Export Model” once they are ready with the Model. This will transfer the Model to SkyCiv so that user can continue their journey on the SkyCiv Platform as well for Analysis and Design of the Model. Upon Successful Export, user will get the message conveying that the Model has been exported successfully.
Run Analysis
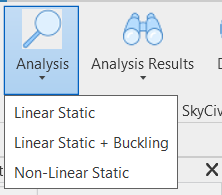
For Users who do not want to go to S3D Platform, we also have the convenience of running the analysis from the Revit itself. User will be presented with the Options as shown below once clicked on the “Analysis” .
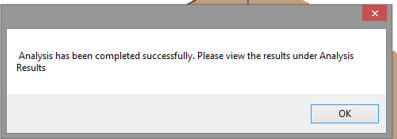
After selecting from either of the Analysis options , the system will do the Analysis and will give the success or failure message as so
In case of error, the system will report the proper error as shown.
Analysis Results
Plugin gives various options to the user to see the Results.

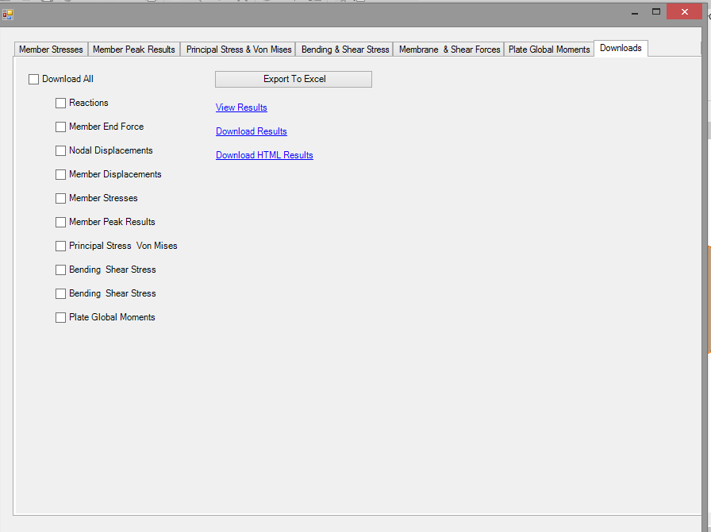
- Tabular Analysis Results – User will be able to see the Analysis Results in the Tabular Form. Currently, System will display Reactions, Member End Forces, Nodal Displacements, Member Displacements, Member Stresses, Member Peak Results, Plate results ( if Plate is part of the model) and few other Results as shown below.
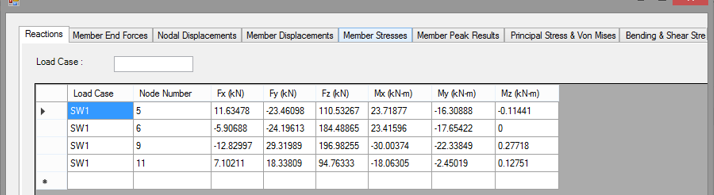
This will also give you a nice search functionality on the Load Case. Users can also click on the Columns to sort them in the Ascending or Descending order. The last tab will give the user the option of Downloading all or selected Results in the form of Excel when clicked on “Export to Excel”. It will download the Excel on the User’s machine and will give the message with the path once downloaded. This tab will also give the user the option of downloading or viewing the Results in another format like HTML from SkyCiv’s cloud.
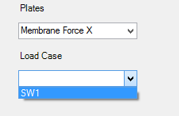
Visual Analysis Results – For the models containing the Face like structures ( Plates, Walls, Floors ) , the user will also have the option of visualizing the Analysis Results. For this user will have to click on the “Visual “. The system will allow users to select only one face at a time for Visualization. Users will select the face for which the results are needed. Once the face is selected, the system will ask the user to select the type of Result to be visualized and also the load case for which the results need to be shown
After making a selection and clicking on Ok, the Plugin will display the results on the Revit’s as shown. 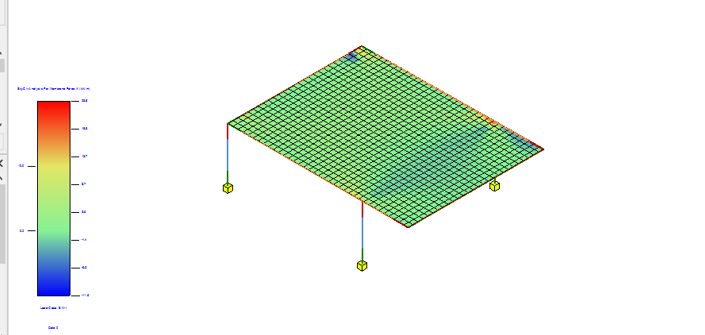
- Visibility of Elements (3D View) – The user can use this for getting the number of nodes, members, or plate meshes on the model. For this functionality to work, the user will have to be on the 3D model in the Revit.
Run Design
For Users who do not want to go to S3D Platform, we also have the convenience of running the design from the Revit itself. Users will be presented with the Options as shown below once clicked on the “Design”.
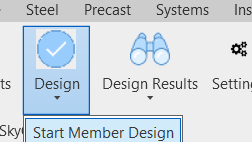
After clicking on the “Start Member Design”, users will be presented with the Design Codes to choose from:
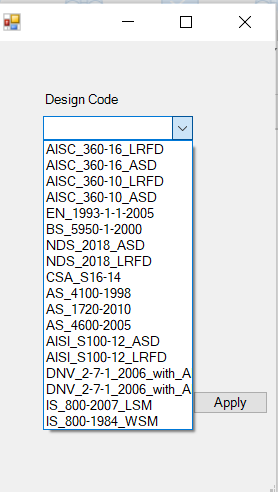
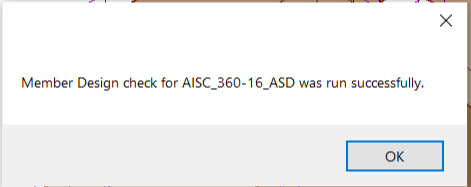
Once desired code is selected and the user clicks on “Apply”, the Design starts. Upon completion with Success or Failure, the system will give the message as shown below
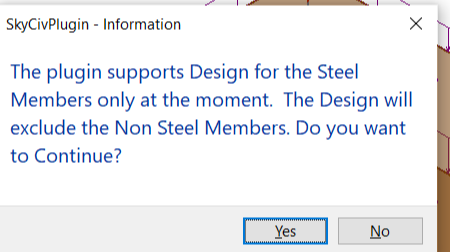
In case of an error, the system will report the proper error as shown. Right now we only support the Steel Members for Design. In the model where we have Steel and Non-Steel Members, the system will exclude the Non-Steel Members. It will ask for confirmation from the user in that case as well
In the case where the Model has only non-steel Members ( For Example only Concrete Members ), the system will not proceed and will give the message to the user accordingly.
Design Results
The plugin gives various options to the user to see the Results for the Design.
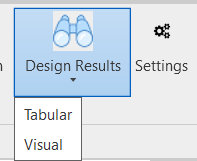
- Tabular Design Results – User swill be able to see the Design Results in the Tabular Form. Currently, the system will display Ratios such as Axial, Moment, Shear, Combined, Slenderness, Displacement with Status for Each Member. The table will also give the option of downloading the individual report for the user as shown in the last column below.

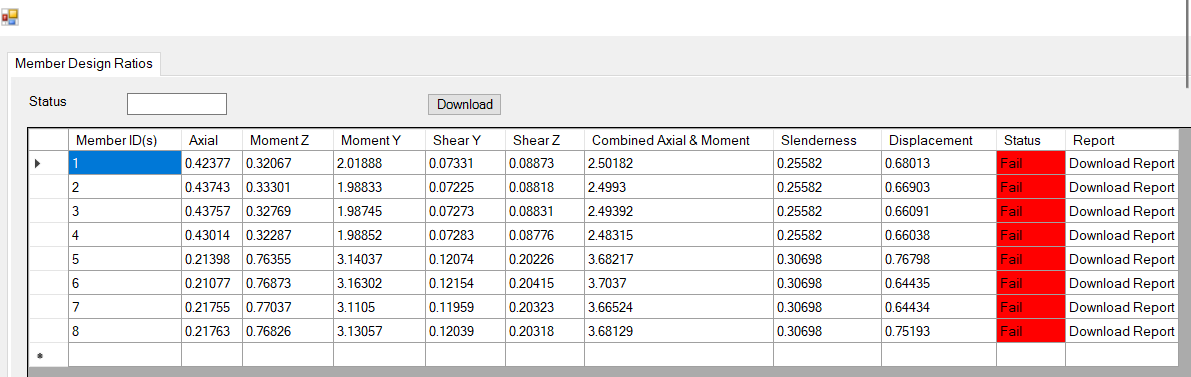
This will also give you a nice search functionality on the Status Case . User can also click on the Columns to sort them in the Ascending or Descending order. The Download button will give the user the option of Downloading Results in the form of Excel when clicked . It will download the Excel on the User’s machine and will give the message with the path once downloaded.
Visual Analysis Results – For the models containing the Face like structures ( Plates, Walls , Floors ) , user will also have the option of visualizing the Analysis Results. For this user will have to click on the “Visual “. System will allow user to select only one face at a time for Visualization. User will select the face for which the results are needed.Once the face is selected, the system will ask the user to select the type of Result to be visualized and also the load case for which the results need to be shown
After making a selection and clicking on Ok, the Plugin will display the results on the Revit’s as shown.
- Visibility of Elements (3D View) – User can use this for getting the number of nodes , members or plate meshes on the model. For this functionality to work , user will have to be on the 3D model in the Revit .
Importing Revit models without Revit
For the users who do not have access to Revit, they are able to utilize the cloud plugin to export their Revit Model to a SkyCiv Model. The cloud plugin enables users to view their uploaded Revit model before exporting to S3D. 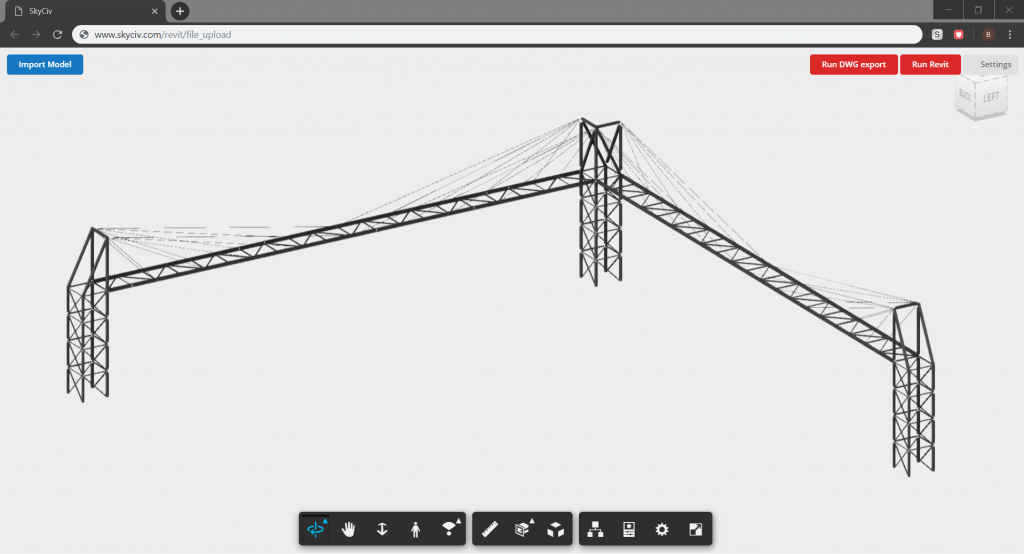
Having Issues importing a Revit Model?
SkyCiv is a structural analysis program which translates into a need for analytical data. To successfully import a full Revit model into the SkyCiv work space, the Revit model must have an attached analytical model within its full model. To check the presence of an analytical model within Revit, follow these steps.
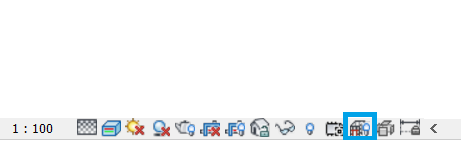
Highlighted in blue is the button to reveal all analytical elements within the Revit model itself. However, some of the analytical elements maybe obstructed by the architectural model like so:
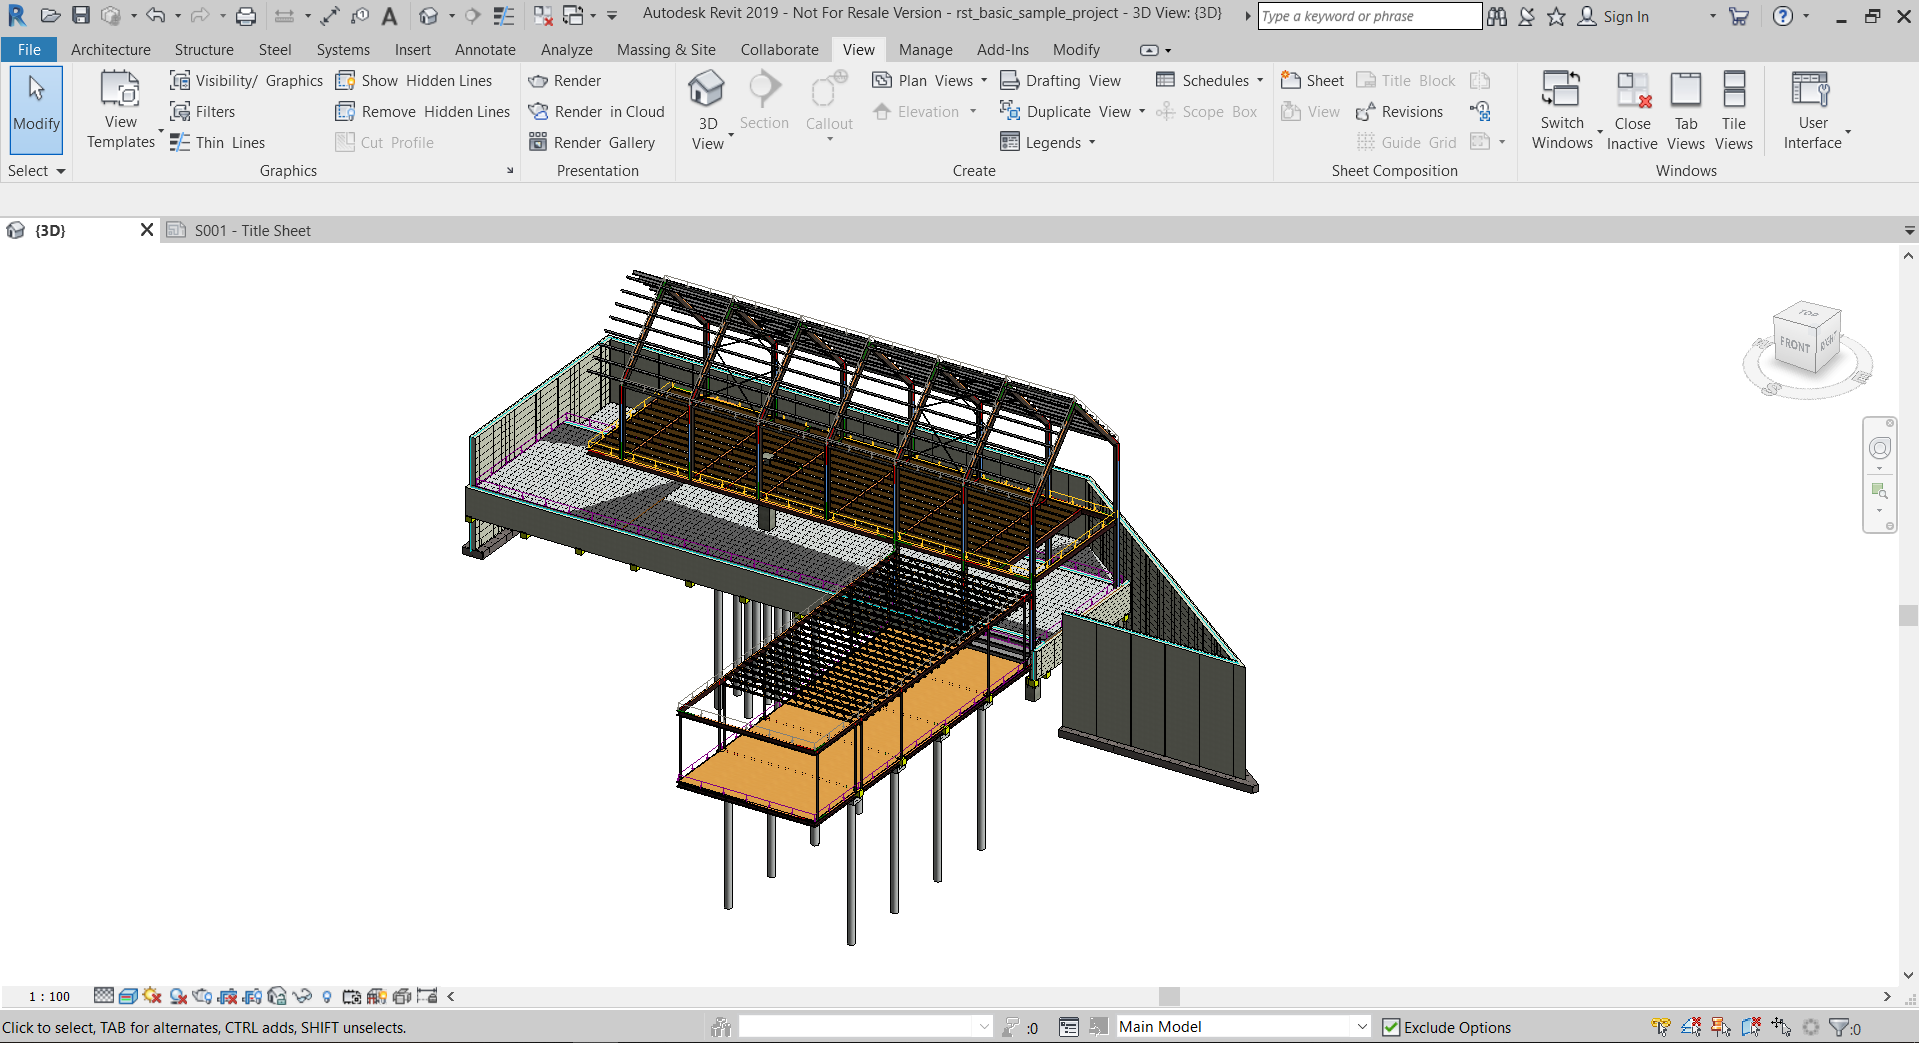
To solve this, the architectural model can be hidden from the view itself. This can be done under the “view” tab, on the “visibility / Graphics” ribbon tab which will trigger a modal.

Unchecking the “Show Modal categories in this view” will hide the architectural modal from this view, leaving only the analytical model in the current view. Creating a new view with the analytical model and the other with the architectural model allows for a thorough view of the entire model.
For detailed information which will help preparing the model for Export from Revit plugin, you can visit
TechTip: Preparing your Revit Model for Exporting to S3D (skyciv.com)
Sample Revit Files
Below are a list of sample Revit files and models:
- rac_basic_sample_project.rvt
- Warehouse.rvt
- STEELPORTALFRAME.rvt
- multiplefloors.rvt
- LACEDCOLUMN.rvt
- Derrick.rvt
- Commercial-complex.rvt
- building.rvt
- 2d-trussframe.rvt