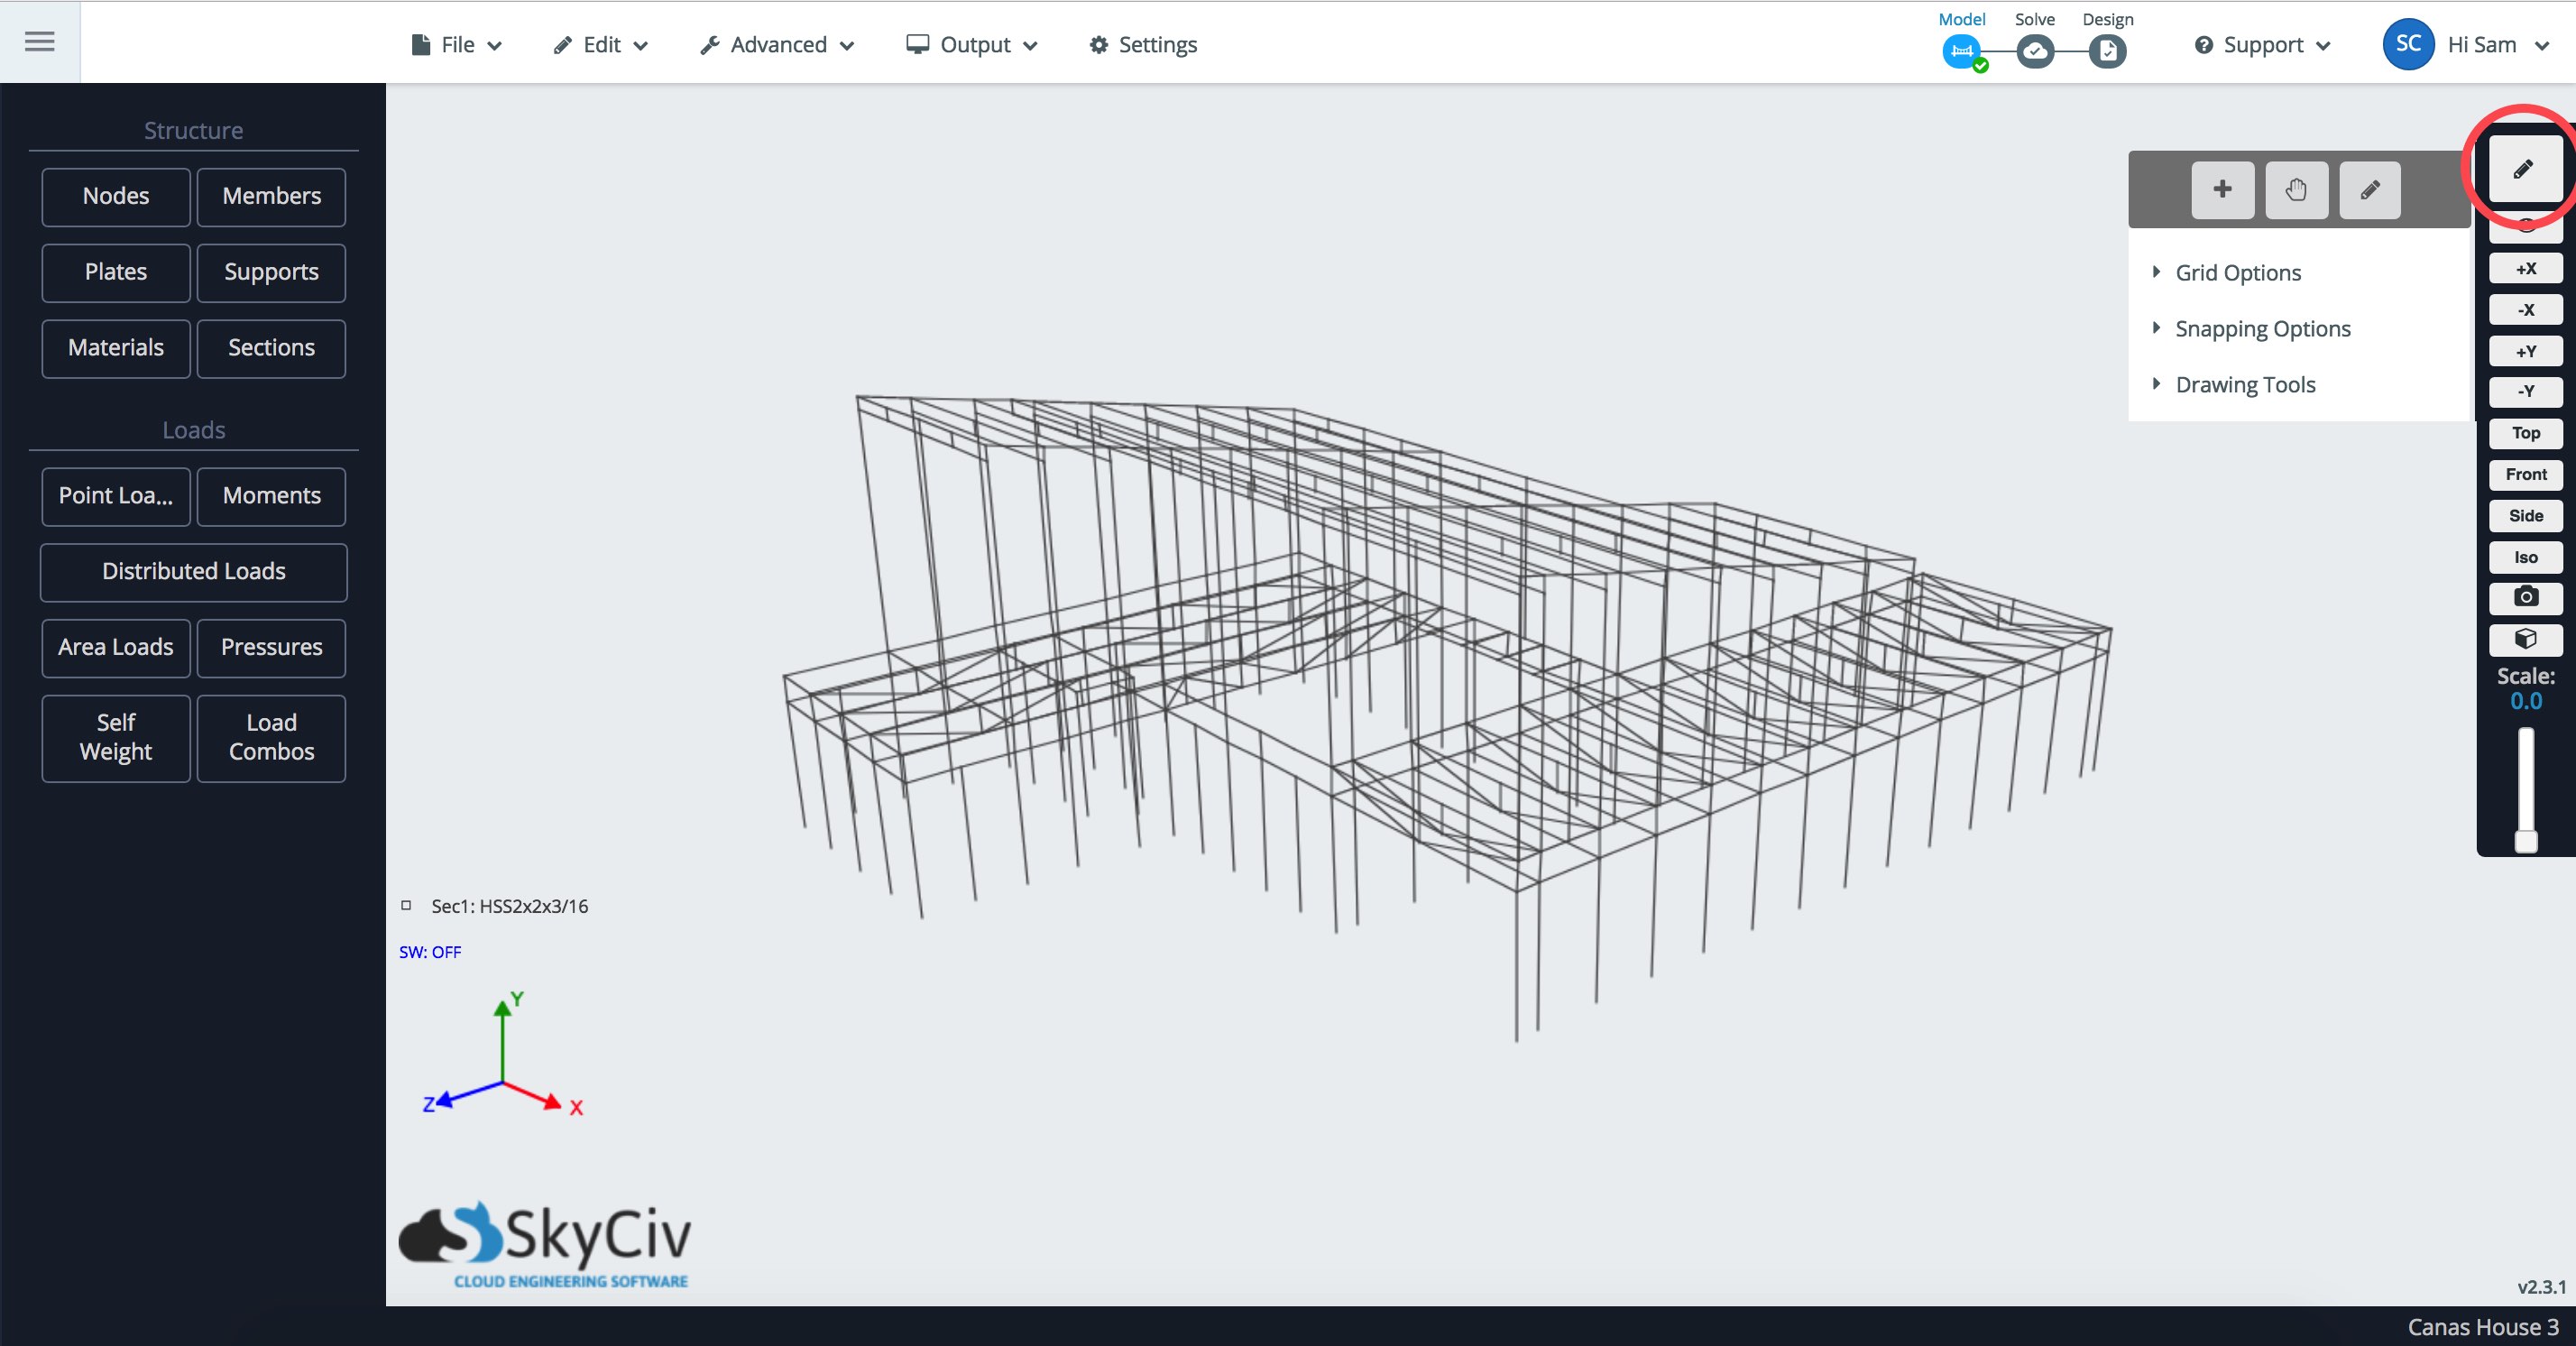
SkyCiv’s goal is to shorten the time spend modelling your structure with the institution of useful functions in S3D. The following set of mouse click functions facilitate this goal by streamlining the modelling process.
Grid
Grids can be toggled on to show reference lines anywhere in the model space. You can use grids in conjuncture with the draw tool very effectively here:
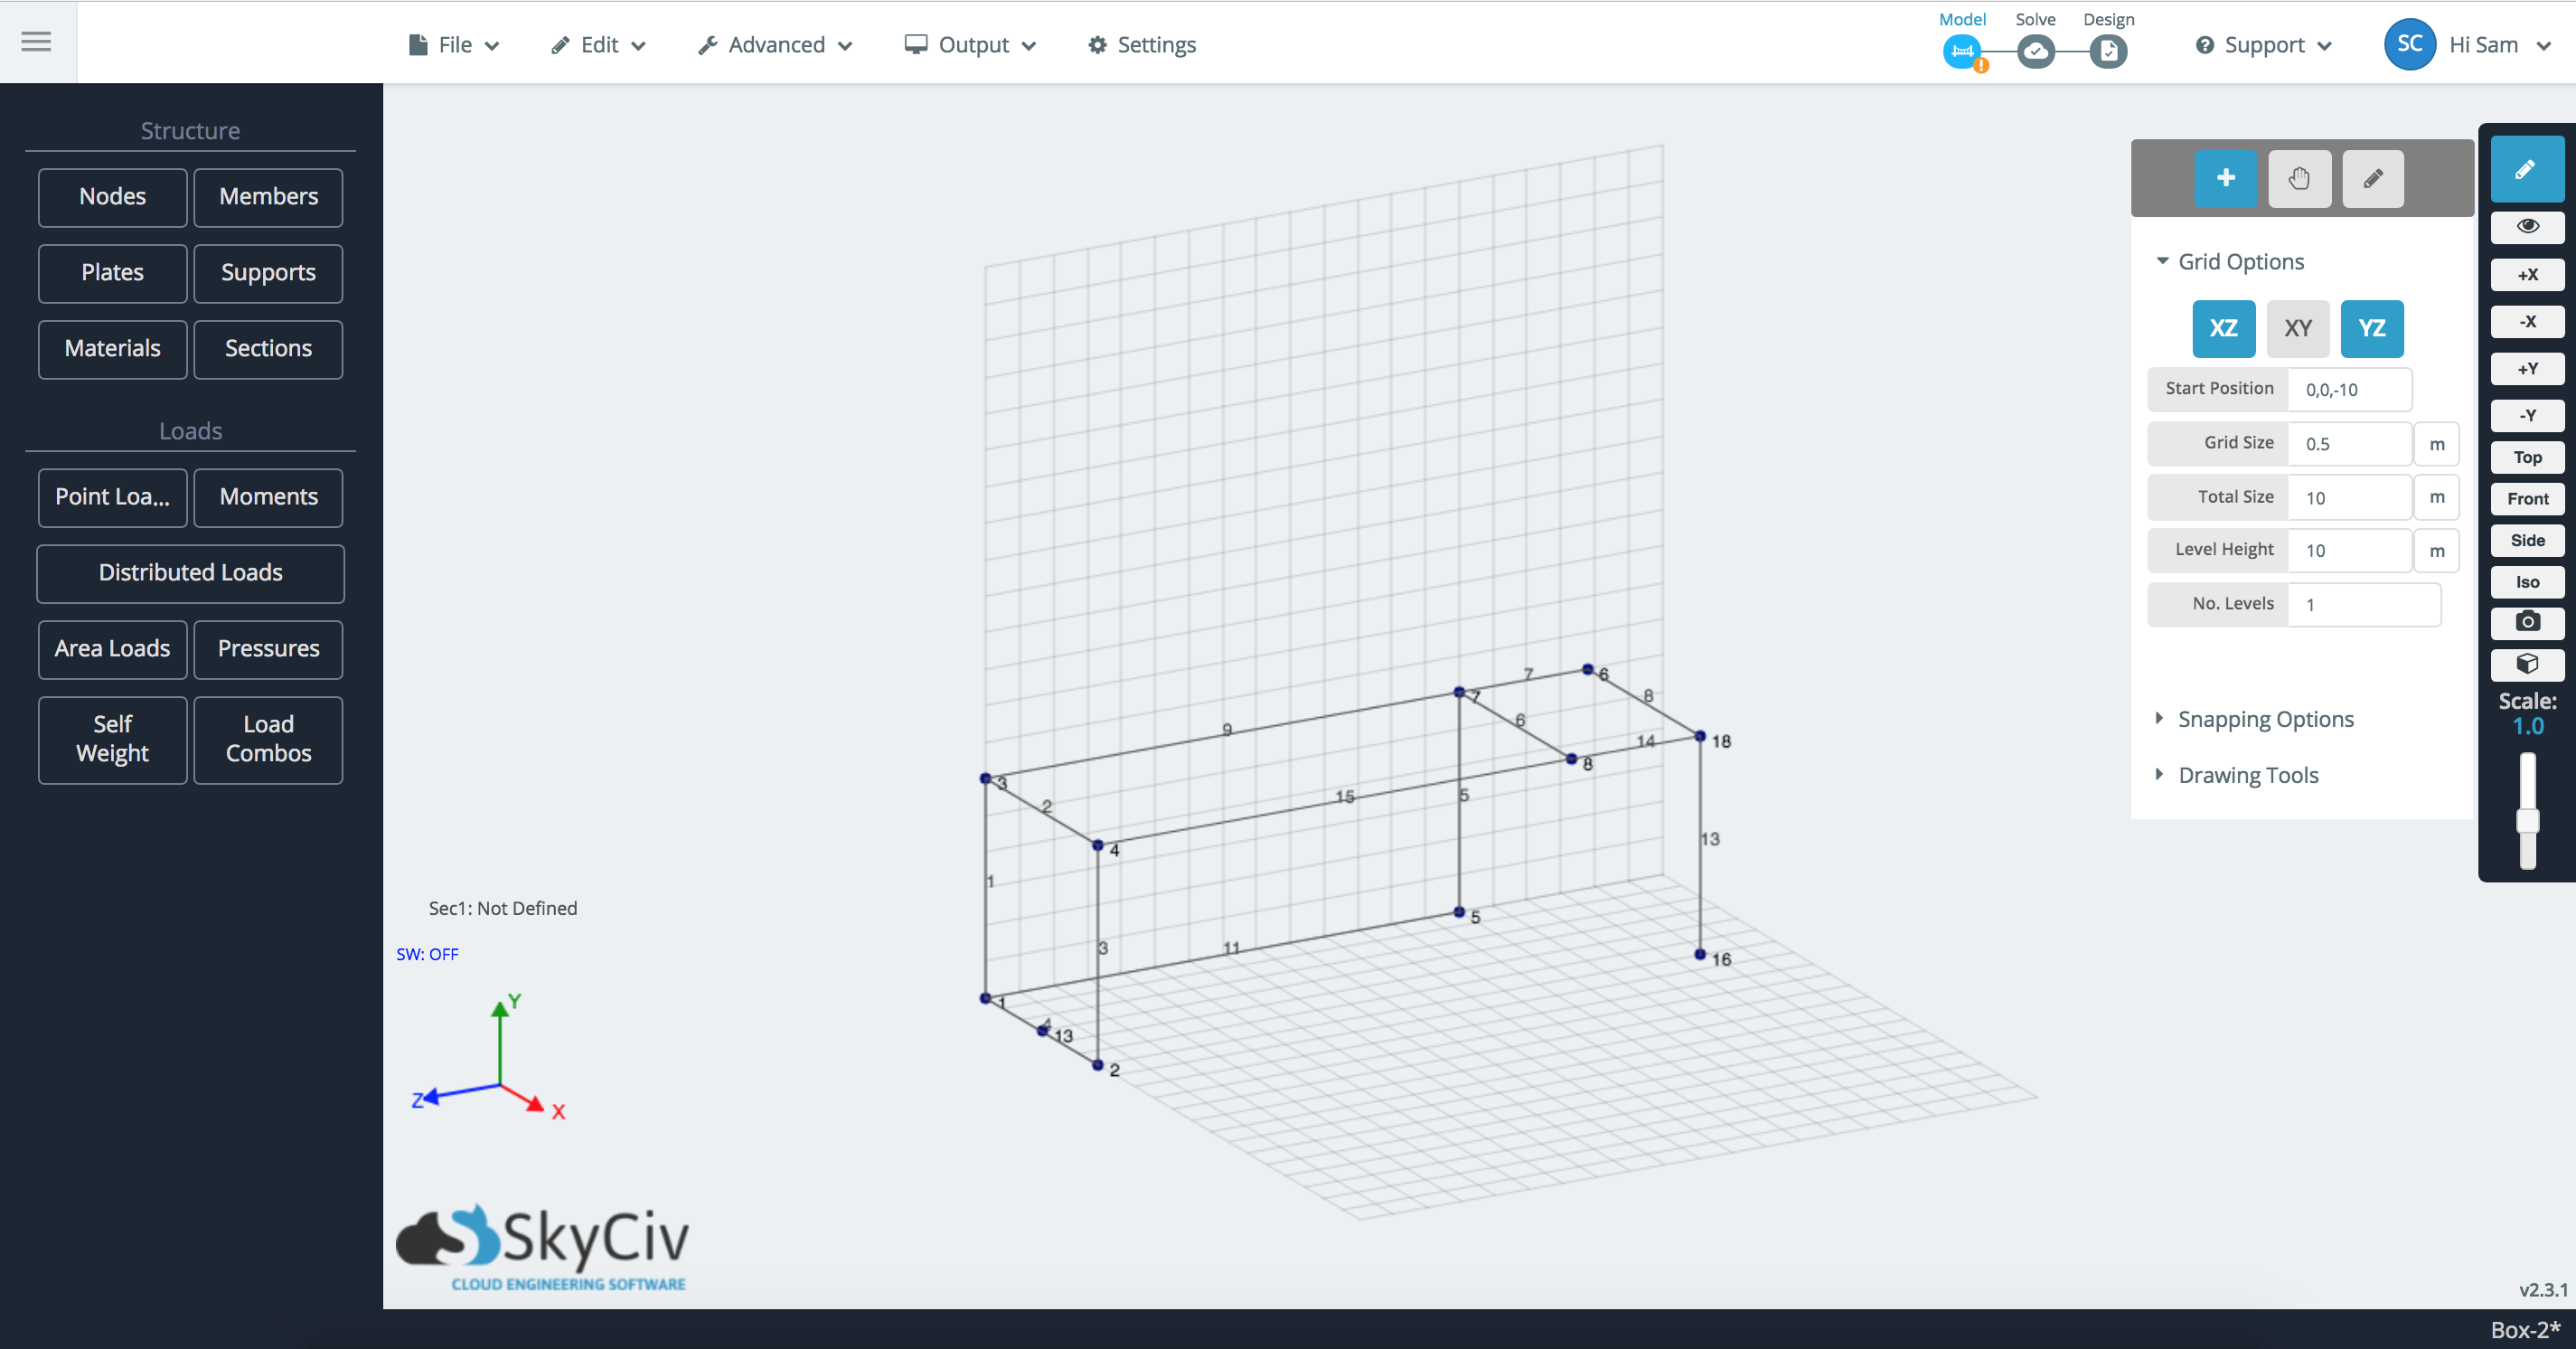
- Plane Selector – The grids have been simplified into these three toggle buttons for each 2D plane (XY, XZ, and YZ). Click that plane to toggle it on and off.
- Start Position – The position in the 3D space at which the grid will start at. Use this to pan/move the grid to a position that makes sense for you to work from. In the right (and above) example, the grid starts from the reference point (0,0,-10).
- Grid Size – The size of each small square of the grid. In the right (and above) example, each small square is 0.5m x 0.5m.
- Level Height – By what distance would you like to replicate the grid up? In the right (and above) example there is only 1 level, so level height is not applied.
- Number of Levels – How many times would you like to replicate the grid up? In the right (and above) example there is only 1 level.

With the draw tool toggled on, users can hover over any point on the grid and plot a node. If the setting Show Coordinates under Snap Options is ticked on, it will show the coordinates of that grid position, so you know where the node will be positioned.
Pen tool and Snapping Options
Snapping is an easy way to plot nodes and generate members using the pen tool. Simply hover (or click) a node to define this node as being the reference point. Then move your cursor along the global X, Y, or Z-axis and it will snap to that axis – shown as a dotted red, green, or blue line depending on what axis is being snapped. The snapping tool might also pick up a secondary axis, such as an alignment of another node. To disable that reference node, simply click somewhere that is not snapped or hit Esc.
Here is an example of the pen tool snapping to the global Z-axis, with reference to node 2. It is also picking up a secondary axis of node 5’s Z coordinate:
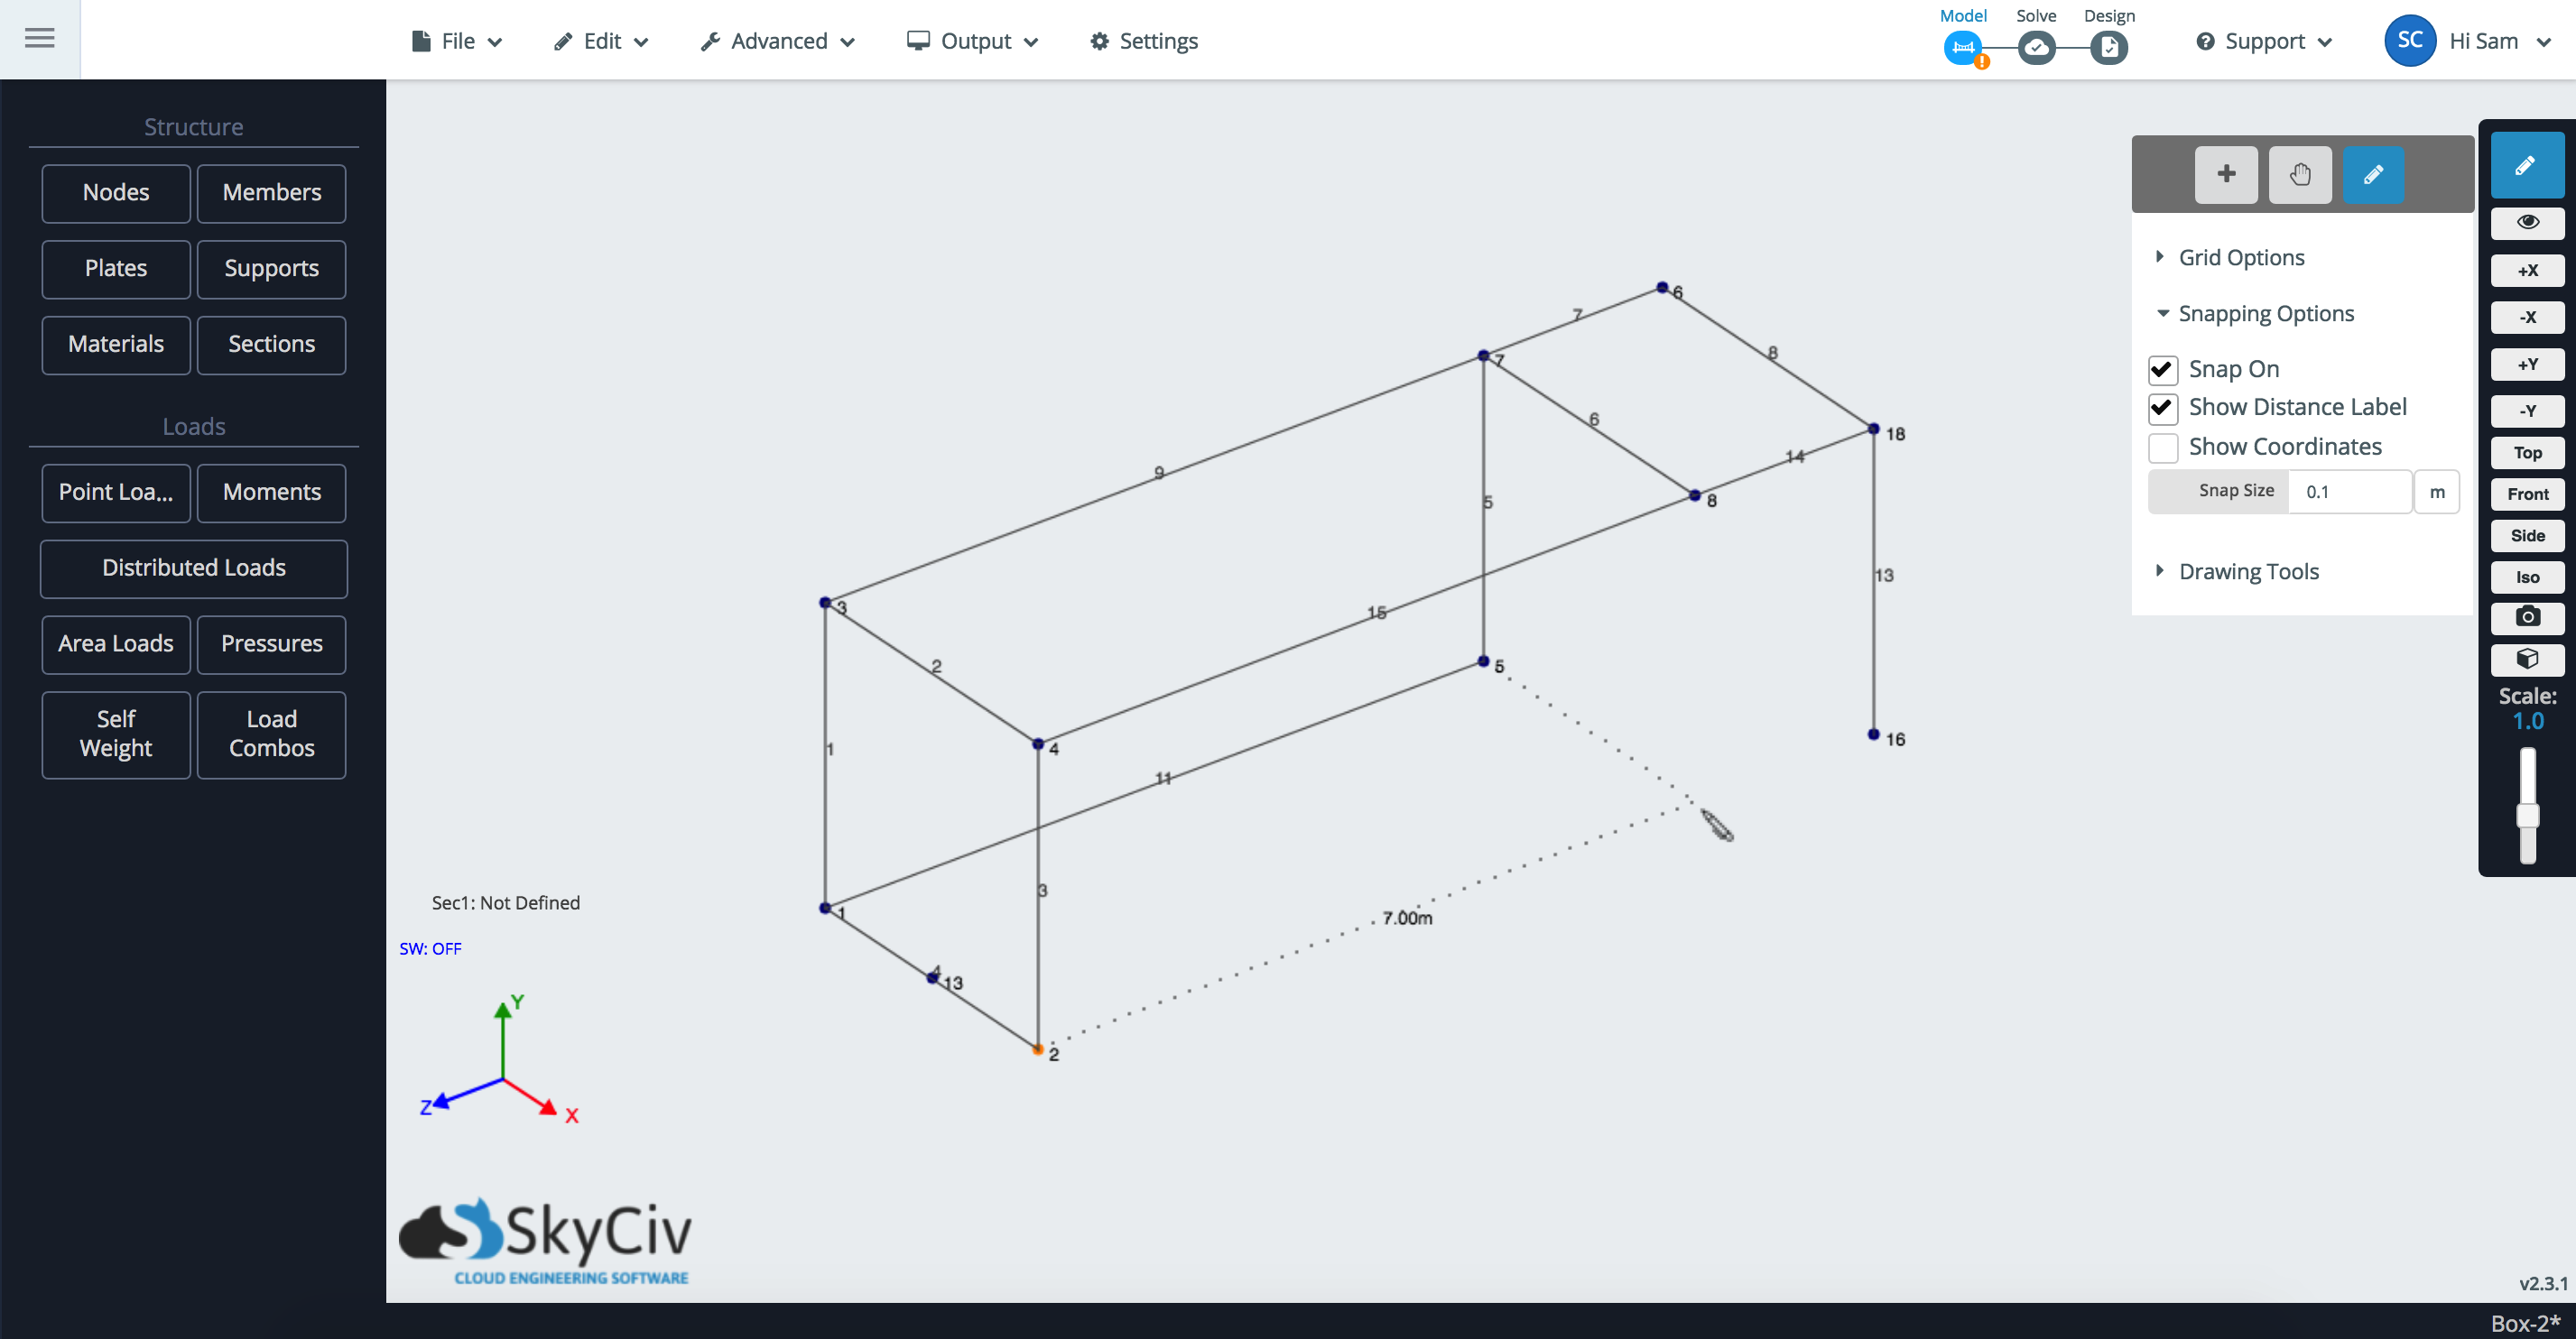
- Hover or click a node, this will become your Reference Node, from here you can use the Snap/Grid to plot a node:
- With the Connect Member tick-box selected, you can both drop a node and connect the nodes as a member:

- Snapping will also detect a secondary axis. For instance, if you’re traveling across the X-axis of a node, it might pick up other nodes with that same X-axis.
- The Length box will auto display the length of the distance from the reference node (and hence the length of the member). At any point you can enter a length and hit Enter, or click, to apply that member length.
- Enter a length and click the (lock) icon to lock the length. Now you can create members fixed at this length.
- Snap to a member’s midpoint
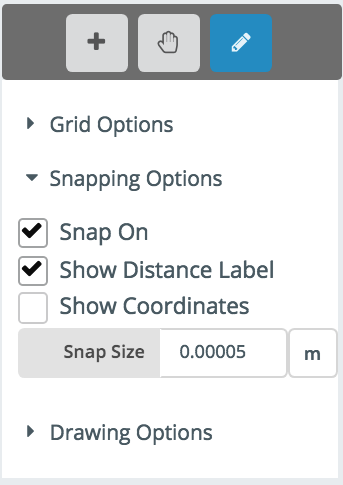
The snapping options
- Snap On – Toggles the snapping on and off
- Show Distance Label – if this option is ticked on it will show the distance of the proposed node from the point of reference (in most cases the length of the proposed member)
- Show Coordinates – Show the coordinates of the proposed snap node.
- Snap Size – What increments would you like the snapping to occur from the point of reference.
Snap Size Control
The snap size attribute will directly modify the size of the structure that is being displayed in order to make it easier for the user to snap to the correct increments. For instance, a small snap of 5 mm will shrink the model down to a size that makes this easy to work with. This can be controlled at any time and is useful to control the following behavior:
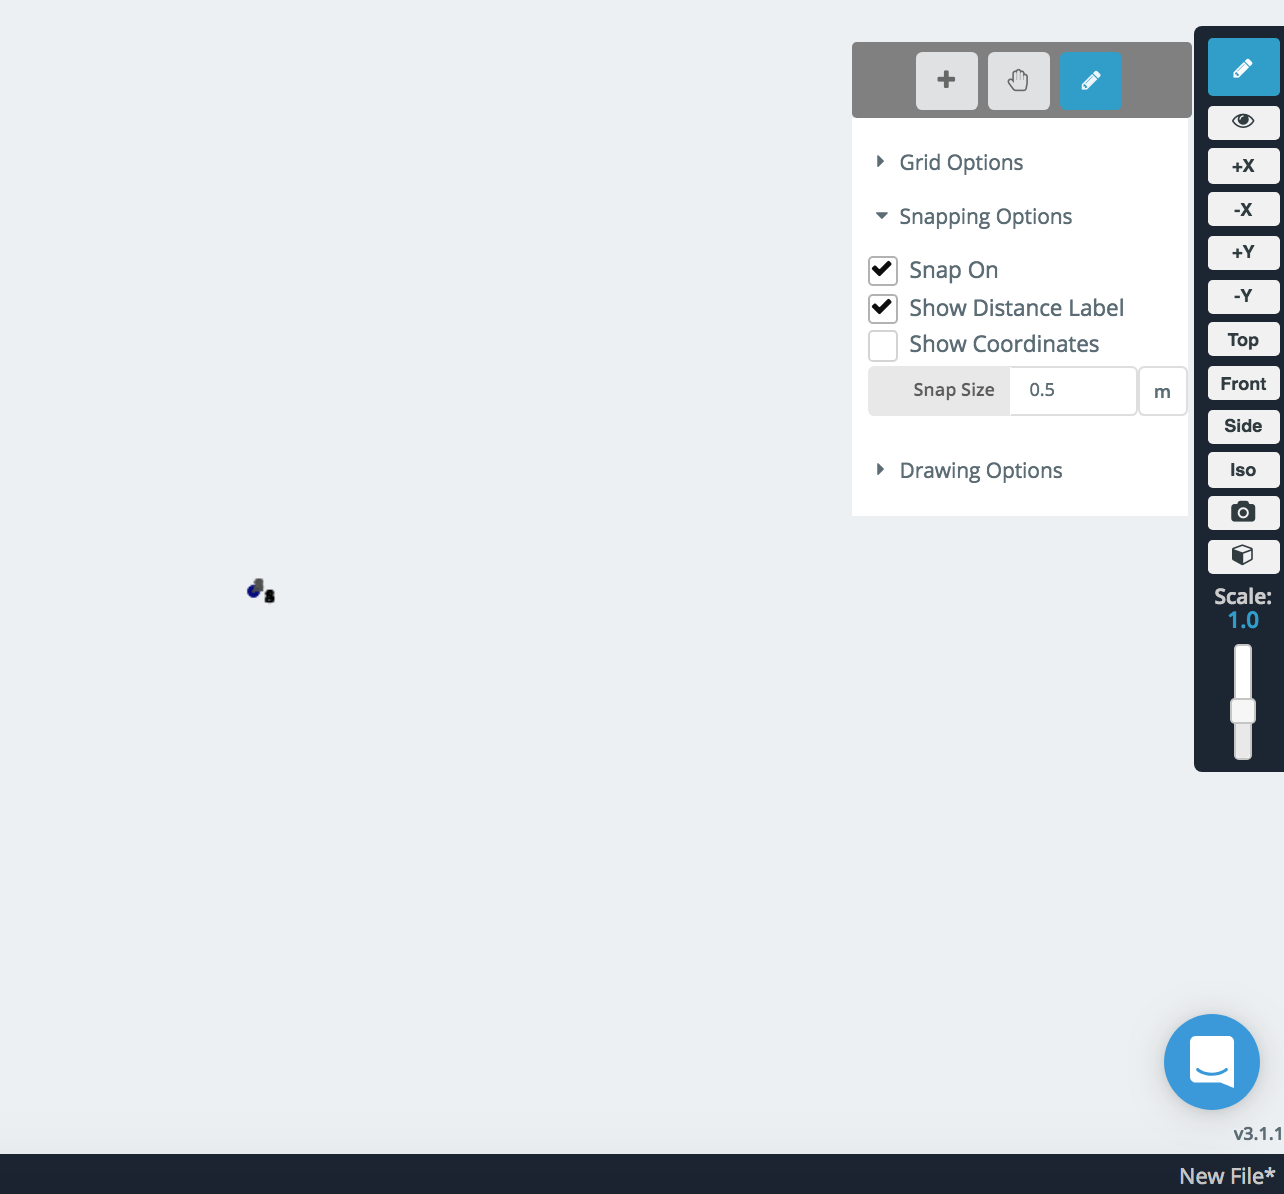
A very small structure with a large snap size
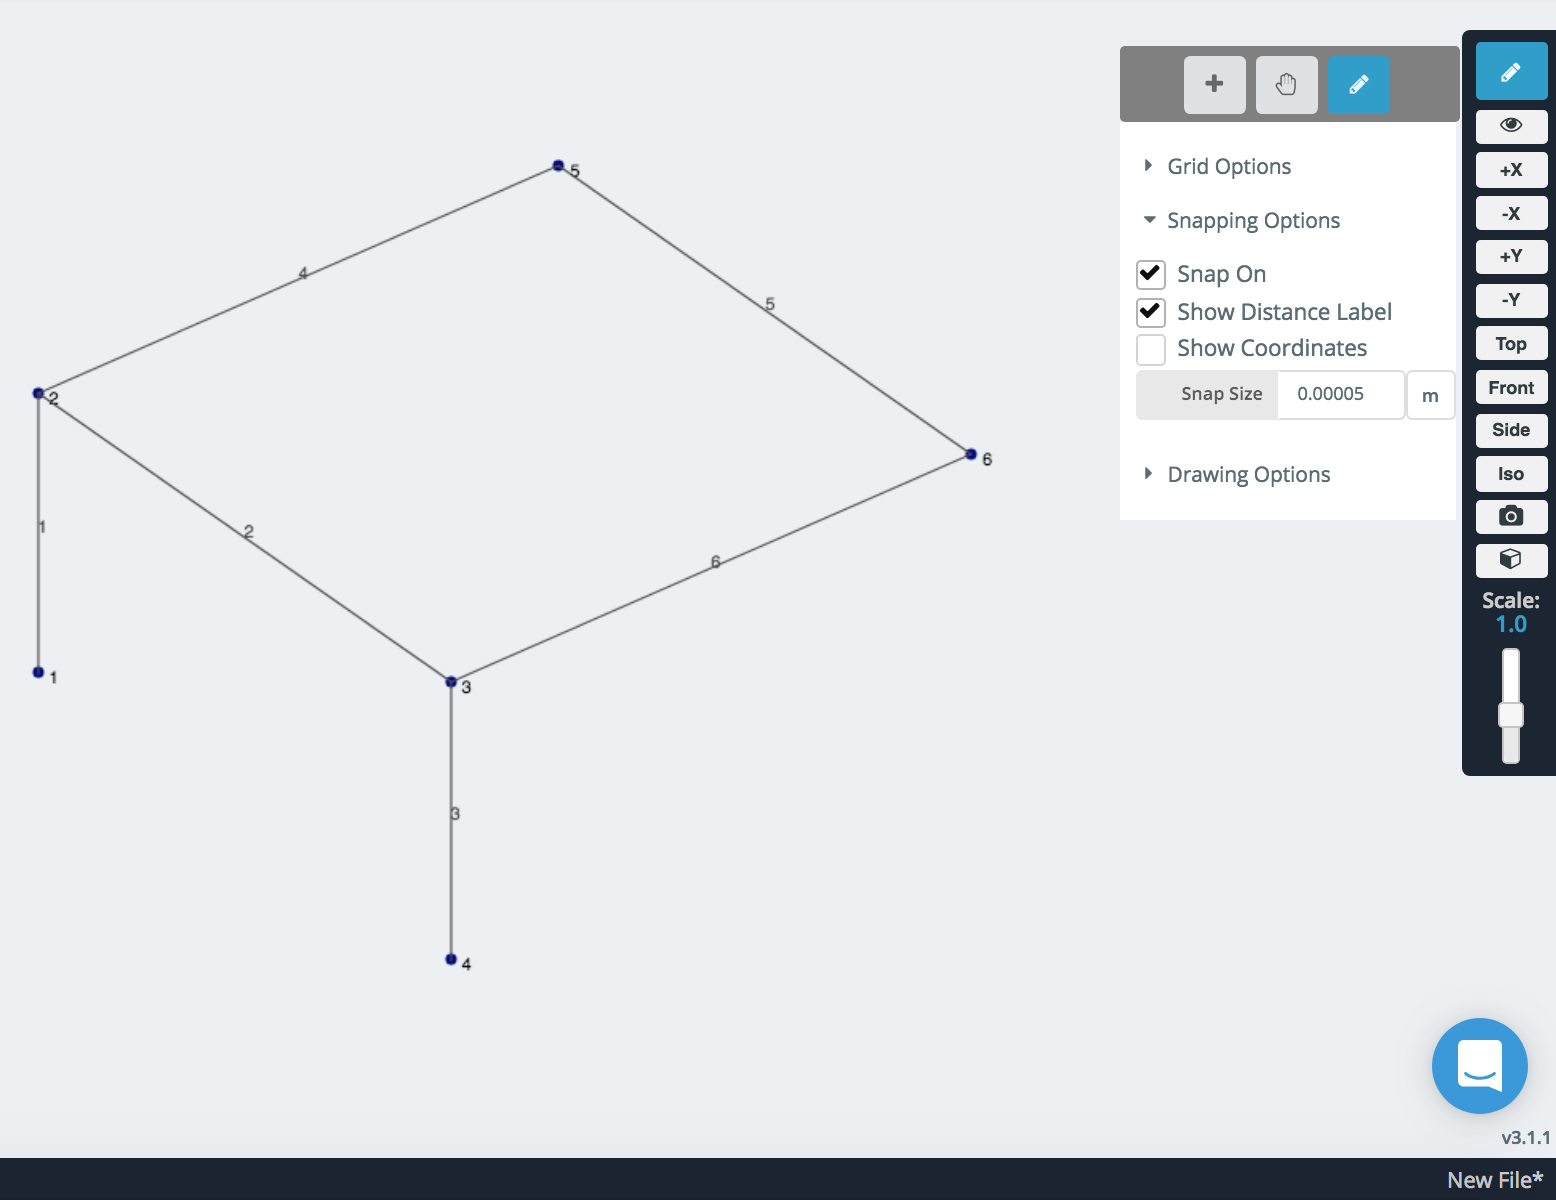
This can be fixed by reducing the snap size