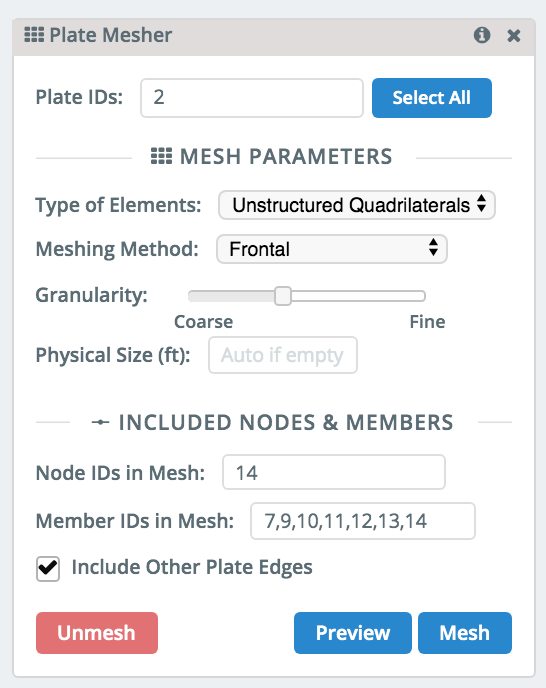
Prior to solving for results, plates need to be meshed. SkyCiv’s plate meshing tool is able to divide a plate into structured or unstructured shell elements.
To specify a plate mesh in SkyCiv Structural 3D simply provide inputs for:
- Plate Selection – Select the plate(s) to be meshed. Use commas to separate plate numbers, a hyphen to select all plate numbers within a range, or click the ‘Select All’ button.
- Type of Elements – The type of shell element to divide the plate – this is either structured quadrilaterals or quadrilaterals
- Base and Height Divisions – Tell the meshing tool how many divisions over the length and width of plate you want to make when dividing the plate into its elements – only available when using ‘structured quadrilaterals’
- Meshing Method – Choose from Automatic, Delaunay, Frontal, and Adaptive meshing methods – only available when using ‘quadrilaterals’
- Granularity – Choose from 5 levels of fineness. 1 represents a very course setting, and 5 represents very fine – only available when using ‘quadrilaterals’
- Physical Size – use this instead of the above granularity slider
Meshing and Troubleshooting Larger Structures
Sometimes with larger structures (or structures with multiple plates) may fail to solve due to improper connectivity during the meshing phase. We highly recommend meshing all your plates at once to avoid issues like this.
If your structure has multiple plates and is failing to solve, we recommend re-meshing the structure all at once. The easiest way to do this is to:
- Select all (CTRL + A) and Click Advanced – Plates – Plate Mesher
- Click Unmesh to unmesh all your existing plates
- Select all the plates again (CTRL + A) and go back into the Mesher (Advanced – Plates – Plate Mesher)
- Then select Unstructured Quadrilaterals
- Click Mesh
The software will then mesh all your plates in one go – ensuring proper connectivity throughout your model. This is the most reliable method as it ensures adjacent plates are connected with common nodes.
Example
To learn how to create a plate, check out the previous article about how to model plates in Structural 3D.
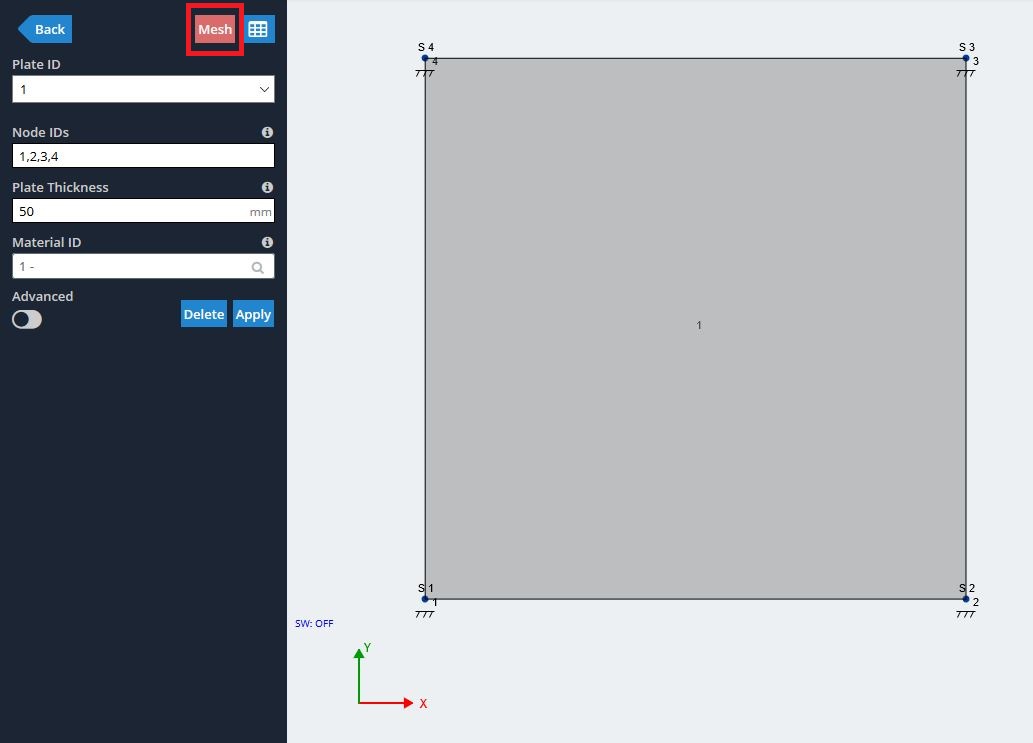
1) To mesh your plate, click the ‘Mesh’ button at the top right corner inside the ‘Plate’ menu. Alternatively, right-click the plate and hit Mesh.
3) The plate has successfully meshed. Follow the Example in Pressures to learn how to apply a pressure load to a plate.
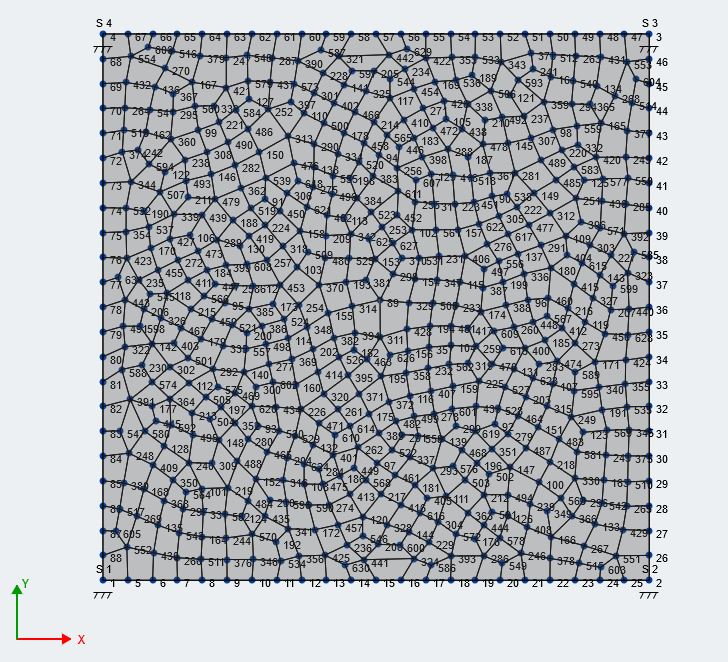
Plate Cutouts
Users can also cut holes out of their plates using the Plate Cutout function. To cut out a hole from a plate, follow these steps:
Add nodes to your plate to position the hole. Make ensure the nodes close a shape (do not have them on the plate edges) and that they do not overlap another hole.
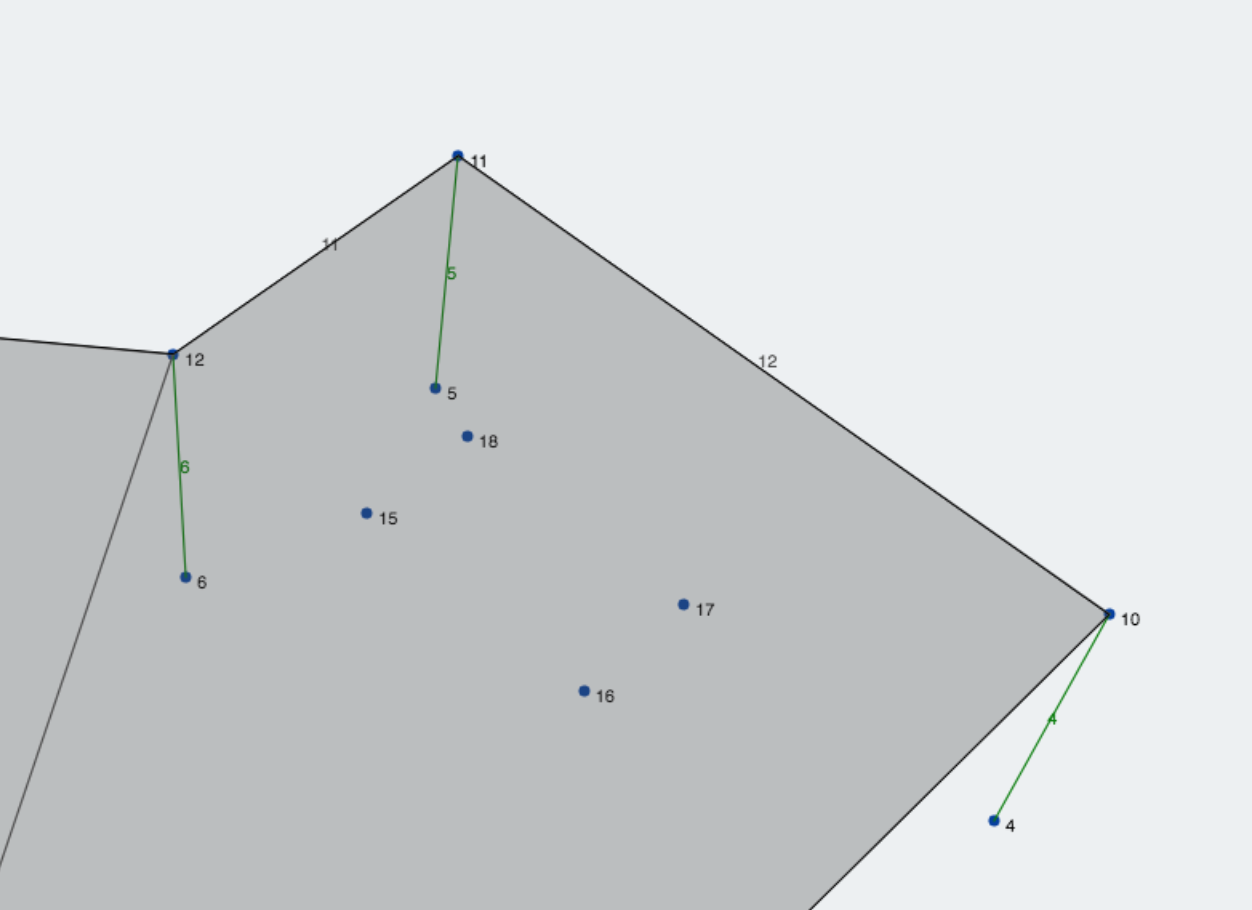 Right-click the plate and click Plate Hole. Then enter node IDs (clockwise or anti-clockwise). It is
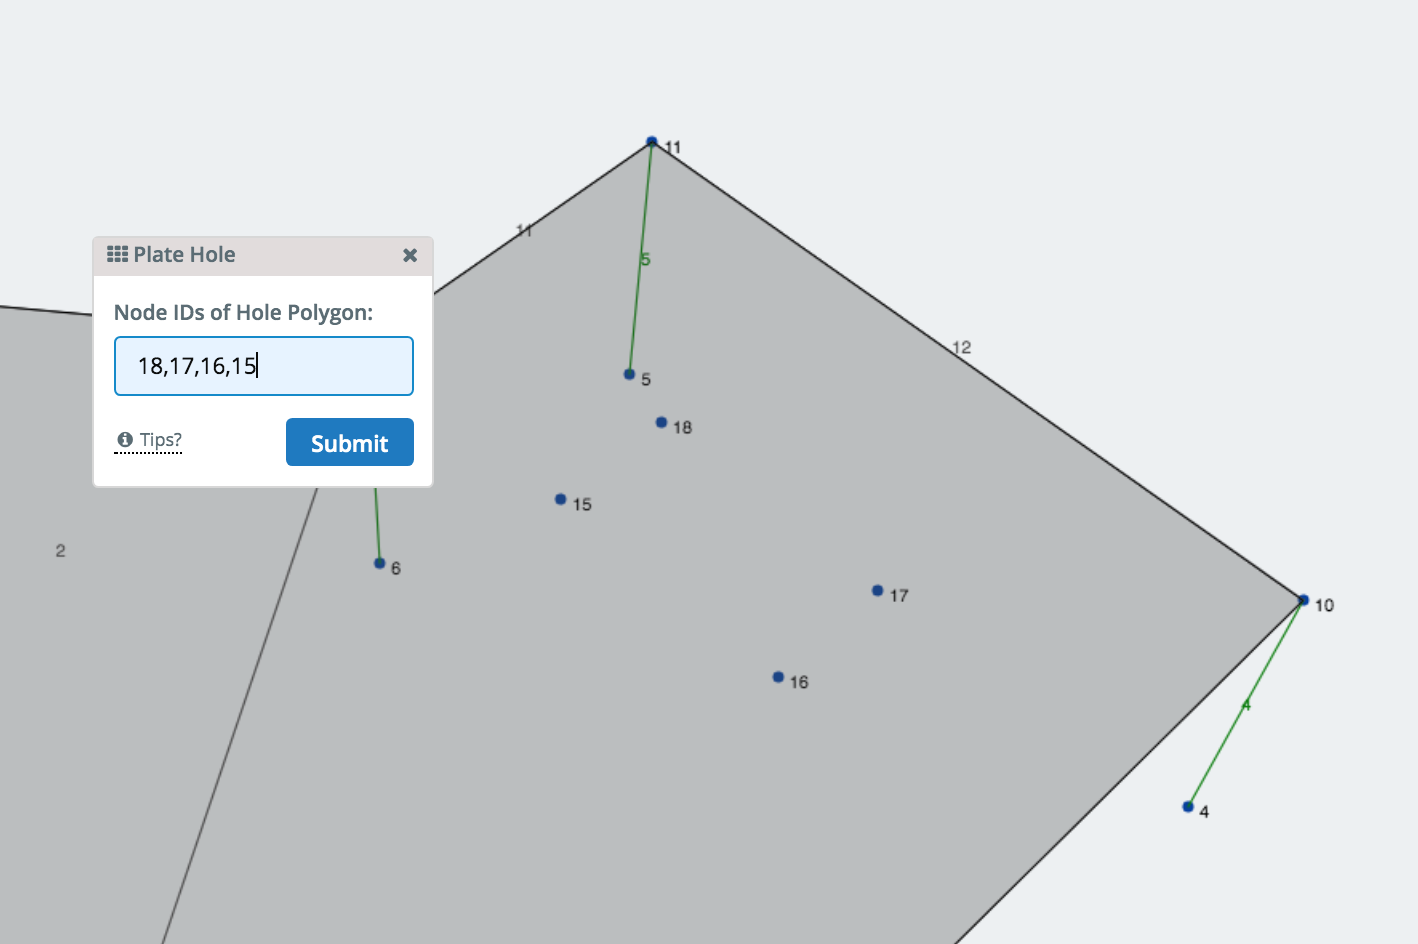
Once submitted, the hole should be visible in the model and also be available to delete from the existing hole list.
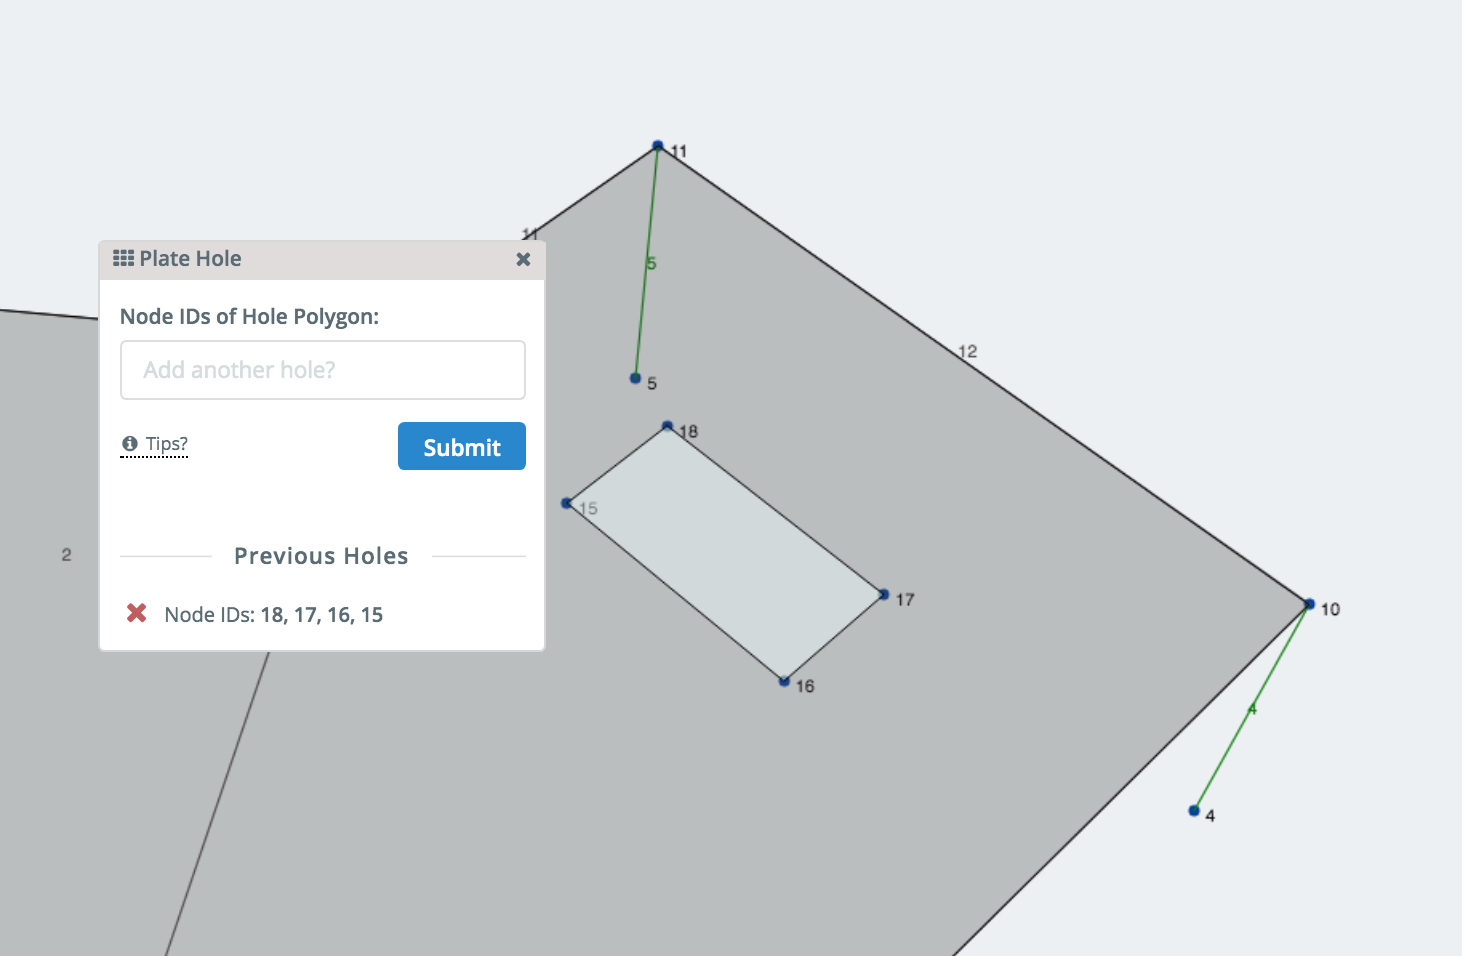
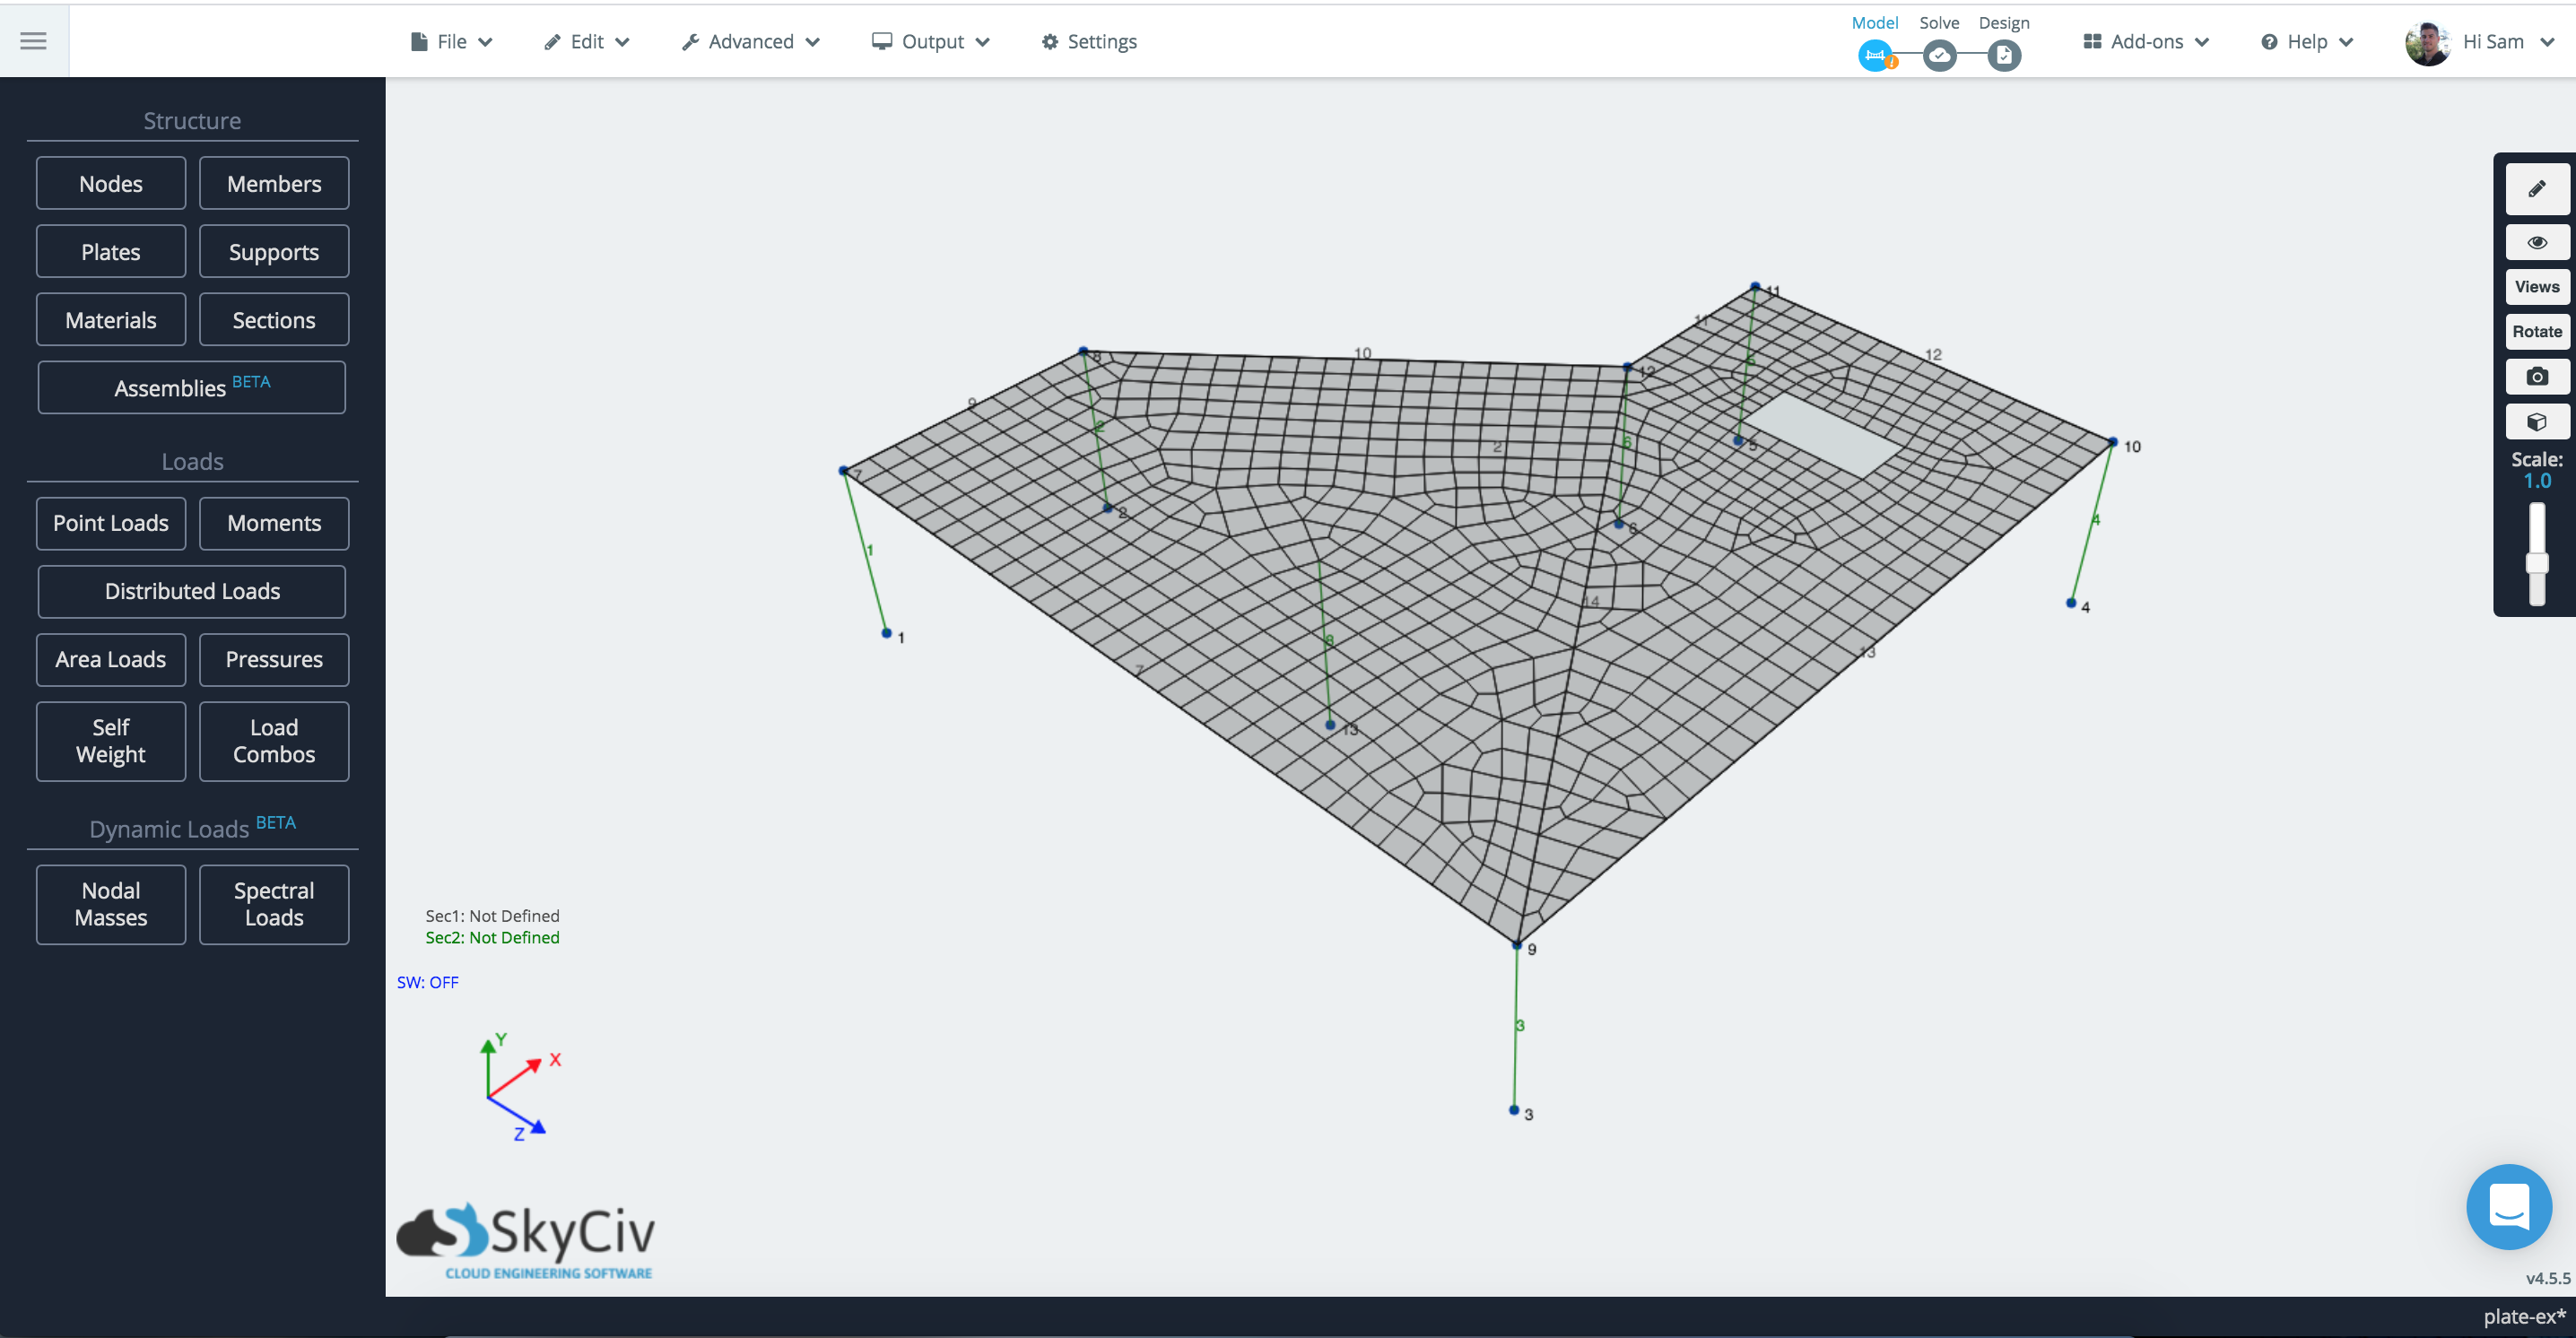
After meshing the plate, the hole should still exist:
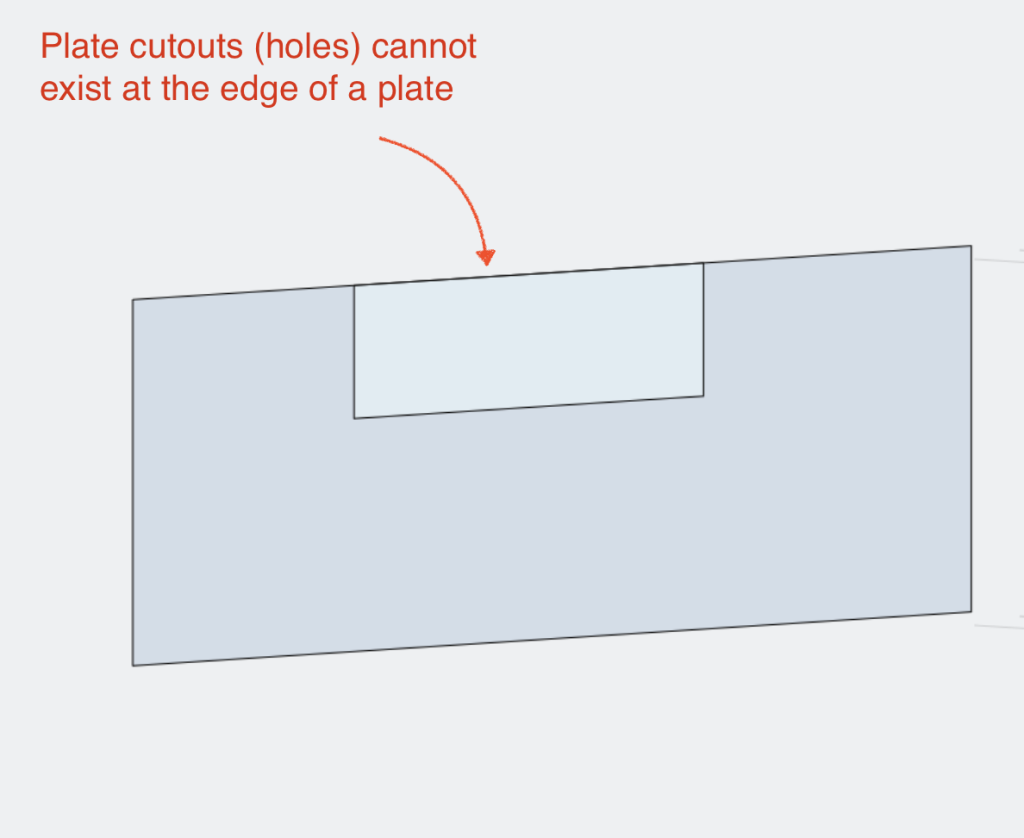
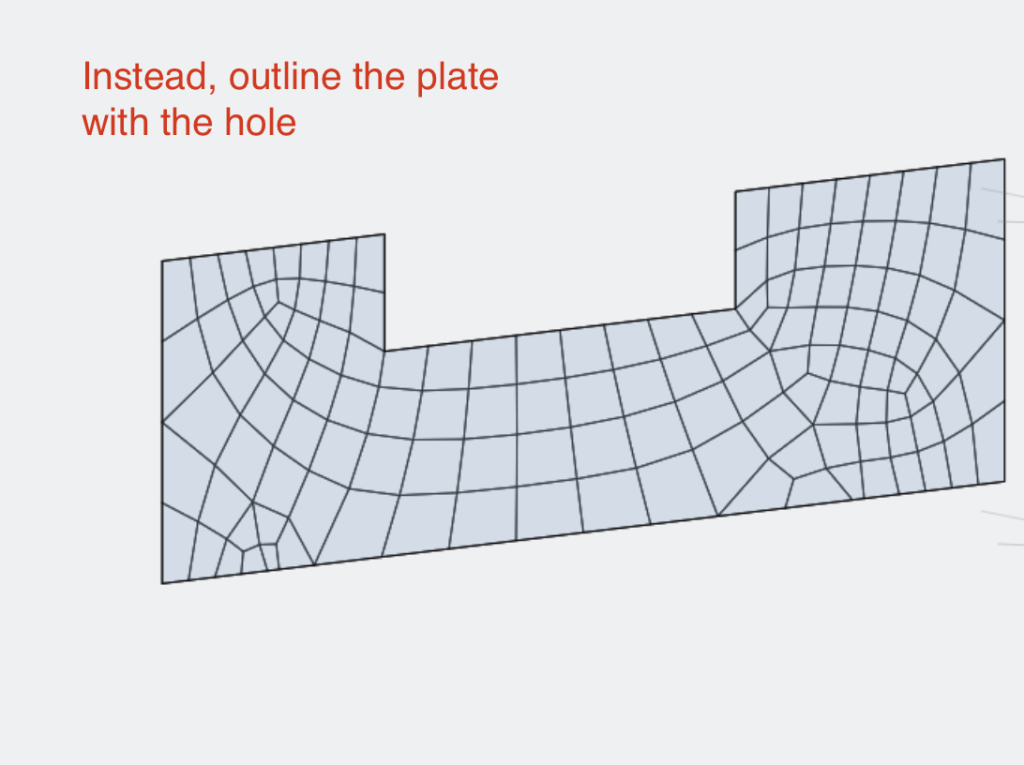
Note: Cutouts can not exist at the edge of a plate. In this case, users should outline the cutout as the edge of the plate instead:
Not Happy with your Mesh?
You can simply right-click the plate and hit Mesh again and try different mesh settings. The plate pressures and original attributes will remain in-tact.