Modeling curved and spiral members in SkyCiv Structural 3D
Curved Members
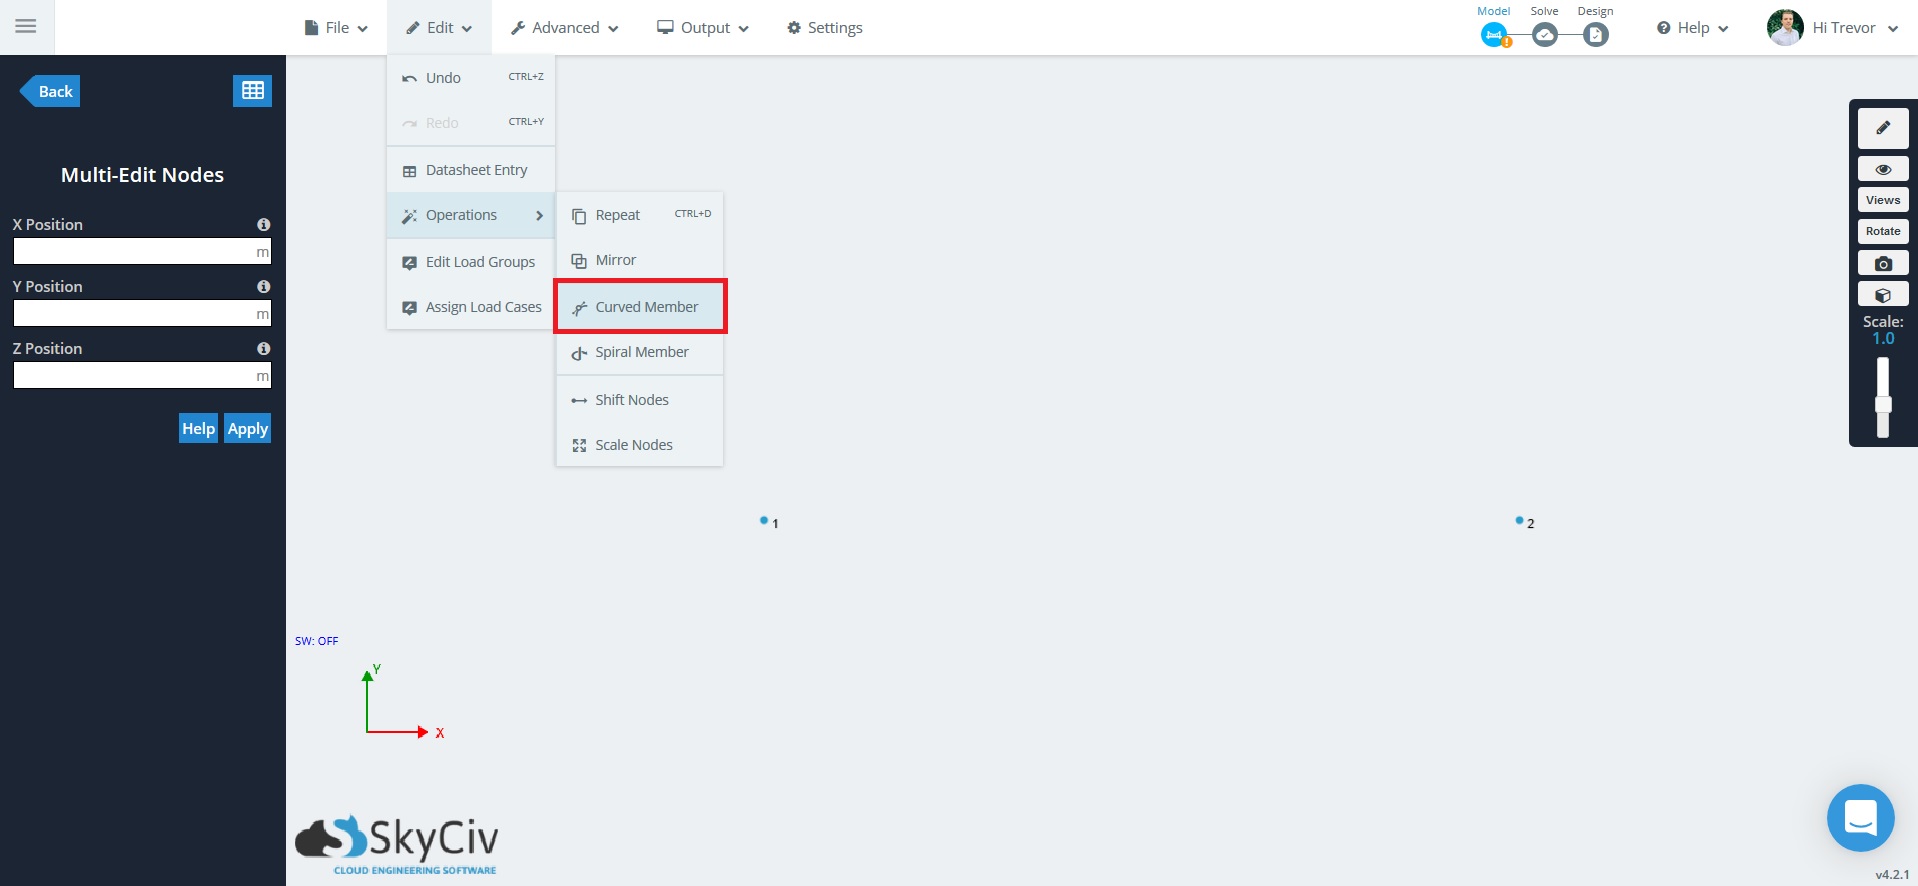
SkyCiv provides a number of advanced operations to speed up your modeling workflow.
The ‘Curved member’ operation allows you to select (2) nodes and generate an arc (made up of members) between them. This feature is useful when modeling curved structures like curved beams or arches.
Example: Modelling a curved beam
In this example, we will model a curved beam. The first step is to create two nodes. Use coordinates (0,0,0) and (10,0,0) meaning that our two nodes are separated by 10 ft in the x-direction.


- Number of Members – The number of members used to make the curvature.
- Section ID for the Members – The cross-section ID applied to each member.
- Radius – The radius of the curve between the two nodes. The minimum value of the radius is half the distance between the nodes
- Plane – Which coordinate plane the curve will be generated in.
- Direction – Positive or Negative, affects which direction the curve “travels”
For example, we will use 20 members to make up a curve (the more members, the more accurately the curve is represented and vice versa). For the radius, the minimum value is the half distance between the two nodes. Since the two nodes in this example are separated by 10 ft, the minimum half distance is 5 ft. A value higher than the minimum for the radius will result in a ‘flatter’ curve. You can also directly specify section ID for the members of the curve to assign them a particular cross-section. Plane options (XY-plane, XZ-plane) and direction (positive, negative) can also be specified.


Spiral Member
The ‘Spiral Member’ operation allows you to select one node as the starting point, and generate a spiral (made up of members). This feature is useful when modeling spiral structures like some types of staircases or railings.
Example: Modelling a spiral structure
In this example, we will model a spiral structure. The first step is to a node at the origin (0,0,0).

Select the node by clicking it. When selected, the node will turn blue.

Go to the top toolbar, then Edit > Operations > Spiral Member.

A popup will appear to give you some options.
- Total Number of Members to Use – The number of members making up the spiral structure.
- Section ID for the Members – The cross-section ID applied to each member.
- Helix Base Point Center Point – The center of the helix structure. Enter x, y, z coordinate.
- Helix Length – The length between the turns, in the propagation direction.
- The number of 360 degree turns – The number of complete turns.
- Direction – The spiral propagation direction.
- Turning Direction – The direction that the spiral will turn in (clockwise / counterclockwise) as it propagates in a particular direction.

The generated spiral structure is shown below.

test test