Modella ed esporta la geometria strutturale direttamente in S3D
CloudCAD ti consente di creare geometria strutturale direttamente all'interno del CAD ed esportarla in Structural 3D (S3D). Assegnando dati strutturali ai punti, linee e regioni di tratteggio, CloudCAD capisce come ogni elemento deve essere interpretato durante l'esportazione. Questa guida copre il flusso di lavoro completo, dall'assegnazione delle proprietà strutturali fino alla revisione e all'esportazione del modello.
Tipi di geometria strutturale
CloudCAD utilizza diversi tipi di geometria per rappresentare diversi elementi strutturali durante l'esportazione:
Tipo di geometria
Oggetti strutturali
Punti
Colonne o supporti
Linee
Travi
Regioni di tratteggio
Piatti
Esporta flusso di lavoro
Prima di esportare in S3D, la geometria strutturale segue un semplice flusso di lavoro in quattro fasi:
Step 1
Geometria
→
Step 2
Dati strutturali
→
Step 3
Revisione
→
Step 4
Esporta in S3D
Prima che la geometria possa essere esportata in S3D, CloudCAD deve capire come ogni elemento dovrebbe comportarsi strutturalmente. Ciò si ottiene assegnando proprietà strutturali ai punti, linee e regioni di tratteggio, consentendo loro di essere esportati come supporti, colonne, travi e piastre all'interno del modello finale.
Modalità strutturale
Controlla il comportamento della geometria durante l'esportazione strutturale
La modalità strutturale è abilitata per impostazione predefinita, ciò significa che alla geometria appena creata vengono assegnate automaticamente proprietà strutturali e incluse durante l'esportazione.
CONTROLLI DELLA MODALITÀ STRUTTURALE
Utilizzare il Attiva/disattiva la modalità strutturale nell'angolo in basso a destra dello schermo.
Premi la scorciatoia predefinita S3.
Nota: Quando la modalità strutturale è disabilitata, la geometria si comporta solo come geometria di disegno e non verrà inclusa durante l'esportazione in S3D.
Assegnazione dei supporti
Applica i vincoli di supporto ai punti del modello
I supporti definiscono il modo in cui una struttura è vincolata e possono essere applicati solo ai punti del modello.
PASSO DOPO PASSO
Evidenziare i punti desiderati.
Fare clic con il pulsante destro del mouse sui punti selezionati.
Selezionare Assegnare la fissità del supporto.
Scegli un tipo di supporto, tra cui Appuntato o Fisso.
Se Altro è selezionato, inserire i codici di fissazione personalizzati.
Nota: I supporti possono essere assegnati solo ai punti, non linee o regioni tratteggiate.
Assegnazione di sezioni ai punti (Colonne)
Definire i punti come colonne strutturali
I dati strutturali possono essere assegnati ai punti in modo che vengano riconosciuti come colonne durante l'esportazione.
PASSO DOPO PASSO
Evidenzia i punti richiesti.
Fare clic con il pulsante destro del mouse sui punti selezionati.
Selezionare Assegna sezioni ai punti.
Abilitare Dati strutturali.
Applicare la sezione richiesta.
Nota: I punti assegnati alle sezioni strutturali verranno esportati come colonne. Le colonne vengono generate sporgendo sotto la tela selezionata, consentendo loro di connettersi tra prospetti nei modelli multi-tela.
Assegnazione di sezioni alle linee (Travi)
Definire le linee come membri della trave strutturale
I dati strutturali possono essere assegnati alle linee in modo che vengano riconosciute come travi durante l'esportazione.
PASSO DOPO PASSO
Seleziona le linee richieste.
Fare clic con il pulsante destro del mouse.
Selezionare Assegna sezioni alle linee.
Abilitare Comportamento strutturale.
Applicare la sezione richiesta.
Nota: Le linee assegnate alle sezioni strutturali verranno esportate come membri della trave in S3D.
Assegnazione delle proprietà della piastra
Definire le regioni di tratteggio come piastre strutturali, lastre, o muri
Le regioni di tratteggio vengono chiamate piastre perché rappresentano elementi strutturali basati sulla superficie come solai e muri.
PASSO DOPO PASSO
Selezionare le regioni di tratteggio richieste.
Fare clic con il pulsante destro del mouse.
Selezionare Assegnare proprietà alla piastra.
Abilitare Comportamento strutturale.
Seleziona un materiale.
Immettere uno spessore del piatto.
Nota: Le proprietà della piastra possono essere modificate in qualsiasi momento facendo doppio clic su una regione di tratteggio esistente e selezionando Strutturale tab.
Revisione dei dati strutturali
Verificare le informazioni strutturali prima di esportarle in S3D
Prima di esportare in S3D, si consiglia di rivedere tutti i dati strutturali assegnati per garantire che il modello sia stato configurato correttamente.
PASSO DOPO PASSO
è un punto fisso nello spazio che non si muove S3D pulsante nell'angolo in basso a destra dello schermo.
Passare a elevazioni tab.
è un punto fisso nello spazio che non si muove Esaminare i dati strutturali pulsante (icona della lente di ingrandimento).
TABELLE DATI DISPONIBILI
Oggetto strutturale
Informazioni visualizzate
supporti
Fixità di supporto assegnate
Colonne
Sezioni assegnate
Travi
Sezioni assegnate
Piatti
Informazioni su materiale e spessore
Nota: La selezione di un elemento all'interno di qualsiasi tabella di dati strutturali evidenzierà automaticamente il membro corrispondente nell'area di disegno, facilitando l'individuazione e la revisione di oggetti specifici.
Migliori pratiche: La revisione dei dati strutturali prima dell'esportazione è il modo più rapido per identificare i supporti mancanti, sezioni errate, o proprietà della piastra incomplete e assicurarsi che il modello sia pronto per l'esportazione.
Esportazione in S3D
Trasferisci il tuo modello strutturale direttamente in S3D
Una volta che tutti i dati strutturali sono stati assegnati e revisionati, il modello è pronto per essere esportato in S3D per il caricamento, analisi, e il design.
PASSO DOPO PASSO
Apri il Esportatore strutturale.
Controlla le impostazioni di esportazione.
Seleziona quello appropriato Asse normale (X, E, o Z).
Selezionare Esporta in S3D.
Nota: L'Asse Normale definisce la direzione verticale del modello esportato. Assicurarsi che sia selezionato l'asse corretto prima dell'esportazione.
Cosa succede dopo? Dopo l'esportazione, il modello si aprirà in S3D dove verrà caricato, combinazioni di carico, impostazioni di analisi, e possono essere applicati controlli di progettazione.
Esempio lavorato
L'esempio seguente dimostra il flusso di lavoro completo per creare un modello strutturale multilivello in CloudCAD ed esportarlo direttamente in S3D
A partire da una semplice geometria di disegno, creeremo più livelli utilizzando il sistema Master e Child Canvas, assegnare dati strutturali, rivedere il modello generato ed esportarlo per l'analisi strutturale.
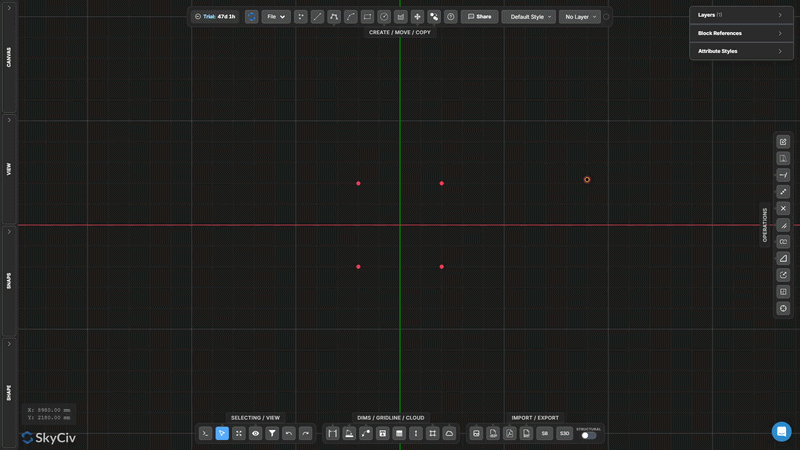
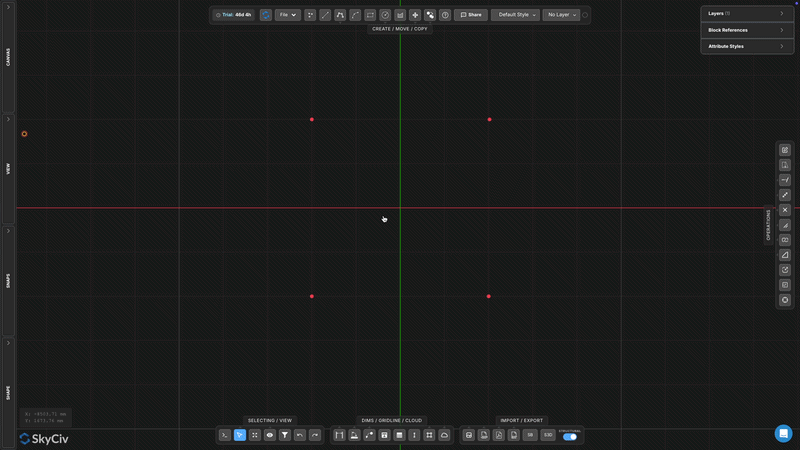
Step 1 – Crea posizioni delle colonne al piano terra
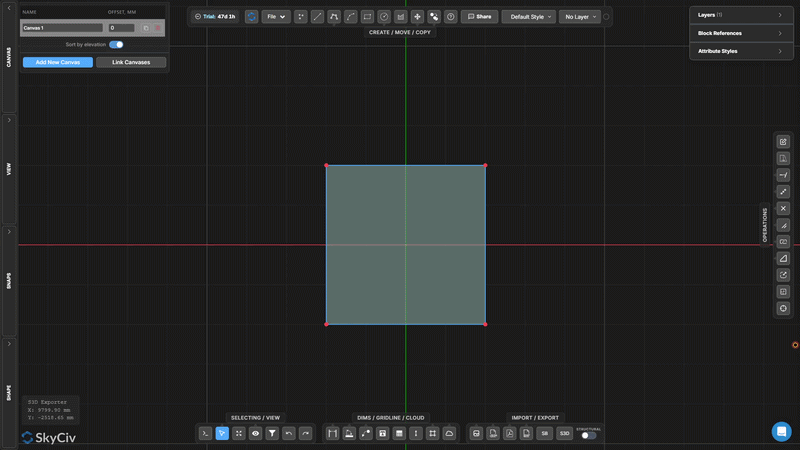
Inizia creando quattro punti su Canvas 1.
Questi punti rappresentano le posizioni delle colonne per la struttura.
In questa fase non sono stati assegnati dati strutturali. I punti definiscono semplicemente dove le colonne verranno eventualmente proiettate dalla tela sopra.
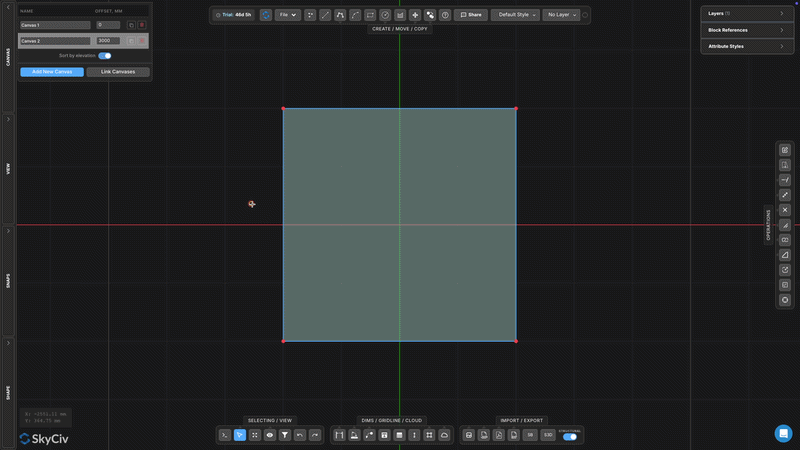
Step 2 – Crea la tela del primo piano
Per creare il livello del primo piano, tela duplicata 1.
Duplicando la tela si copia la geometria esistente, assicurando che le posizioni delle colonne rimangano allineate tra i livelli.
Quando richiesto, scegliere Mantieniti indipendente anziché creare un gruppo Canvas.
La tela duplicata ora può contenere geometrie diverse dalla tela originale. Questo è importante perché le tele raggruppate condividono la geometria strutturale, rendendoli inadatti quando ogni livello richiede un layout strutturale diverso.
In questa fase:
Tela 1 contiene le posizioni delle colonne al piano terra.
Tela 2 contiene le posizioni delle colonne corrispondenti al livello del primo piano.
Entrambe le tele rimangono indipendenti e possono essere modificate separatamente.
Questo imposta il passaggio successivo in cui disegni la geometria della trave e del piatto su Canvas 2.
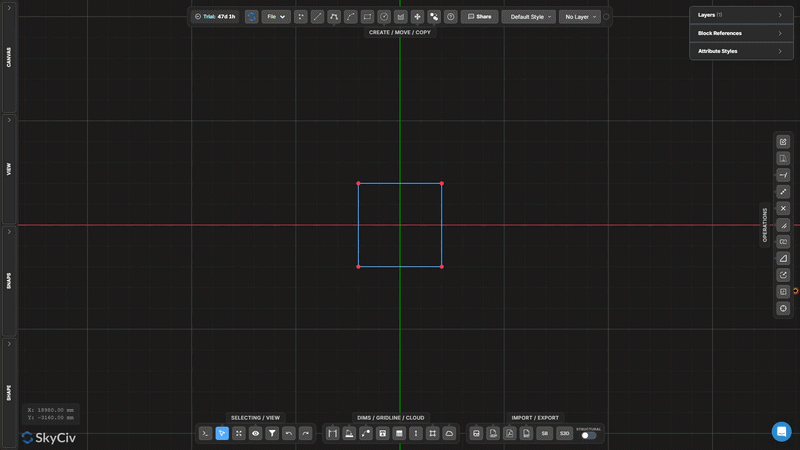
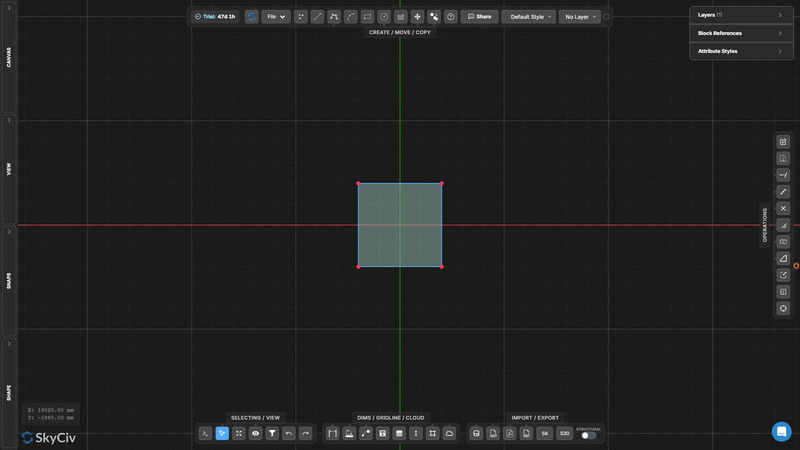
Step 3 – Crea il layout della struttura del pavimento
Su tela 2:
Disegna le linee delle travi perimetrali che collegano le posizioni delle colonne
Creare una regione di tratteggio che rappresenta il solaio
Step 4 – Crea un gruppo Canvas principale e secondario
Tela duplicata 2 per creare una terza tela.
Quando richiesto, scegliere Tela di gruppo.
Tela 2 diventerà il Tela maestra e tela 3 diventerà a Tela per bambini.
La tela secondaria eredita automaticamente la geometria strutturale e i dati strutturali assegnati alla tela principale. Qualsiasi modifica strutturale apportata alla tela principale può essere propagata a tutte le tele secondarie collegate, rendendo questo flusso di lavoro ideale per layout di pavimenti ripetuti in strutture a più piani.
In questo esempio, su entrambi i livelli sopraelevati verrà utilizzata la stessa disposizione di travi e piastre, consentendo alla struttura di essere modellata una volta e riutilizzata su più piani.
Step 5 – Assegnare i dati strutturali al master
Con Geometria completata, è possibile applicare proprietà strutturali
Premi il comando A per selezionare tutta la geometria sulla tela principale.
Fare clic con il tasto destro e selezionare Assegna sezioni ai punti.
Applicare la sezione strutturale predefinita.
Fare clic con il tasto destro e selezionare Assegna sezioni alle linee.
Applicare la sezione strutturale predefinita.
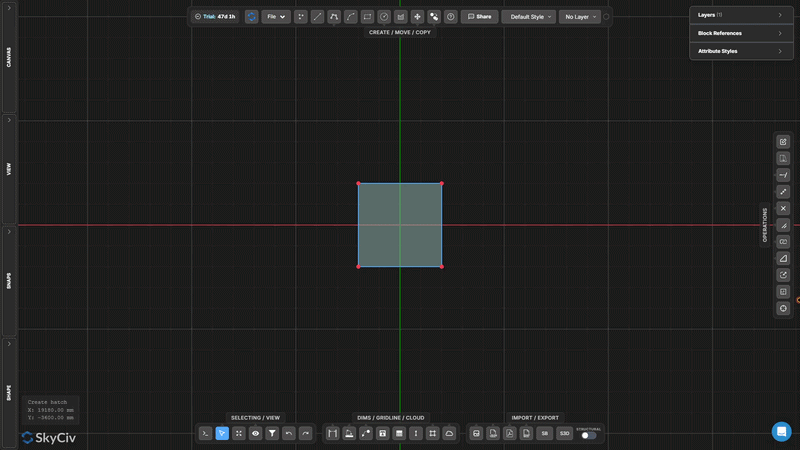
Seleziona la regione del tratteggio.
Fare clic con il tasto destro e selezionare Assegnare proprietà alla piastra.
Imposta il materiale su Calcestruzzo.
Immettere uno spessore del piatto di 300 mm.
Perché Tela 3 è collegato come tela figlio, tutta la geometria strutturale e le proprietà assegnate vengono automaticamente ereditate dal Master Canvas. Ciò consente di gestire layout di piani ripetuti da un'unica posizione mantenendo dati strutturali coerenti su più livelli.
Step 6 – Assegna supporti
Ritorna alla tela 1 e assegnare i supporti alle posizioni delle colonne.
Seleziona tutti i punti della colonna
Fare clic con il pulsante destro del mouse
Selezionare Assegnare la fissità del supporto
Scegliere Fisso
Le colonne esportate dai livelli superiori verranno proiettate verso il basso in queste posizioni di supporto.
Step 7 – Revisione dei dati strutturali
Prima dell'esportazione, rivedere il modello strutturale generato.