
This tutorial walks you step by step through designing a connection in the SkyCiv Connection Design module.
The design UI has five main tabs:
- Dettagli
- Assemblea
- Infissi
- Carichi
- risultati
Work through them in order. Each one feeds the next, and the 3D model re-renders as you go, so you can see what you are building before you solve it.
Dettagli
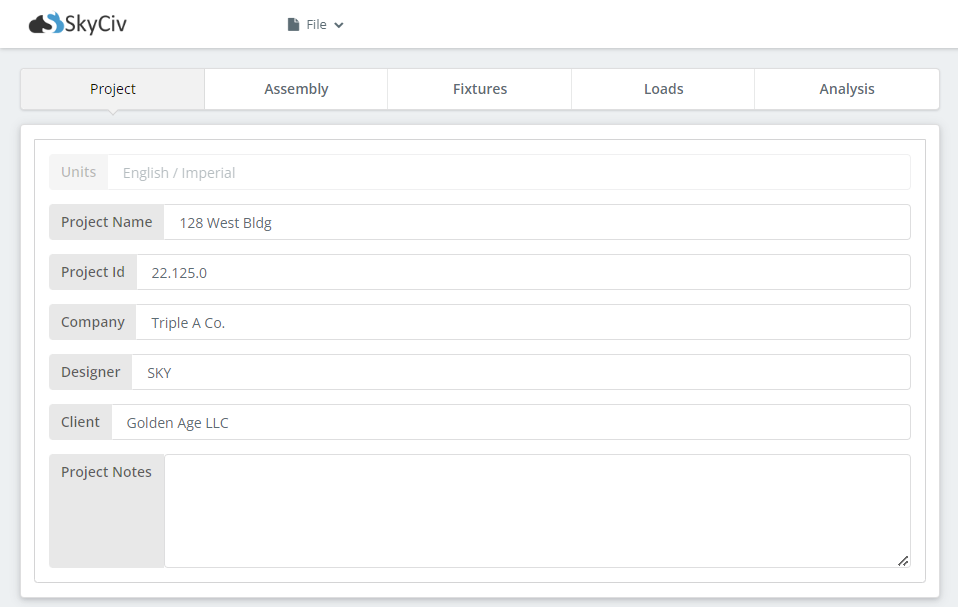
The Details tab is where you record your project information. None of it affects the calculations, but it carries through to the report, which is what makes a set of designs traceable months later:
- Nome del progetto
- ID progetto
- Azienda
- progettista
- Cliente
- Note di progetto
Assemblea
The second tab is where you build the connection itself.
Colonna
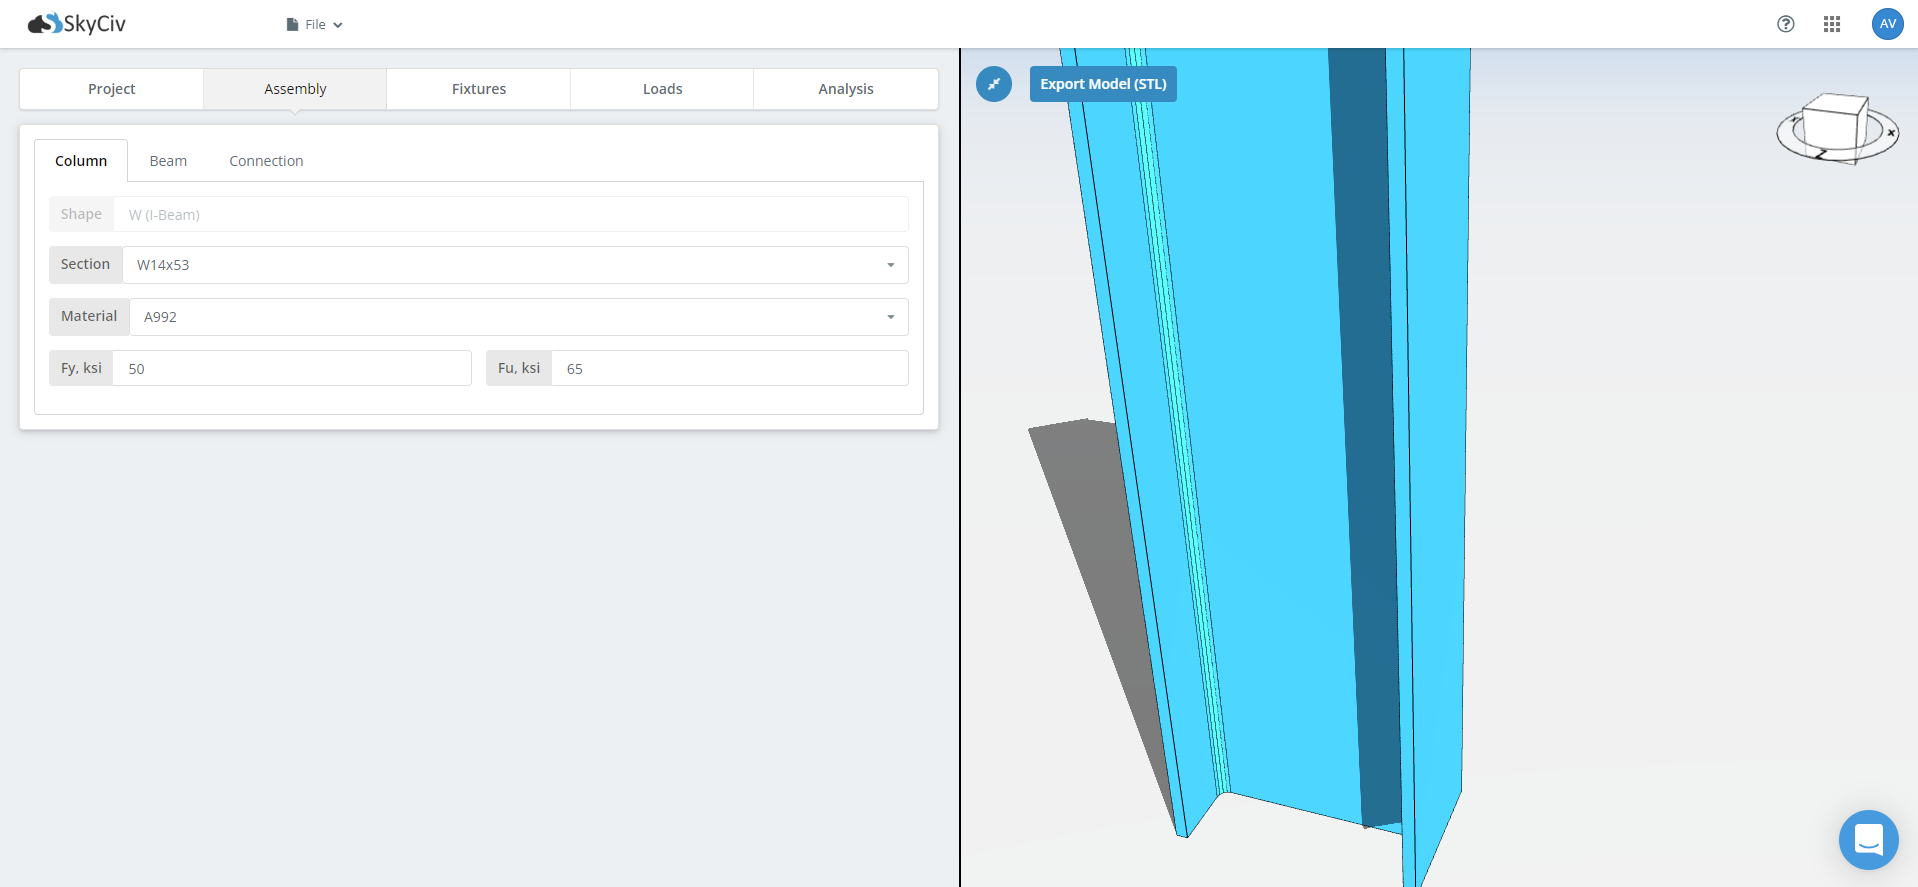
Start with the supporting member, usually a column. Pick the section size from the dropdown next to the Section label, then the material grade. The common grades are in the list; for anything else, type your own Fy and Fu into those fields. Check the units shown against each field before you type.
Fascio
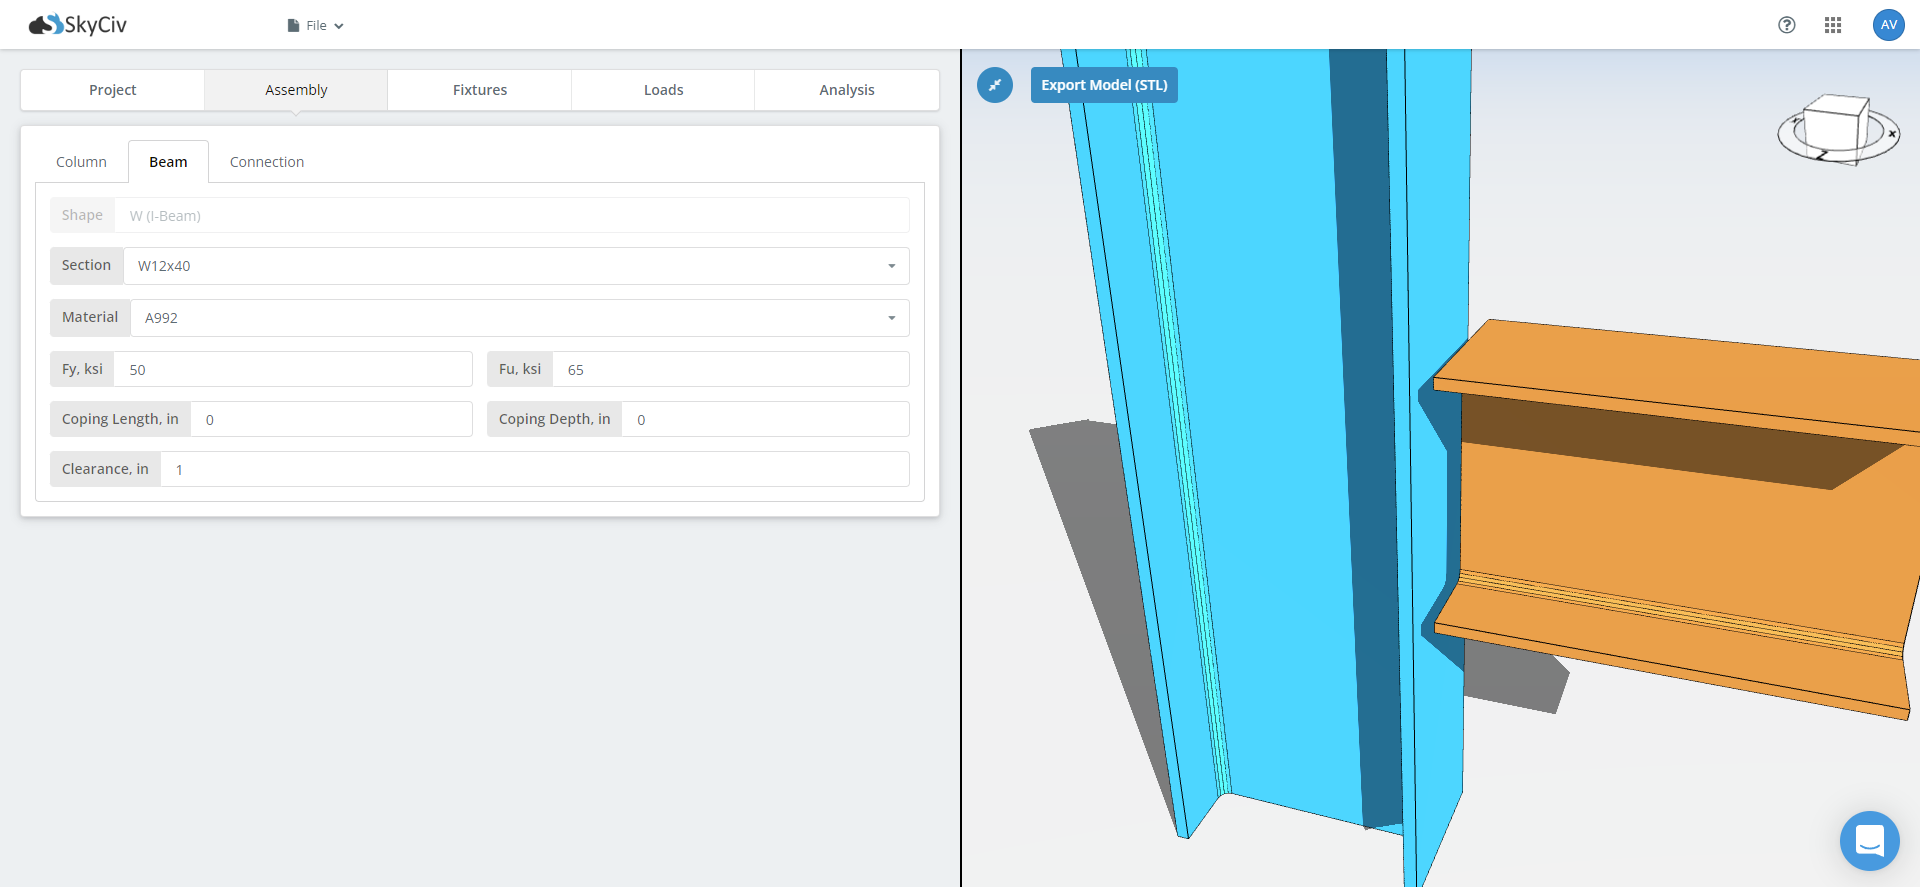
Next comes the beam. Supply its section size and material grade the same way. This tab also holds cope dimensions and beam clearance. Add a cope where the beam frames into a supporting beam of similar depth and the top flange has to be cut back, since the coped section governs a check the uncoped one does not.
Connessione
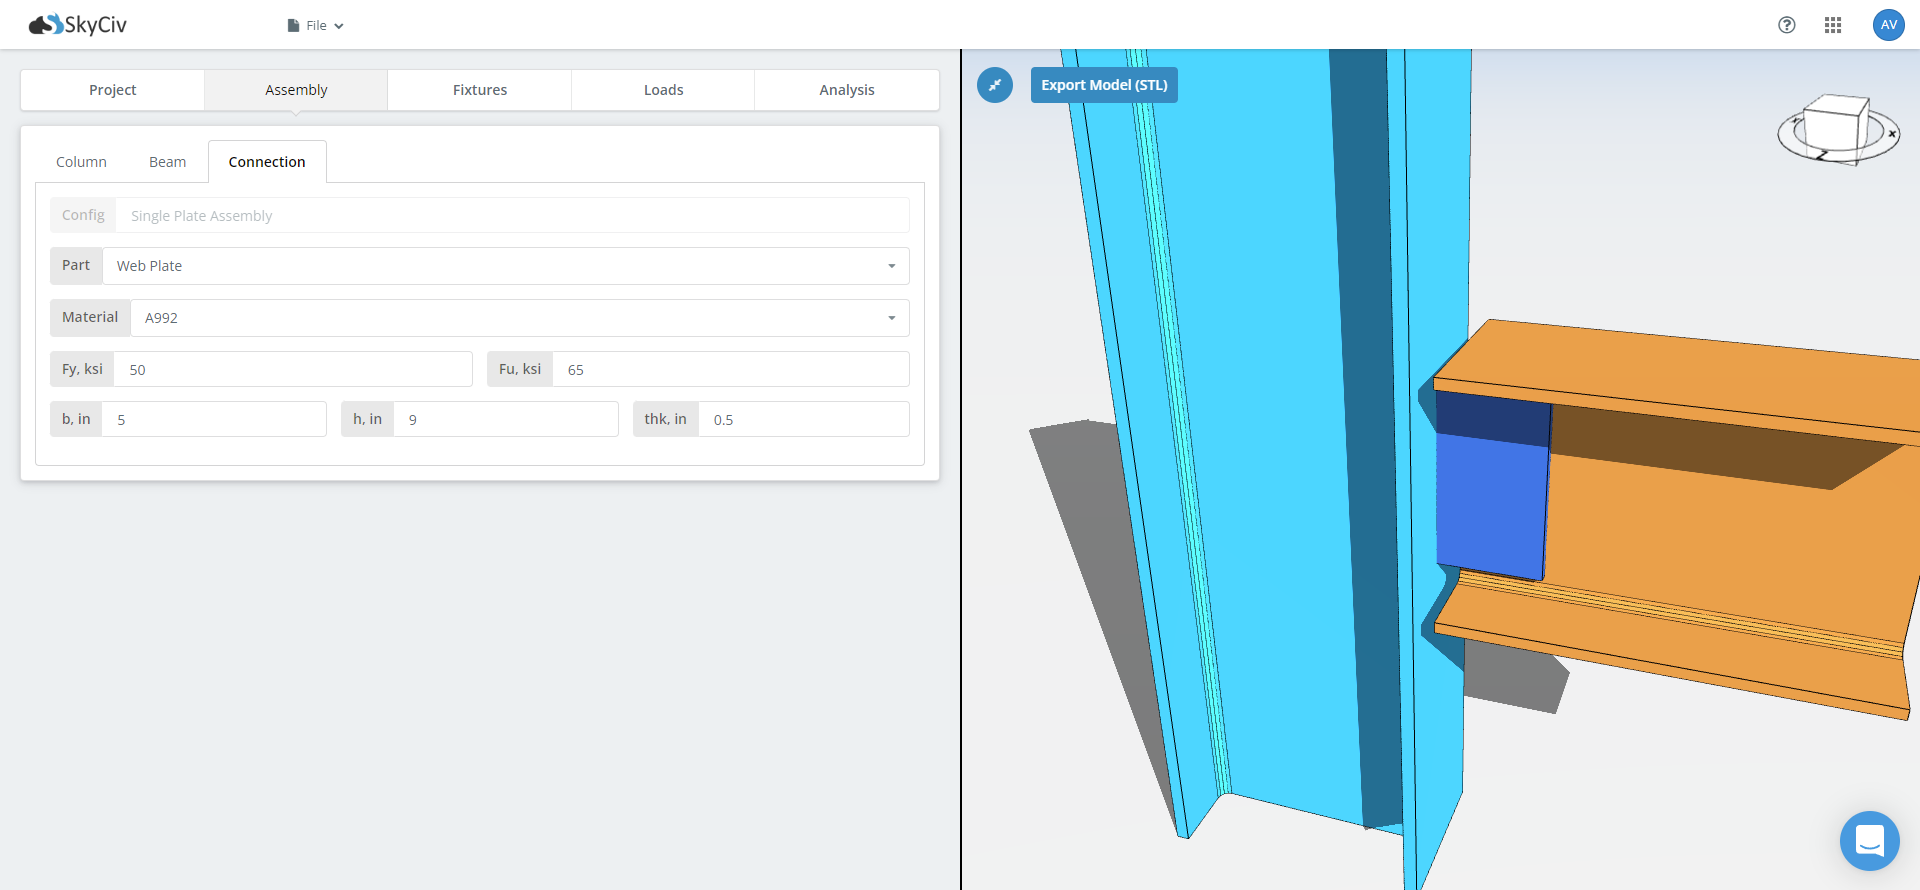
Last come the connecting components: grades, spessori, widths and lengths for the plates or angles. Where a connection has both a flange and a web component, remember to switch between the two sub-tabs and fill out each one. A moment connection typically carries the moment through the flanges and the shear through a separate web plate, so both need setting up.
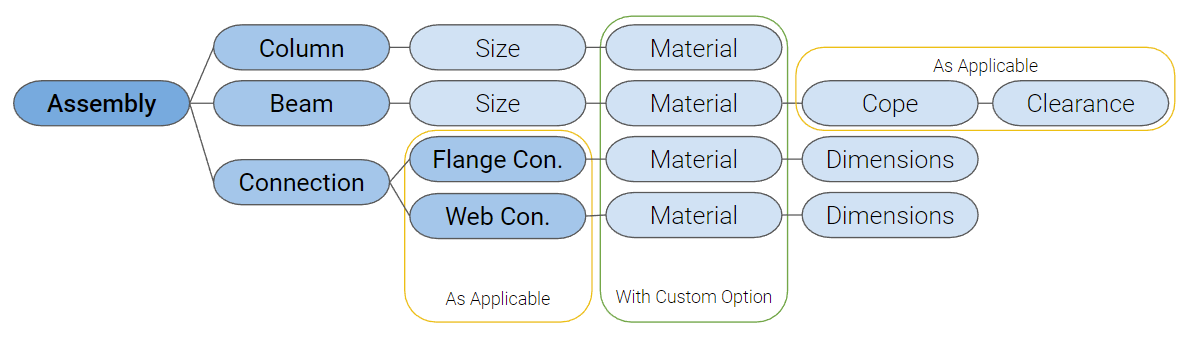
Once the fields are filled for each tab, the model renders the 3D figure automatically. You can try this in the free tool without an account.
Infissi
The Fixtures tab holds the sub-groups of fixtures, numbered, with a short description under each tab name.
Start by choosing the fixture type. Ci sono due: bolted and welded. On some connections the type is pre-selected and locked, because the configuration only works one way. If the type you want is not available, inviare una richiesta di funzionalità al team di supporto di SkyCiv.
Bullone
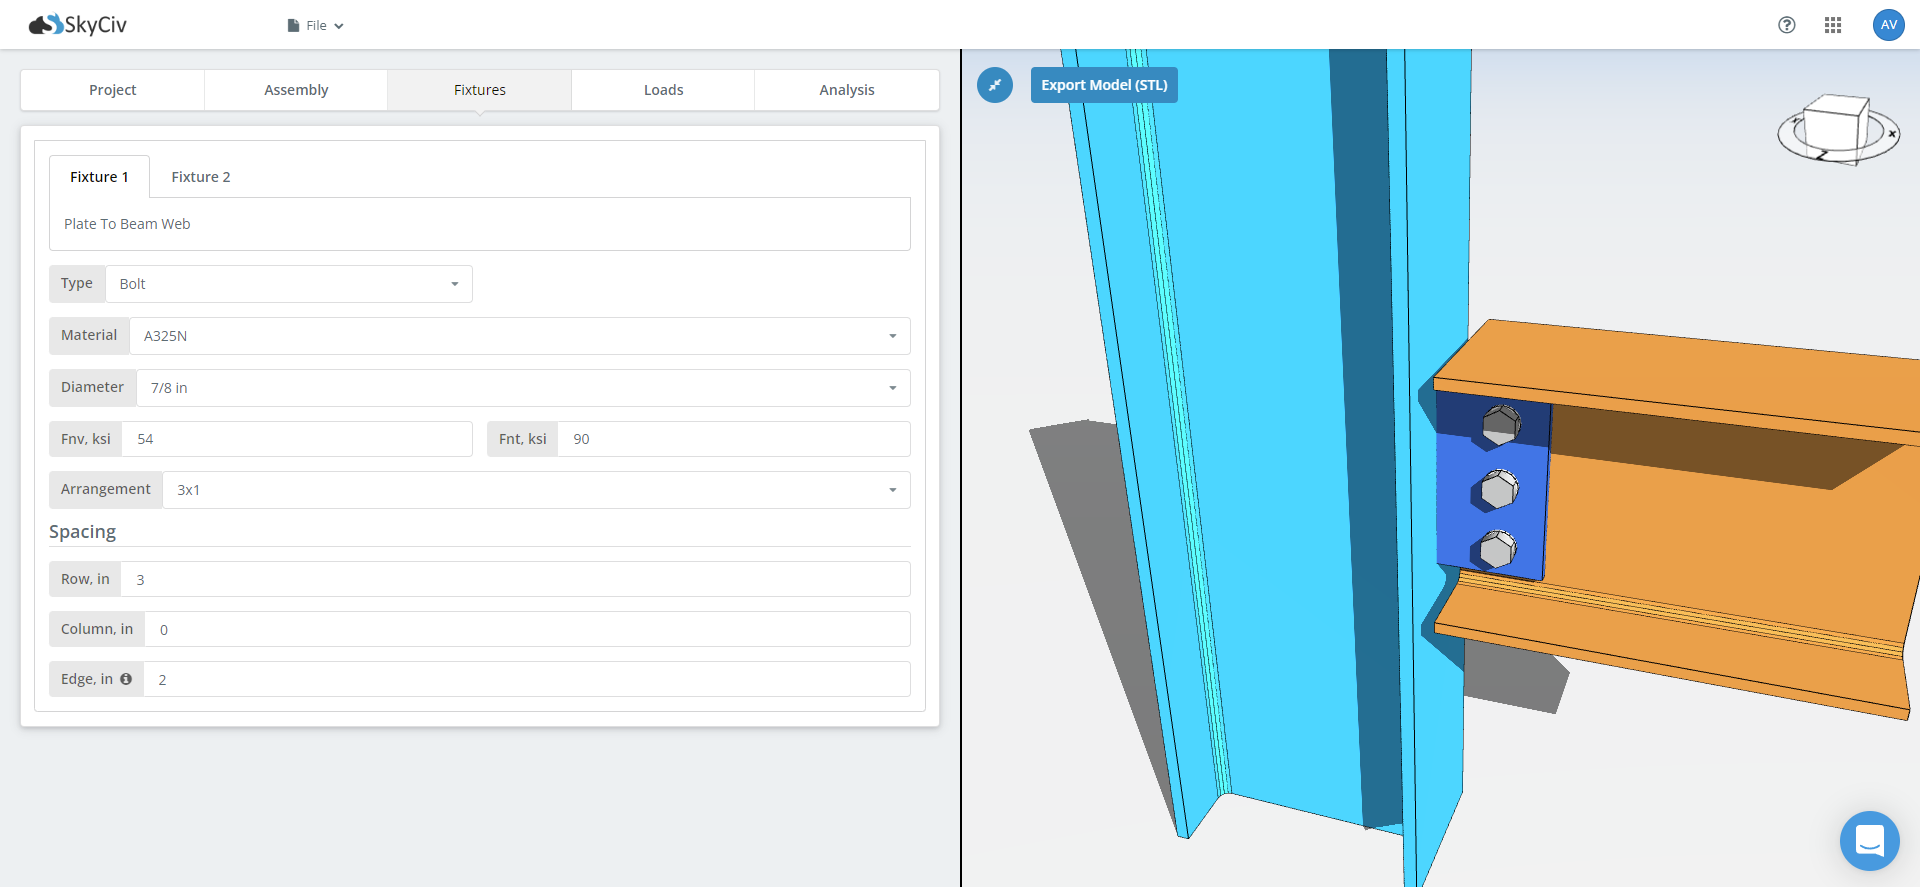
For a bolted fixture you supply:
- Materiale
- ACI-Verifica-Libri-Anteprima
- Bullone a taglio e resistenza alla trazione
- Hole type
- Preparativi
- Spaziatura tra le righe
- Spaziatura delle colonne
- Distanza dal bordo
Most of these are dropdowns, and there is a tooltip on Edge Distance explaining what it measures from.
Once the required fields are filled, the bolts render in the model. Change the bolt size or open up the spacing and the connection updates as you watch, which is the quickest way to find out whether a bolt group actually fits before the detailing checks tell you it does not.
saldare
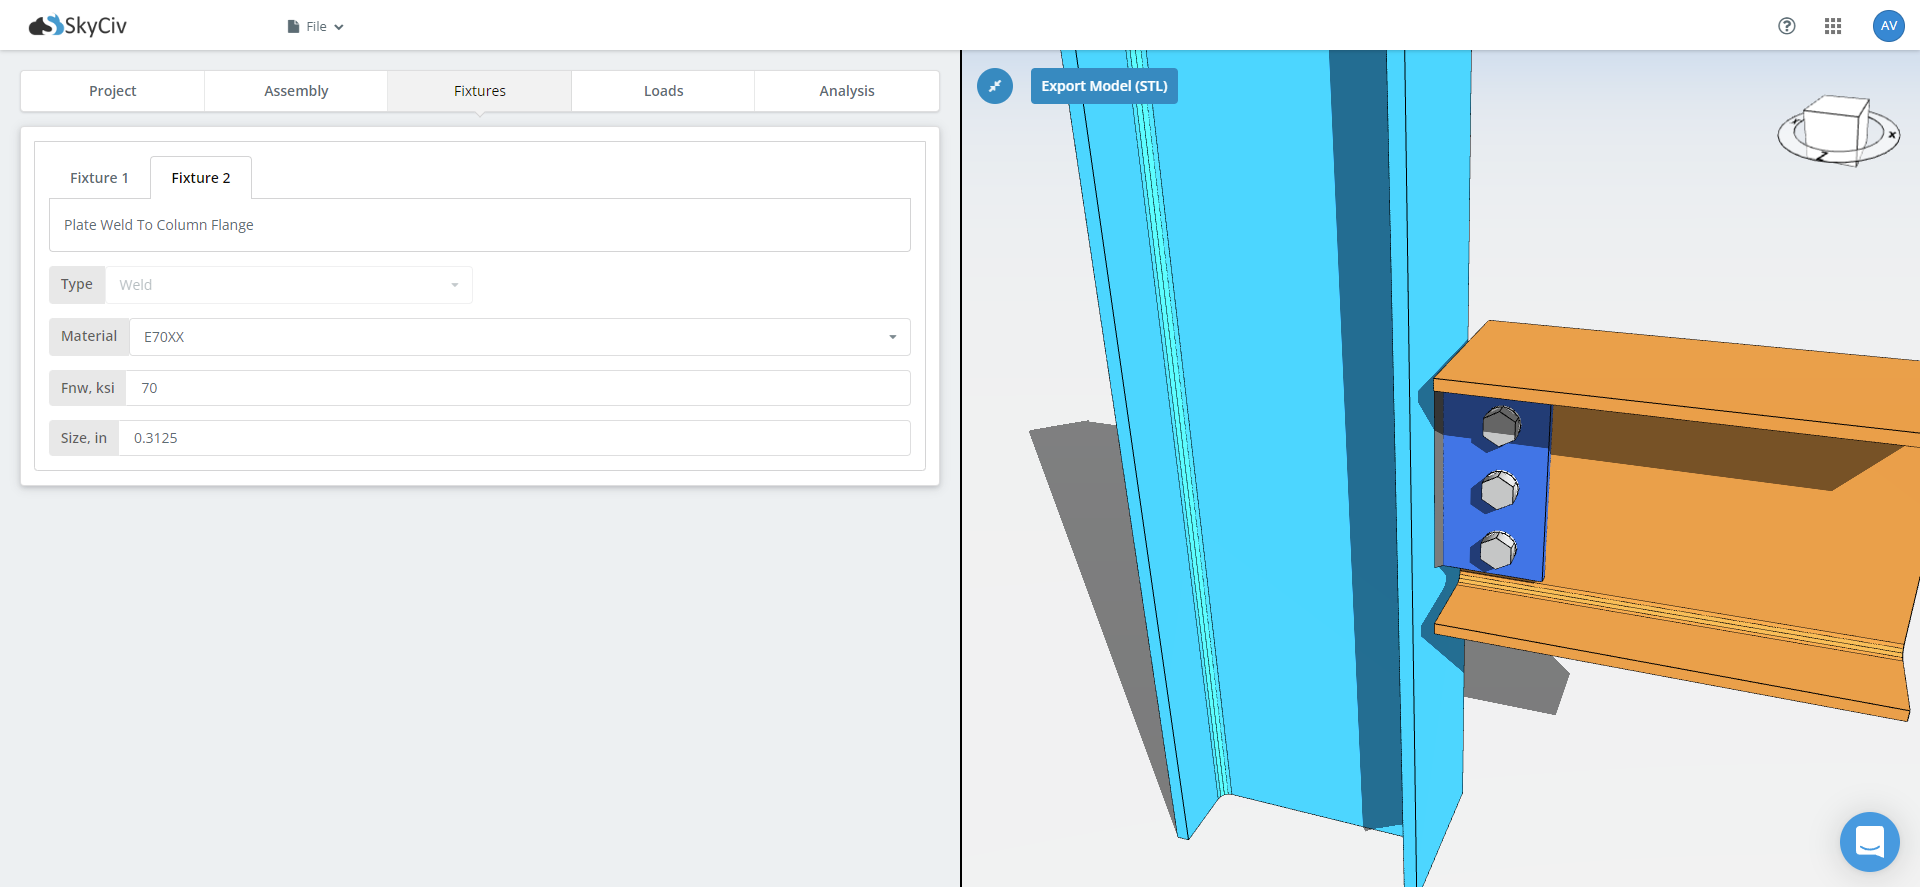
A weld fixture takes fewer inputs than a bolted one:
- Materiale
- Forza di saldatura
- Dimensione
The 3D model updates once the weld fixture is set.
For more on what the module does with these, vedere la documentazione su bulloni e saldature.
Carichi
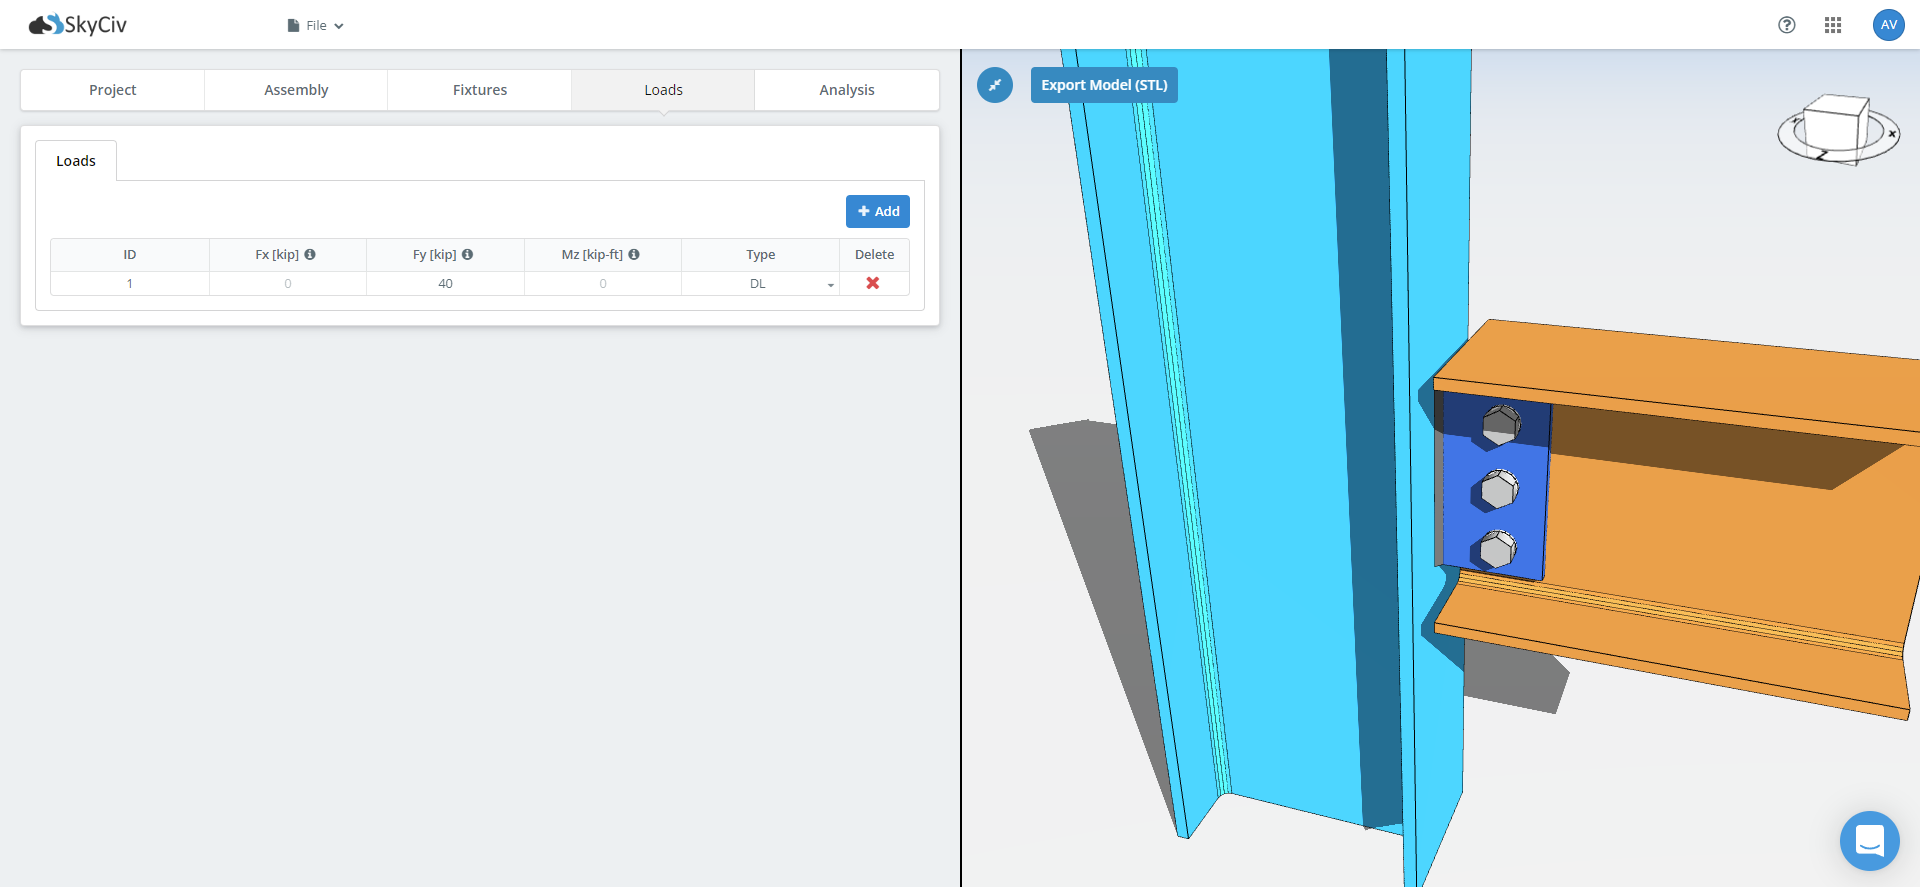
Type the design loads straight into the cells of the loads table. Which columns you get depends on the connection type: a shear connection takes shear alone, a moment connection takes axial, taglio e momento, and a brace connection takes axial.
Match your loads to the design method you chose. Under LRFD, enter factored loads and the module compares them against design strength. Under ASD, enter service loads and it compares them against allowable strength. Entering factored loads into an ASD design, or service loads into an LRFD one, gives you a utilization ratio that means nothing, and the software cannot tell which you typed.
risultati
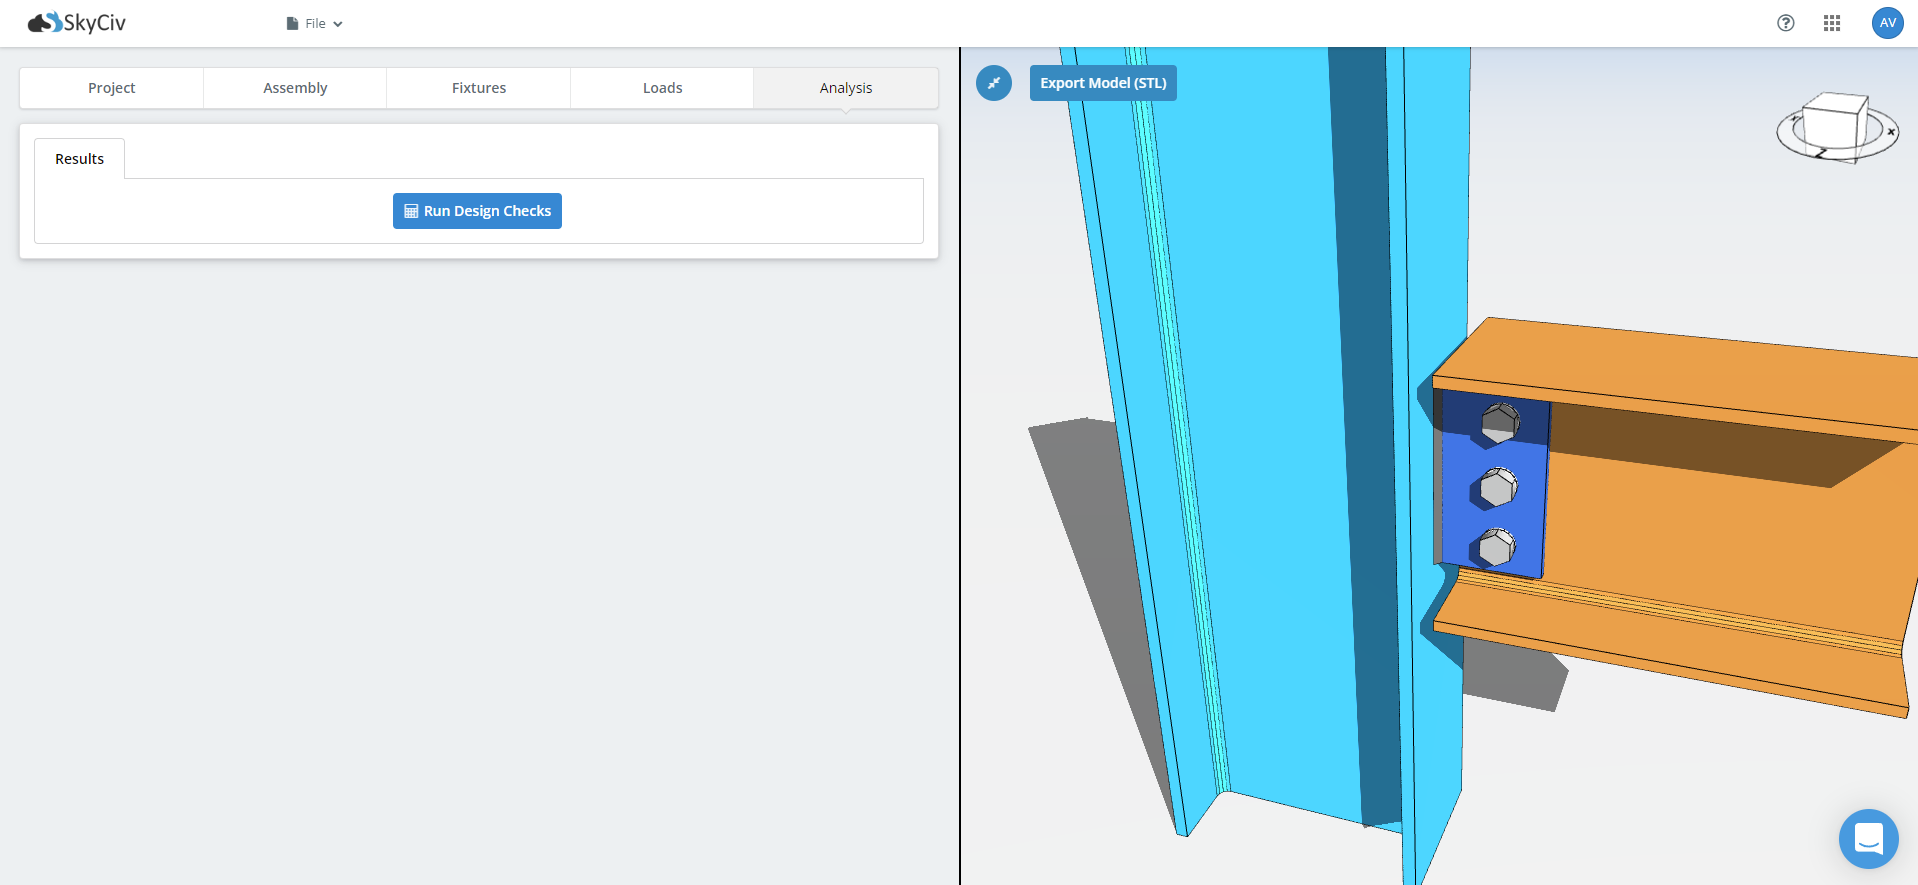
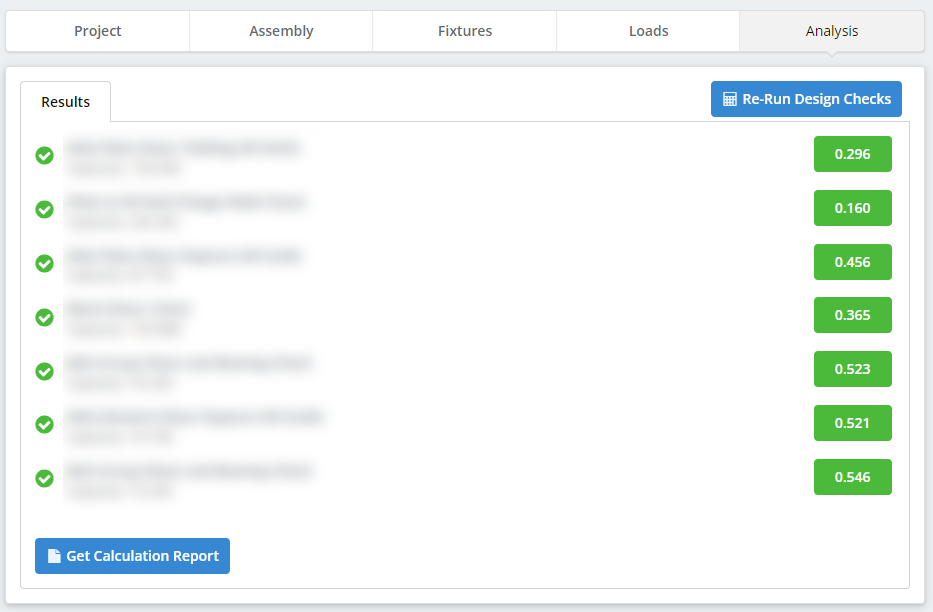
With everything supplied, run the design checks. Results come back as a table and as graphics, with a utilization ratio and a pass or fail against each check, and the governing check called out at the top.
Detailing runs before the strength checks: distanze dal bordo dei bulloni, spaziatura, giochi degli strumenti, dimensioni della piastra, e rilevamento delle collisioni tra le piastre, rinforzi, bulloni e saldature. A connection that cannot be built fails here, before any capacity is calculated, which is usually what you want.
Da questa scheda, Visualizza il rapporto di calcolo opens the step-by-step calculations with every formula and clause reference, and Download PDF or Download HTML saves it. View Detailed Drawing opens the CloudCAD 2D detail sheet, with plan and elevation views, richiami di saldatura, abachi e dimensioni dei bulloni, which you can edit in-app and export.
Inizia oggi
Ready to try it? Scegli una connessione, inserisci le tue sezioni e i tuoi carichi, e vedere ogni controllo. Funziona nel browser, with nothing to install and no account needed to start.
Progettazione di connessioni SkyCiv
Progettazione di connessioni SkyCiv covers over 80+ tipi di connessione preconfigurati, progetti all'AISC 360-16 in LRFD and ASD and to AS 4100:2020, and shows every formula and code reference in full. Un account gratuito ti consente di salvare e ricaricare i file di connessione.
Design della connessione autonomo
Si desidera utilizzare solo il modulo di progettazione della connessione? Fare clic sul pulsante in basso per i prezzi autonomi.
