Mit der Operationen Die Gruppe in der rechten Symbolleiste enthält Geometriebearbeitungswerkzeuge zum Trimmen, verlängern, Spaltung, Beitritt, Skalierung, und Eigenschaftsabgleich.
Die meisten Operationen funktionieren mit ausgewählter Geometrie. Nutzen Sie das Aktive schnappen Einstellungen für präzise Picks und Zielpunkte.
Operationen
Betriebstools sind in Dropdown-Stapeln in der rechten Leiste gruppiert. Klicken Sie auf die Kategorieschaltfläche, um das aktuelle Werkzeug zu aktivieren, oder öffnen Sie die Mini-Symbolleiste, um ein anderes Werkzeug im selben Stapel auszuwählen.
Eigenschaften abgleichen
Kopieren Sie Stil- und Attributeigenschaften von einem Objekt auf ein anderes
Mit der Eigenschaften abgleichen Der Befehl wendet Eigenschaften von einem Quellobjekt auf kompatible Zielobjekte an.
Schritt für Schritt
- 1Wählen Sie ein Quellobjekt aus, von dem seine Eigenschaften kopiert werden sollen.
- 2Klicken Eigenschaften abgleichen um den Pinselmodus zu aktivieren.
- 3Klicken Sie auf kompatible Zielelemente, um Eigenschaften sofort anzuwenden.
- 4Klicken Sie weiter, oder verwenden Sie die Zaun- oder Fensterauswahl für mehrere Ziele.
- 5Drücken Sie Esc um den Pinselmodus zu verlassen.
Trinkgeld: „Match Properties“ kopiert visuelle Eigenschaften wie z. B. die Farbe, Linienstärke, Linienstil, und Schicht. Es werden nur Eigenschaften angewendet, die mit dem Zielobjekttyp kompatibel sind.
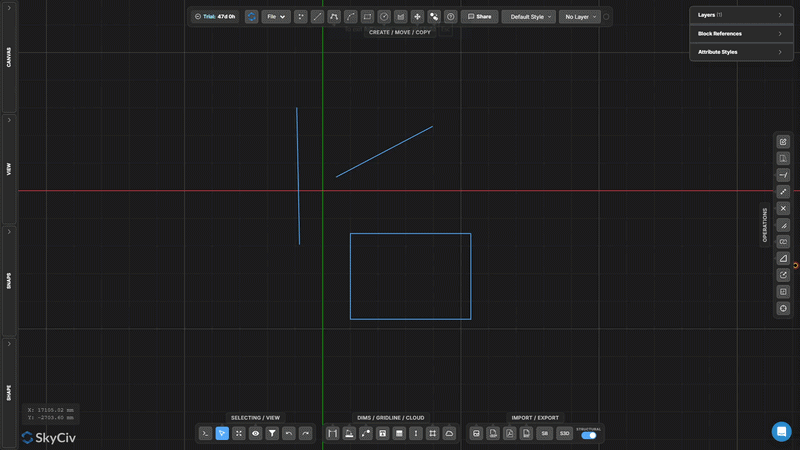
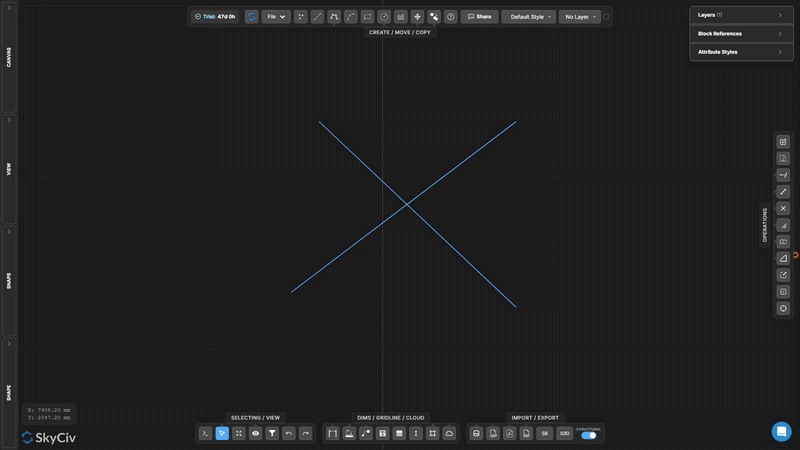
Strecken
Verschieben Sie ausgewählte Scheitelpunkte mit einem Kreuzfenster oder Lasso
Strecken Verschiebt Scheitelpunkte und behält dabei die Topologie um die verbundene Geometrie herum bei.
[__INSERT_IMAGE__]
Schritt für Schritt
- 1aktivieren Sie Strecken.
- 2Wählen Sie Scheitelpunkte mit einem von rechts nach links verlaufenden Fenster oder einem Lasso aus.
- 3Ziehen Sie den mittleren Griff für eine freie Bewegung, oder die X/Y-Griffe für eine eingeschränkte Bewegung.
Trinkgeld: Nur die Scheitelpunkte innerhalb der Kreuzungsauswahl werden verschoben; Linien, die mit den Scheitelpunkten außerhalb der Auswahl verbunden sind, werden gestreckt, um die Verbindung aufrechtzuerhalten.
Linie verlängern
Verlängern Sie eine Linie, bis sie auf eine Ziellinie oder einen Zielpunkt trifft
Linie verlängern Verlängert eine ausgewählte Linie, um eine Zielgrenze zu erreichen. Die Linie wird entlang ihrer bestehenden Richtung verlängert, bis sie das ausgewählte Ziel schneidet.
Schritt für Schritt
- 1aktivieren Sie Linie verlängern.
- 2Klicken Sie auf die Linie, um sie zu verlängern (Gegen Ende willst du wachsen).
- 3Klicken Sie auf die Ziellinie oder den Zielpunkt, zu dem/denen verlängert werden soll.
Trinkgeld: Klicken Sie in die Nähe des Endes der Zeile, die Sie verlängern möchten – Das Werkzeug erstreckt sich vom nächstgelegenen Endpunkt in Richtung des Ziels.
Trimmen
Entfernen Sie durch Schnittkanten definierte Linien- oder Bogensegmente
Trimmen Entfernt Teile von Linien oder Bögen unter Verwendung anderer Geometrie als Schnittkanten. Wählen Sie zunächst die Schneiden aus, bestätige sie, Klicken Sie dann auf die Segmente, die Sie entfernen möchten, oder grenzen Sie sie ein.
Schritt für Schritt
- 1aktivieren Sie Trimmen.
- 2Wählen Sie die Schneidengeometrie aus (Linien, Bögen, Kreise).
- 3Drücken Sie Vergiss nicht, dass du mir in dem Video folgen kannst, das ich von diesem ganzen Prozess gemacht habe oder Leertaste um die Schnittkanten zu bestätigen.
- 4Klicken Sie auf die zu entfernenden Segmente oder grenzen Sie sie ein.
Trinkgeld: Sie können eine Fenster- oder Zaunauswahl verwenden, um mehrere Segmente gleichzeitig zu trimmen, nachdem Sie die Schnittkanten bestätigt haben.
Teilen Sie die Linie in Segmente auf
Teilen Sie eine Linie in N gleiche Segmente
Teilen Sie die Linie in Segmente auf unterteilt eine einzelne Zeile in eine angegebene Anzahl gleichlanger Segmente. Jedes resultierende Segment ist ein unabhängiges Linienelement.
Schritt für Schritt
- 1Aktivieren Sie das Tool.
- 2Klicken Sie auf die Linie, um sie zu teilen.
- 3Geben Sie die Anzahl der Teilungen ein und drücken Sie Vergiss nicht, dass du mir in dem Video folgen kannst, das ich von diesem ganzen Prozess gemacht habe.
Trinkgeld: Nützlich zum Erstellen gleichmäßig verteilter Stützpunkte entlang eines Trägers oder zum Teilen einer Spannweite für die Lastverteilungsanalyse.
Linie nach Intervall teilen
Teilen Sie eine Zeile in wiederholte Intervalle fester Länge auf
Linie nach Intervall teilen unterteilt eine Linie in Segmente einer angegebenen festen Länge. Wenn die Zeilenlänge kein ganzzahliges Vielfaches des Intervalls ist, wird am Ende ein Restsegment erstellt.
Schritt für Schritt
- 1Aktivieren Sie das Tool.
- 2Klicken Sie auf die Linie, um sie zu teilen.
- 3Geben Sie die Intervalllänge ein und drücken Sie Vergiss nicht, dass du mir in dem Video folgen kannst, das ich von diesem ganzen Prozess gemacht habe.
Trinkgeld: Verwenden Sie diese Option, um gleichmäßig verteilte Zwischenknoten entlang eines durchgehenden Elements in einem bekannten Abstand zu erstellen (z.B., jeder 500 mm für Balkenanordnung).
Nach Position entlang der Linie teilen
Teilen Sie eine Linie in einem versetzten Abstand von einem ihrer Endpunkte
Nach Position aufteilen Fügt einen Haltepunkt in einem gemessenen Abstand von einem Ende der ausgewählten Linie ein, Erstellen zweier separater Segmente an dieser versetzten Position.
Schritt für Schritt
- 1Aktivieren Sie das Tool.
- 2Klicken Sie auf eine Linie (Die Klickposition bestimmt, von welchem Endpunkt aus gemessen werden soll).
- 3Geben Sie den Versatzabstand ein und drücken Sie Vergiss nicht, dass du mir in dem Video folgen kannst, das ich von diesem ganzen Prozess gemacht habe.
Trinkgeld: Klicken Sie in die Nähe des Endpunkts, von dem aus Sie messen möchten – Das Werkzeug verwendet den nächstgelegenen Endpunkt als Referenz für den Versatzabstand.
Trennlinien an Kreuzungen
Alle ausgewählten Linien an Kreuzungspunkten automatisch teilen
Trennlinien an Kreuzungen findet alle Punkte, an denen sich ausgewählte Linien kreuzen, und fügt an jedem Schnittpunkt geteilte Knoten ein. Es sind keine Eingabewerte erforderlich – Der Vorgang erfolgt vollautomatisch.
Schritt für Schritt
- 1Wählen Sie die zu verarbeitenden Zeilen aus.
- 2Klicken Trennlinien an Kreuzungen.
- 3Alle kreuzenden Kreuzungen werden automatisch erkannt und aufgeteilt.
Trinkgeld: Führen Sie dies vor der Verwendung aus Gemeinsame Auswahl oder topologieabhängige Operationen durchführen – Es stellt sicher, dass sich kreuzende Linien tatsächliche Knotenpunkte teilen.
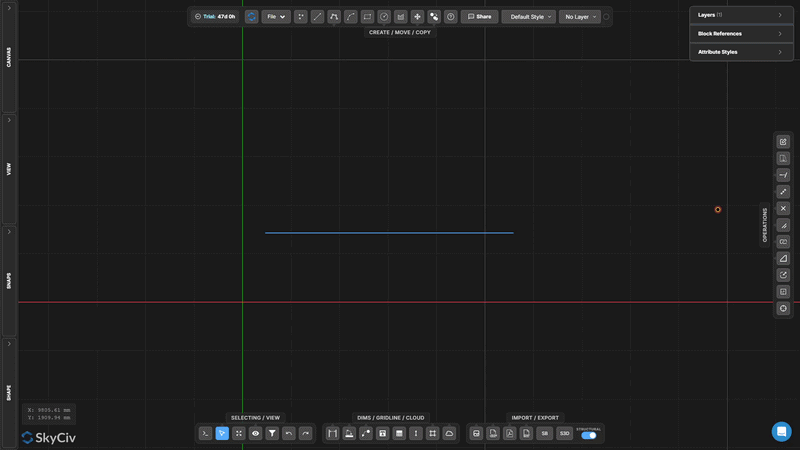
Geteiltes Ziel
Teilen Sie vorab ausgewählte Zielobjekte mithilfe einer separaten Teilergeometrie
Geteiltes Ziel ist eine zweistufige Teilung, bei der Sie zunächst die zu teilenden Objekte markieren (Ziele), Wählen Sie dann separat die Geometrie aus, mit der Sie sie teilen möchten (Splitter). Es werden nur Zielobjekte geschnitten.
[__INSERT_IMAGE__]
Schritt für Schritt
- 1Wählen Sie die zu teilenden Zielobjekte vorab aus.
- 2aktivieren Sie Geteiltes Ziel.
- 3Wählen Sie die Splittergeometrie aus.
- 4Drücken Sie Vergiss nicht, dass du mir in dem Video folgen kannst, das ich von diesem ganzen Prozess gemacht habe um Ziele an Kreuzungen mit Splittern aufzuteilen.
Trinkgeld: Verwenden Sie „Ziel teilen“, wenn Sie bestimmte Linien mit einer Schneidkante teilen möchten, die Schnittgeometrie jedoch intakt bleiben muss (im Gegensatz zu Trim, wodurch sich auch der Fräser verändert).
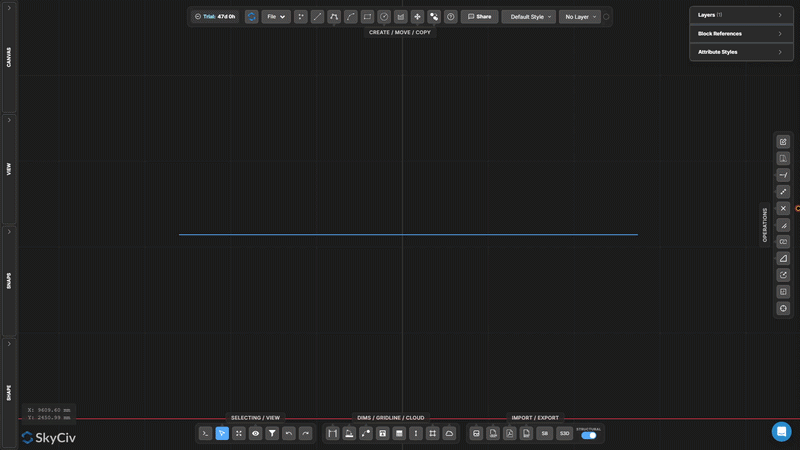
Bei Überlappungen teilen
Erkennen und trennen Sie überlappende kollineare Liniensegmente
Bei Überlappungen teilen findet Segmente ausgewählter Linien, die kollinear sind und einander überlappen, teilt sie dann auf, sodass die überlappenden Bereiche diskret werden, individuell wählbare Geometrie.
[__INSERT_IMAGE__]
Schritt für Schritt
- 1Wählen Sie Linien aus, die möglicherweise überlappende kollineare Abschnitte haben.
- 2Klicken Bei Überlappungen teilen.
- 3Überlappende Regionen werden in separate Segmente aufgeteilt.
Trinkgeld: Kombinieren mit Wählen Sie Duplikate aus um redundante überlappende Linien in importierten DXF-Dateien zu identifizieren und zu entfernen.
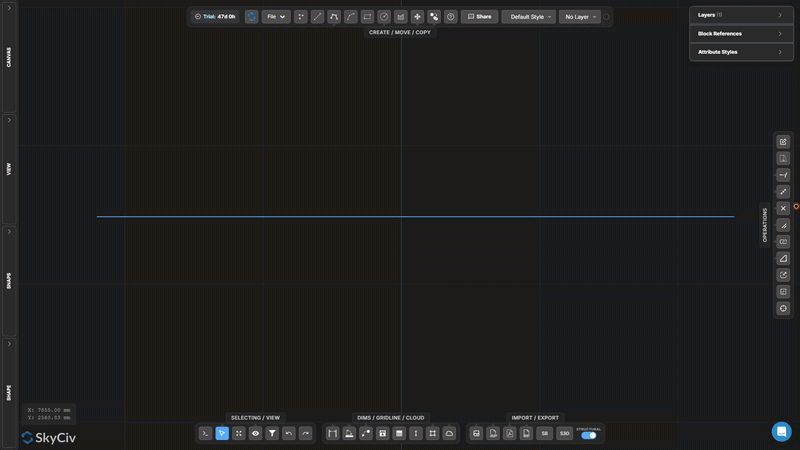
Polylinie auflösen
Teilen Sie eine Polylinie in unabhängige Linien- oder Bogensegmente auf
Polylinie auflösen Zerlegt eine Polylinie mit mehreren Segmenten in einzelne unabhängige Segmente. Nützlich, wenn Sie etwas bearbeiten müssen, löschen, oder wenden Sie Operationen nur auf einen Teil einer Polylinie an.
[__INSERT_IMAGE__]
Schritt für Schritt
- 1Wählen Sie die zu explodierende Polylinie aus.
- 2Klicken Polylinie auflösen.
- 3Jedes Segment wird einzeln auswählbar und bearbeitbar.
Trinkgeld: Die umgekehrte Operation ist Verbinden Sie Linien und Bögen, Dadurch werden verbundene Segmente wieder zu einer einzigen Polylinie zusammengeführt.
Verbinden Sie Linien und Bögen
Verbinden Sie verbundene Linien und Bögen zu einer einzigen Polylinie
Verbinden Sie Linien und Bögen Kombiniert eine Kette verbundener Segmente zu einem einzigen kontinuierlichen Polylinienobjekt. Linien und Bögen müssen gemeinsame Endpunkte haben, um verbunden zu werden.
Schritt für Schritt
- 1Wählen Sie Linien und Bögen aus, die gemeinsame Endpunkte haben.
- 2Klicken Verbinden Sie Linien und Bögen.
- 3Verbundene Segmente verschmelzen zu einer durchgehenden Polylinie.
Trinkgeld: Alle ausgewählten Segmente müssen eine einzige durchgehende Kette bilden. Wenn Segmente Lücken aufweisen, benutzen An Linienenden ausrichten und zuerst das Werkzeug „Punkt verschieben“, um die Endpunkte zu schließen.
Filet erstellen
Runden Sie eine scharfe Ecke zwischen zwei Linien mit einem Bogen ab
Filet erstellen ersetzt eine scharfe Ecke zwischen zwei Linien durch einen Tangentenbogen mit einem angegebenen Radius. Die ursprünglichen Linienenden werden zugeschnitten, um den Bogen aufzunehmen.
Schritt für Schritt
- 1aktivieren Sie Filet erstellen.
- 2Legen Sie den Verrundungsradius im Dialog fest.
- 3Klicken Sie auf die Ecke (Kreuzungsbereich) der beiden anzuwendenden Zeilen.
Trinkgeld: Der Radius muss klein genug sein, um in die Längen beider Linien von der Ecke aus zu passen. Vor der Bestätigung wird eine Live-Vorschau angezeigt.
Fase erstellen
Erstellen Sie an einer Ecke einen geraden Schrägschnitt
Fase erstellen schneidet eine gerade diagonale Abschrägung über eine Ecke zwischen zwei Linien. Legen Sie den Fasenabstand fest, um zu steuern, wie weit jede Linie von der Ecke zurückgeschnitten wird.
Schritt für Schritt
- 1aktivieren Sie Fase erstellen.
- 2Legen Sie den Fasenabstand im Dialog fest.
- 3Klicken Sie auf die Eckgeometrie, um die Fase anzuwenden.
Trinkgeld: Die Fase schneidet standardmäßig gleichmäßig von beiden Linien. Für eine asymmetrische Fase (unterschiedliche Abstände auf jeder Seite), Legen Sie im Dialogfeld zwei separate Fasenwerte fest.
Objekte skalieren
Skalieren Sie die ausgewählte Geometrie um einen Faktor von einem Drehpunkt aus
Objekte skalieren Ändert die Größe ausgewählter Geometrie um einen einheitlichen Skalierungsfaktor relativ zu einem ausgewählten Drehpunkt. In einem Dialogfeld können Sie auswählen, ob Anmerkungen hinzugefügt werden sollen (Abmessungen, Text, Führer, Gitterlinien, Tabellen) sind ebenfalls skaliert.
Schritt für Schritt
- 1Wählen Sie die zu skalierenden Objekte aus.
- 2Klicken Objekte skalieren und konfigurieren Sie die Anmerkungsmaßstabsoptionen im Dialogfeld.
- 3Klicken Sie auf die Leinwand, um den Skalierungsdrehpunkt festzulegen (Ursprung) SkyCiv-Konten sind für a konzipiert.
- 4Geben Sie den Skalierungsfaktor ein und drücken Sie Vergiss nicht, dass du mir in dem Video folgen kannst, das ich von diesem ganzen Prozess gemacht habe (1.0 = keine Änderung, 0.5 = die Hälfte, 2.0 = doppelt).
Trinkgeld: Verwenden Sie das Dialogfeld „Skalierungsoptionen“, um die Größe der Anmerkungen zu steuern (Abmessungen, Text, Führer, Tabellen) Skalieren Sie sie mit der Geometrie oder behalten Sie ihre aktuelle Größe bei.
Maßstabsrahmen
Erstellen Sie eine dauerhafte Zone im lokalen Maßstab mit einem sichtbaren Rahmen
Maßstabsrahmen Erstellt eine dauerhafte rechteckige Zone mit einem zugehörigen Skalierungsfaktor. Innerhalb des Rahmens gezeichnete oder platzierte Geometrie wird in diesem lokalen Maßstab gerendert. Nützlich für Detailbeschriftungen in einem anderen Zeichnungsmaßstab.
[__INSERT_IMAGE__]
Schritt für Schritt
- 1aktivieren Sie Maßstabsrahmen.
- 2Klicken Sie auf die erste Ecke, dann die gegenüberliegende Ecke, um den Rahmen zu definieren.
- 3Geben Sie den Skalierungsfaktor in die Eingabe ein und drücken Sie Esc bewerben.
Trinkgeld: Der Rahmen bleibt nach der Erstellung auf der Leinwand bestehen. Wählen Sie es aus und löschen Sie es, wenn Sie es nicht mehr benötigen. Die Skalierungseingabe bleibt für eine spätere Bearbeitung verfügbar, während der Rahmen ausgewählt ist.
Ursprung aktualisieren
Verschieben Sie den Ursprung der Zeichnungskoordinaten (0,0) an einen neuen Standort
Ursprung aktualisieren Verschiebt das Referenzkoordinatensystem der Zeichnung. Alle Koordinatenwerte (X., UND) Die im Canvas angezeigten und in Daten exportierten Daten werden relativ zum neuen Ursprung neu berechnet.
[__INSERT_IMAGE__]
Schritt für Schritt
- 1aktivieren Sie Ursprung aktualisieren.
- 2Klicken Sie auf der Leinwand auf den neuen Ursprungsort.
- 3Die Koordinatenanzeigen werden im Verhältnis zum Neuen sofort aktualisiert (0,0) SkyCiv-Konten sind für a konzipiert.
Trinkgeld: Fangen Sie einen vorhandenen Knoten ein, um einen präzisen neuen Ursprung zu erhalten. Für Strukturzeichnungen, Fangen Sie an einem bekannten Stützen- oder Datumsschnittpunkt ein, um die Koordinaten am Referenzraster des Projekts auszurichten.
Schalte deine frei
kostenlos Konto
Registrieren Sie sich für ein kostenloses Konto und erhalten Sie Zugriff auf leistungsstarke Analysen + Design-Software:
✓ Leistungsstarke Analysesoftware
✓ Zugang zu 90+ Design-Tools
✓ ASCE, AS, IM, NBCC -Lastgenerator
✓ Stahl, Bauholz, Beton, Diese Materialien müssen Schnitten zugewiesen werden, die Stäbe und Bleche darstellen, um die gewünschte Struktur zu modellieren