A cosa servono le linee di traffico?
Se desideri ottenere linee di influenza per qualsiasi valore calcolato nelle sezioni e nei nodi del modello, è necessario innanzitutto definire i percorsi di movimento per un'unità di carico nel preprocessore. Lo strumento Linee di traffico ti consente di farlo.
Come funziona
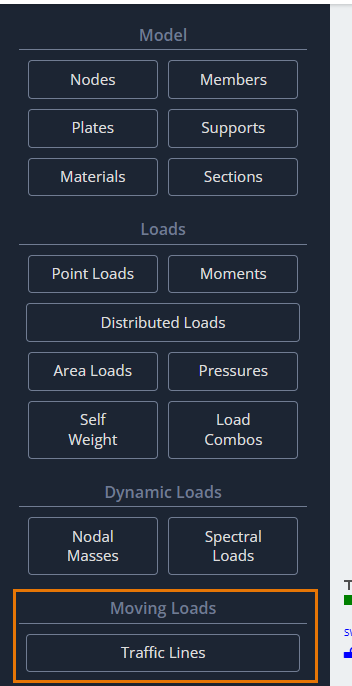
Il pulsante per aprire la finestra dei parametri delle linee di traffico si trova sul pannello dell'interfaccia di sinistra nella sezione Movimentazione dei carichi.
Dopo aver fatto clic su questo pulsante, nell'area di modellazione apparirà la finestra di dialogo Linee di Traffico per definirne i parametri.
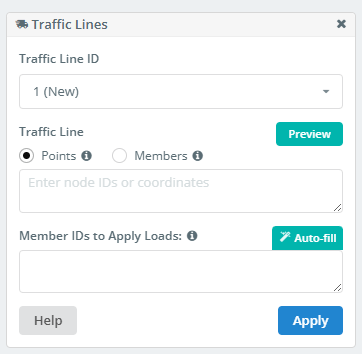
ID della linea di traffico
Un elenco di tutte le linee di traffico definite nel modello. Puoi selezionare, modificare, oppure eliminane uno se non è più necessario.
Una linea di traffico è una linea nello spazio. Questa linea non deve essere diritta. Esistono due metodi per definire tale linea. Il primo metodo utilizza i punti esistenti nel modello o l'input diretto delle coordinate per i vertici della linea.
Definizione delle linee di traffico utilizzando i punti
Punti
Se la linea di traffico è una linea retta, è sufficiente definire due punti: l'inizio e la fine.
- Definire per punti, specificare gli ID nodo in questo formato:
1;4 - Quando si definiscono punti tramite coordinate, devono essere inseriti in questo formato:
0,2.3,0; 210,2.3,0
ID membro per applicare i carichi
Ottenere i valori dei fattori studiati, è necessario eseguire una serie di analisi statiche. Il programma deve sapere dove posizionare la forza unitaria in ciascun carico statico. Per fare questo, è necessario definire un insieme di membri.
Verrà applicata la forza unitaria e verranno creati casi di carico nei punti di intersezione/sovrapposizione di questi elementi con la linea di traffico. Questo processo si verifica automaticamente quando viene eseguita l'analisi.
Più incroci hai, più precisa sarà la linea di influenza che otterrai. Tuttavia, troppe intersezioni comporteranno tempi di calcolo lunghi. Scegli un numero ragionevole.
- L'elenco dei membri viene inserito nel formato:
1, 2, 3, 4 - Uso “Compilazione automatica”. L'elenco verrà definito automaticamente e potrà quindi essere modificato manualmente.
Definizione delle linee di traffico utilizzando le aste
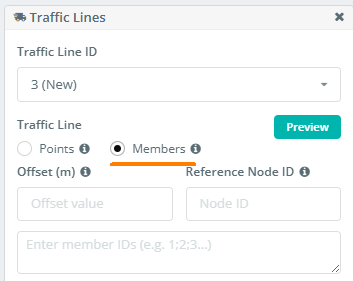
In alternativa, è possibile definire il percorso della linea di traffico utilizzando una catena di membri. Questo approccio è particolarmente utile quando il percorso previsto è curvo e segue la curvatura di un elemento strutturale (come la trave di un ponte, ecc.).
Per fare questo, immettere i membri per il percorso nell'elenco nel formato: 1;2;7;4;5;12… o 1-25 se i membri della catena sono sequenziali.
Compensare
Questo campo definisce la distanza di offset dalla catena di membri specificata. Pertanto, è utile se la linea di traffico deve seguire la forma della catena dei membri ma non la sua esatta posizione.
ID del nodo di riferimento
Qui, specificherai l'ID del nodo che definisce la direzione dell'offset per la linea di traffico dalla catena di membri specificata.
Infine, dopo aver definito tutti i parametri, stampa Applicare per aggiungere la linea di traffico all'elenco.
Linee di influenza
Dopo aver eseguito l'analisi sul modello con linee di traffico definite, è possibile analizzare i risultati come linee di influenza. Per fare questo, devi trovare il Linee di influenza pulsante sul pannello di interfaccia sinistro del post-processore.
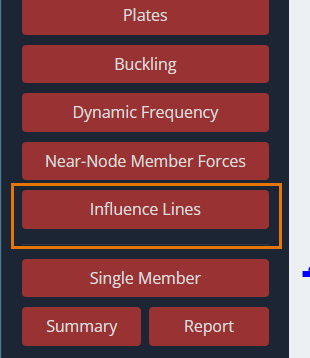
Dopo aver fatto clic su questo pulsante, il Linea di influenza verrà visualizzata la finestra di dialogo nell'area di modellazione per definirne i parametri.
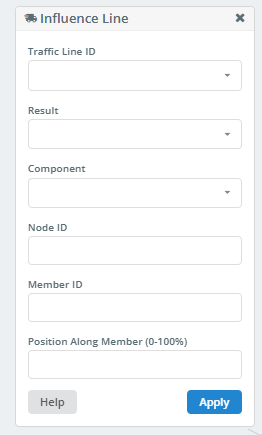
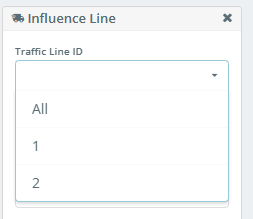
ID della linea di traffico
In questo elenco a discesa, è possibile selezionare l'ID della linea di traffico per la quale verrà costruita la linea di influenza. Puoi anche creare linee di influenza per tutte le linee di traffico selezionando “Tutto”.
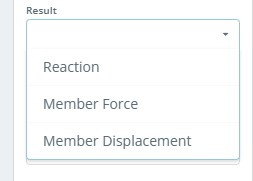
Risultato
Questo elenco consente di selezionare il tipo di risultato per la costruzione della linea di influenza.
Componente
Questo elenco mostra i valori risultanti per le reazioni sui nodi supportati, o forze e spostamenti nelle sezioni degli elementi. Il contenuto di questo elenco dipende dalla selezione nel file “Risultato” lista.
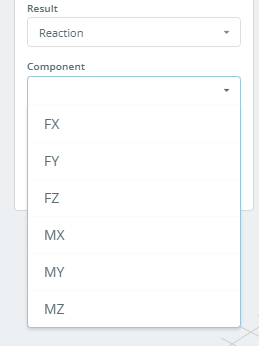
Se “Risultato” è impostato per Reazione, l'elenco sarà simile a questo:
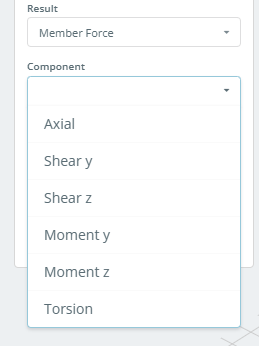
Se “Risultato” è impostato per Forza membro, l'elenco sarà simile a questo:
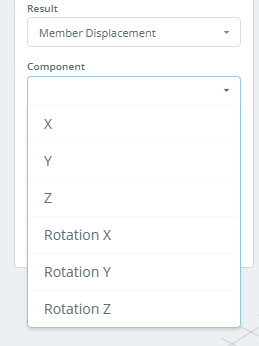
Se “Risultato” è impostato per Spostamento dei membri, l'elenco sarà simile a questo:
ID nodo
Se “Risultato” è impostato per Reazione, è necessario specificare l'ID del nodo supportato per il quale verrà costruita la linea di influenza.
ID membro
Se “Risultato” è impostato per Forza membro o Spostamento dei membri, è necessario specificare l'ID membro per il quale verrà creata la linea di influenza.
Posizione lungo il membro (0-100%)
Questo campo specifica la posizione della sezione sull'asta per la quale verrà costruita la linea di influenza. La coordinata della sezione è impostata come percentuale della lunghezza totale dell'elemento, misurato dall'inizio del membro.
Dopo aver fatto clic su Applicare pulsante, la linea di influenza è tracciata graficamente sul modello.
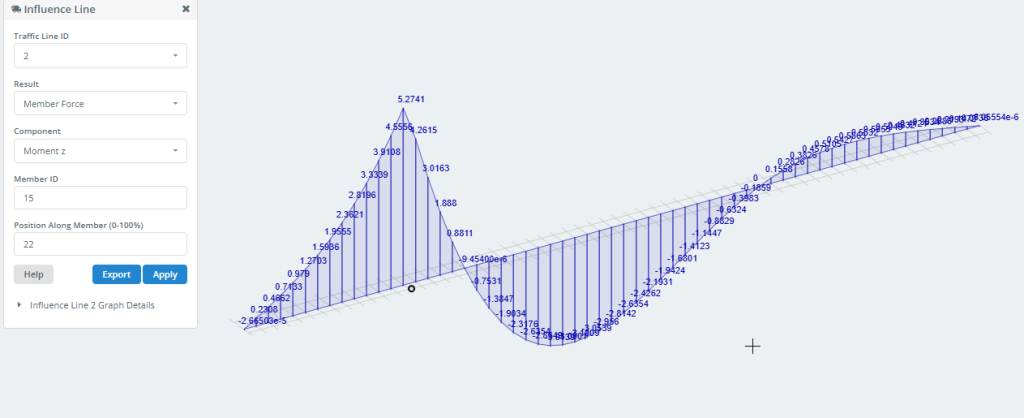
La Esportare Il pulsante ti consente di salvare i dati della linea di influenza sul tuo computer come file Excel.
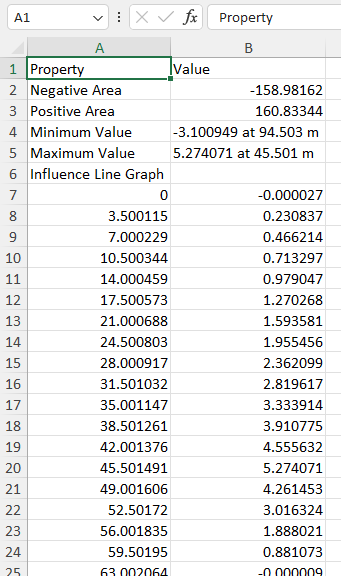
Puoi anche ottenere queste informazioni cliccando su Dettagli del grafico.
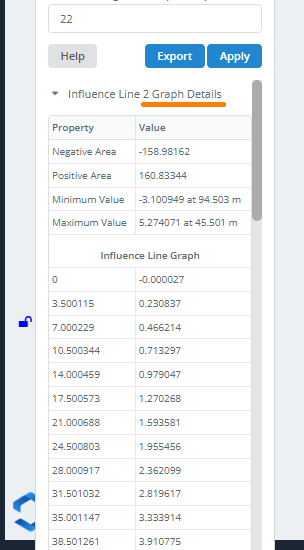
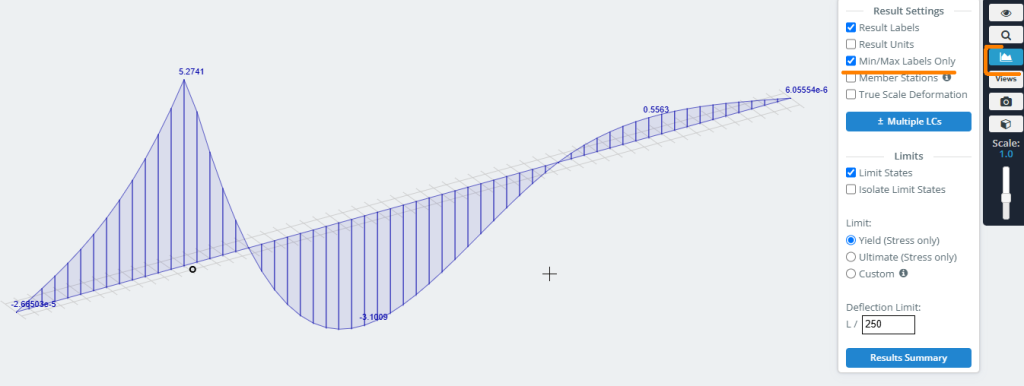
Per visualizzare solo i valori Min/Max sul grafico, utilizzare le seguenti impostazioni nel menu a destra: