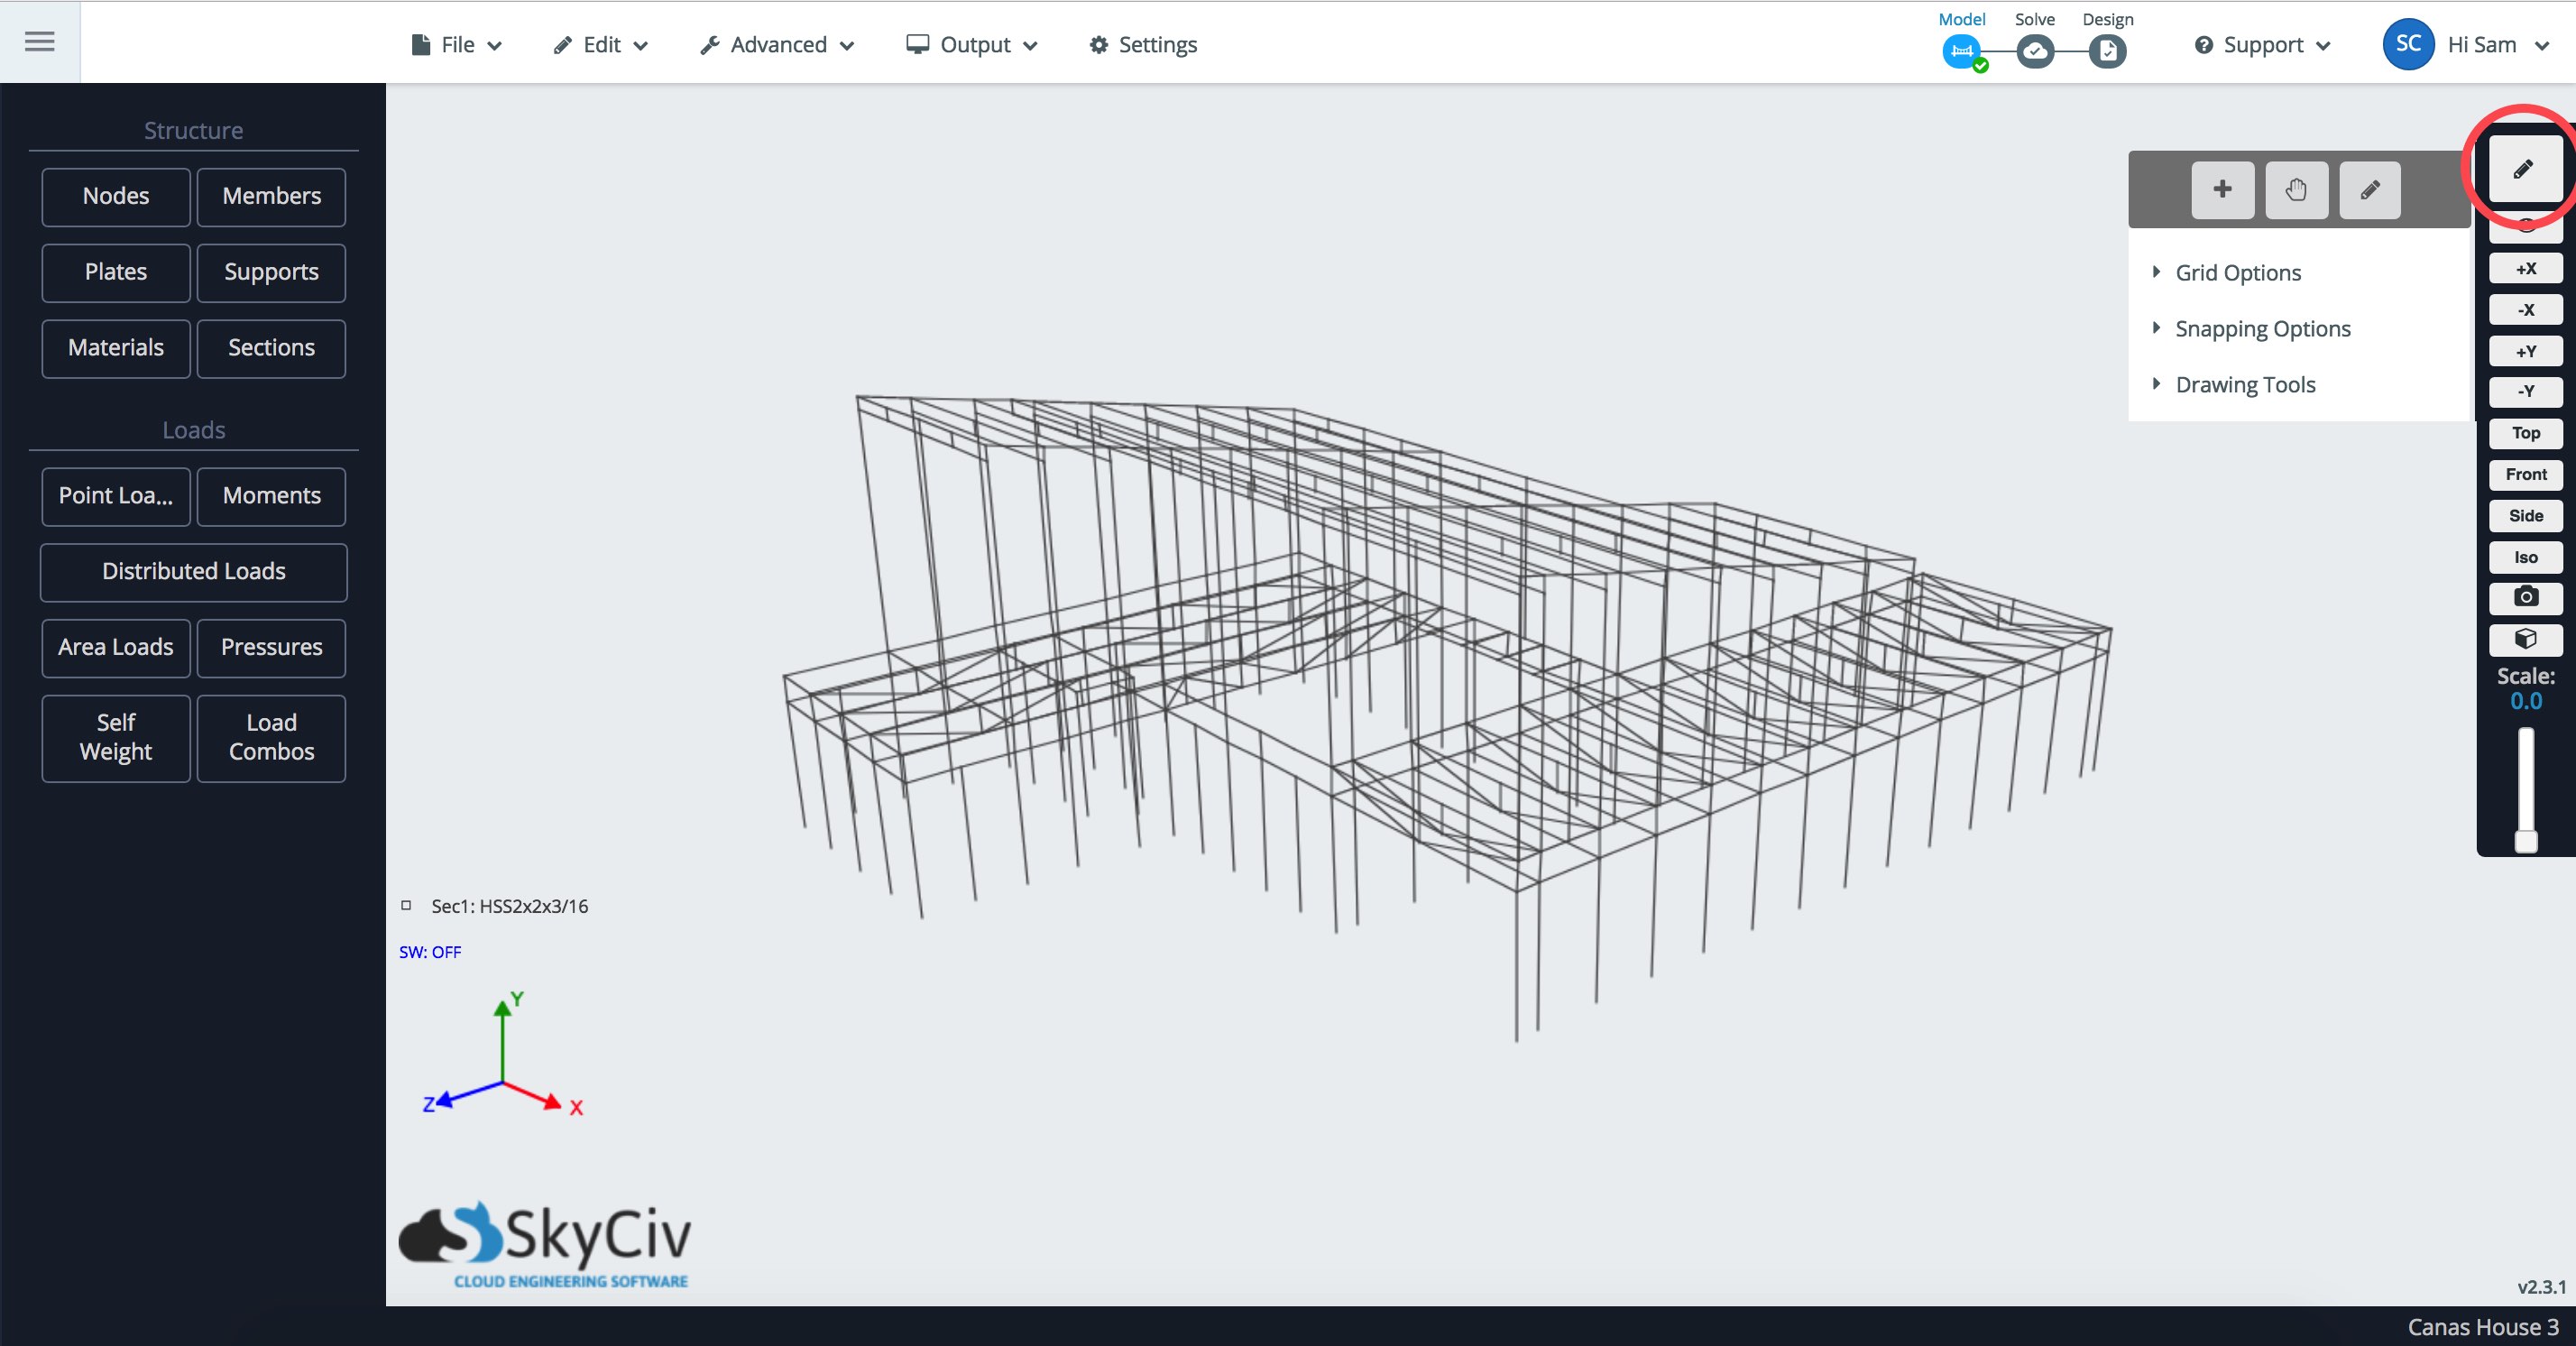
SkyCiv の目標は、S3D の便利な機能を利用して構造のモデリングにかかる時間を短縮することです。. 次の一連のマウス クリック関数は、モデリング プロセスを合理化することにより、この目標を容易にします。.
グリッド
グリッドをオンに切り替えて、モデル空間の任意の場所に基準線を表示できます. グリッドは、 描画ツール ここで非常に効果的に:
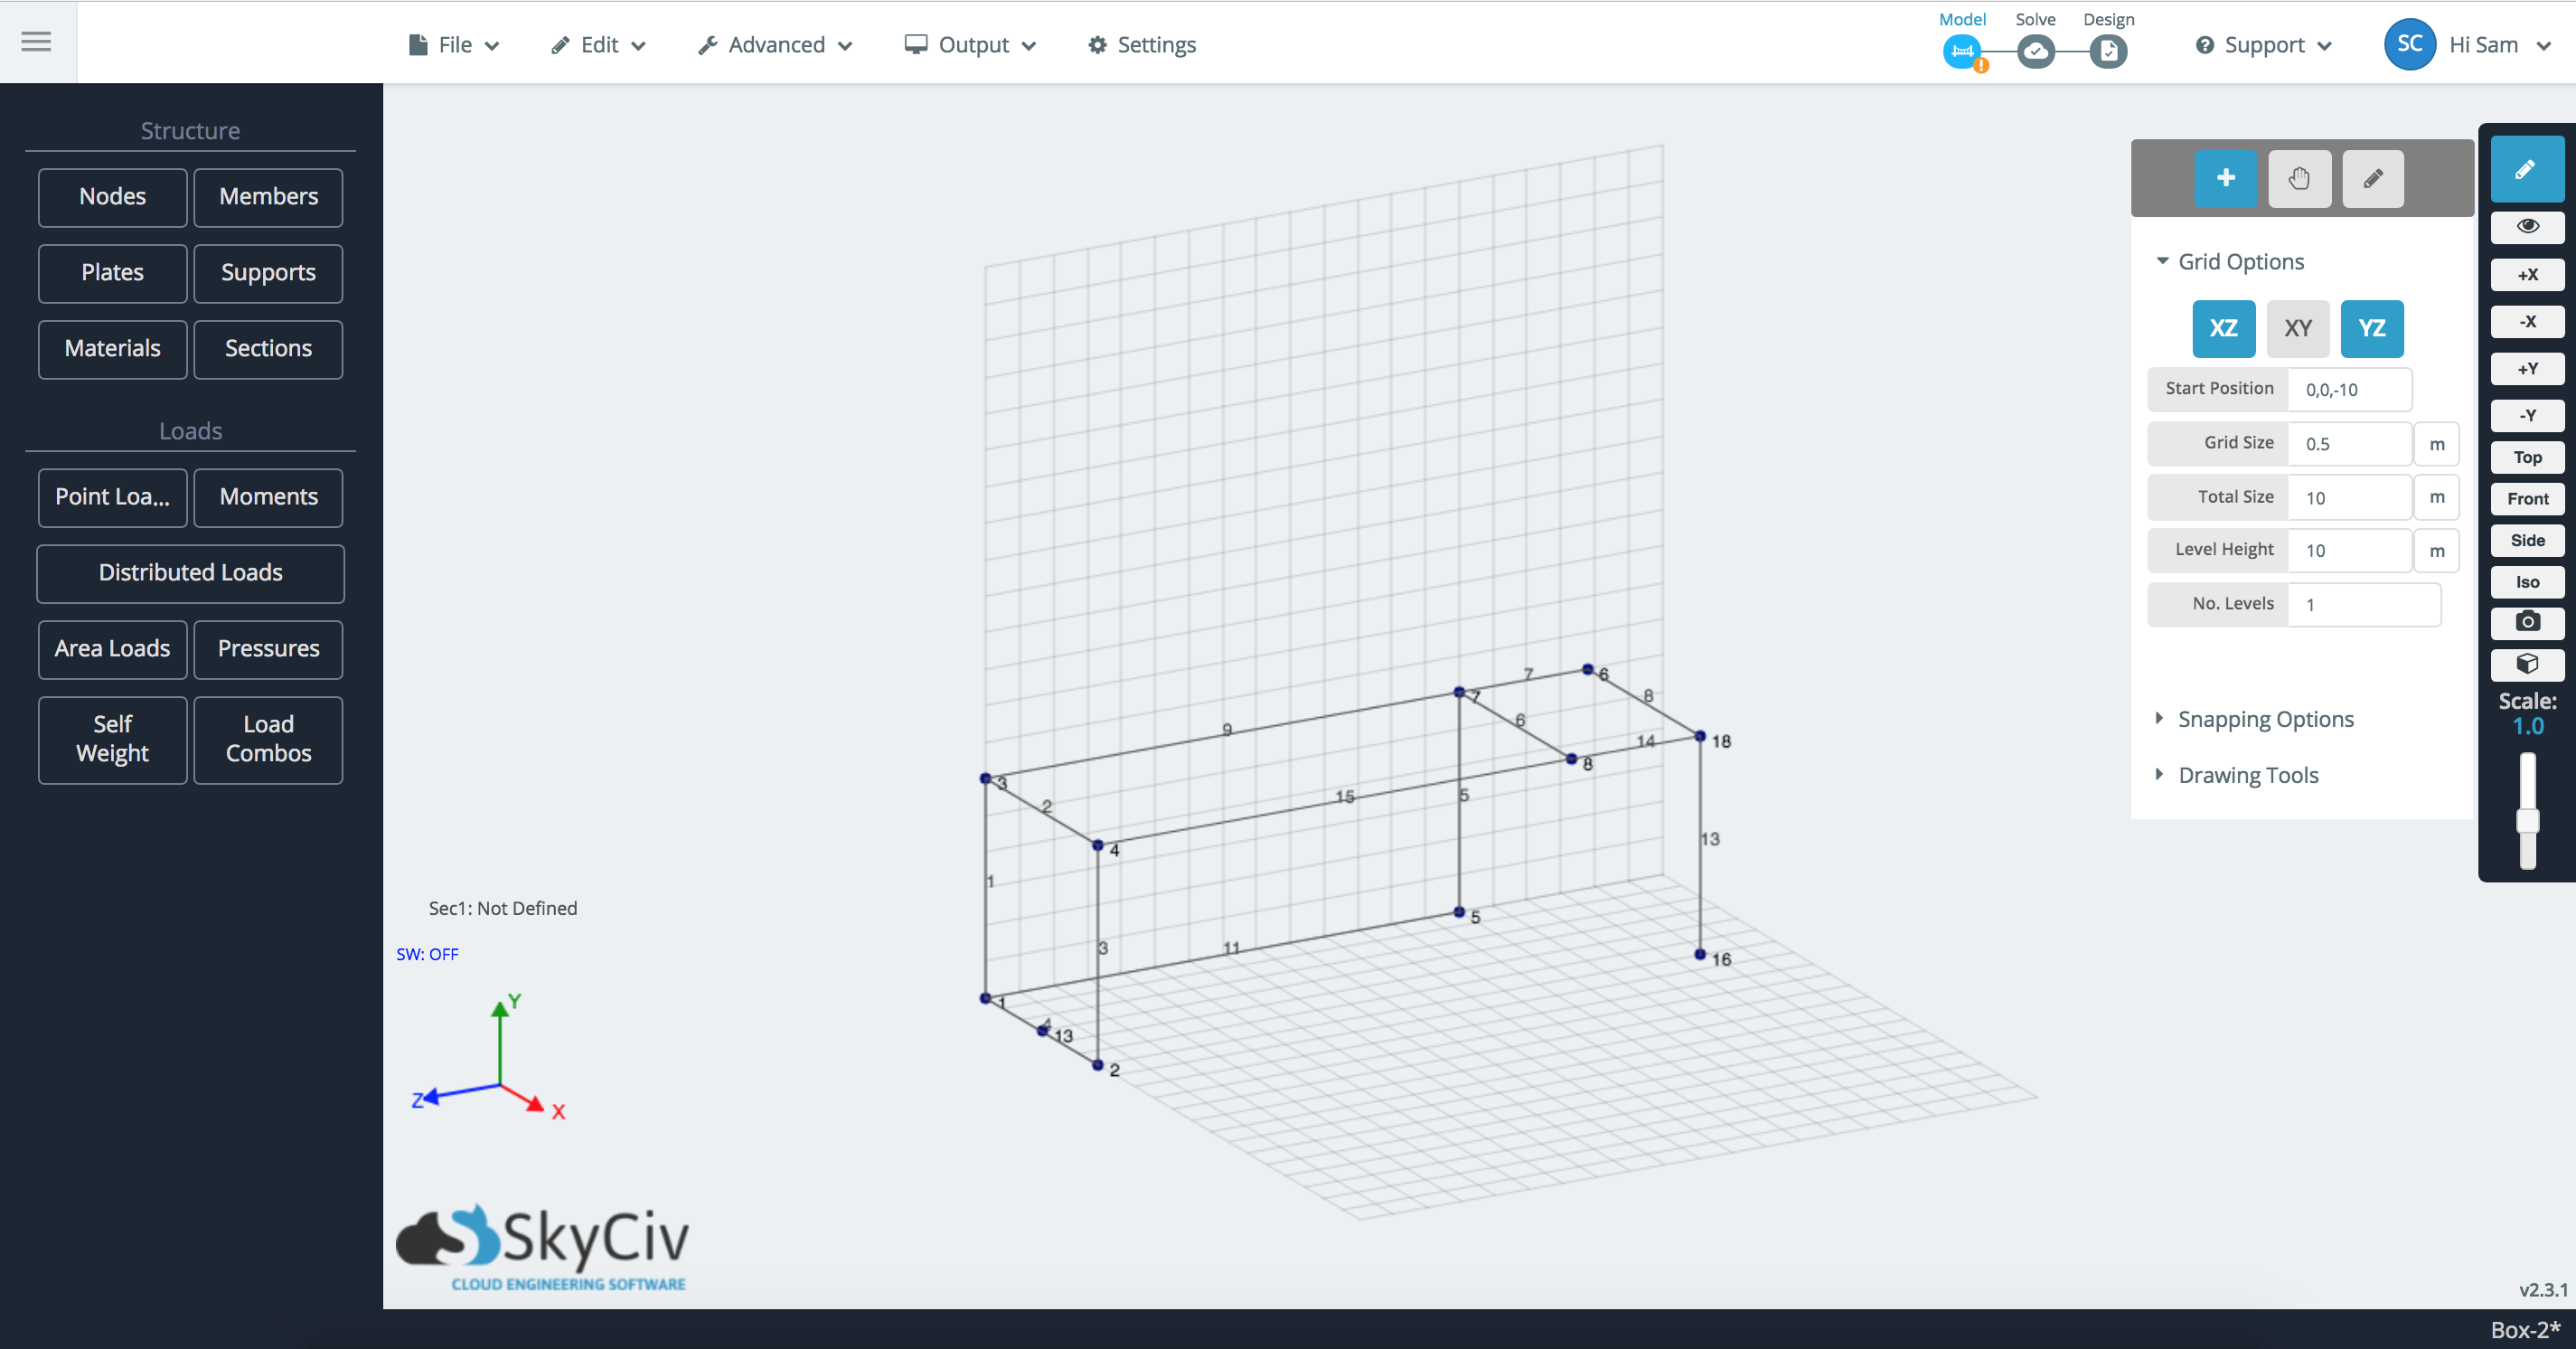
- 平面セレクター – グリッドは、2D 平面ごとに 3 つのトグル ボタンに単純化されています。 (XY, XZ, とYZ). その平面をクリックしてオンとオフを切り替えます.
- 開始位置 – グリッドが開始する 3D 空間内の位置. これを使用して、作業に適した位置にグリッドをパン/移動します。. 右側 (以上) 例, グリッドは基準点から始まります (0,0,-10).
- グリッドサイズ – グリッドの各小さな正方形のサイズ. 右側 (以上) 例, それぞれの小さな正方形は 0.5m x 0.5m.
- レベルの高さ – どのくらいの距離までグリッドを複製しますか? 右側 (以上) 例はこれだけです 1 レベル, したがってレベルの高さは適用されません.
- レベルの数 – グリッドを何回複製しますか? 右側 (以上) 例はこれだけです 1 レベル.

描画ツールをオンにした状態, ユーザーはグリッド上の任意のポイントにカーソルを合わせて、ノードをプロットできます. 設定の場合 座標を表示 下 スナップ オプション チェックが入っています, そのグリッド位置の座標が表示されます, ノードがどこに配置されるかがわかります.
ペン ツールとスナップ オプション
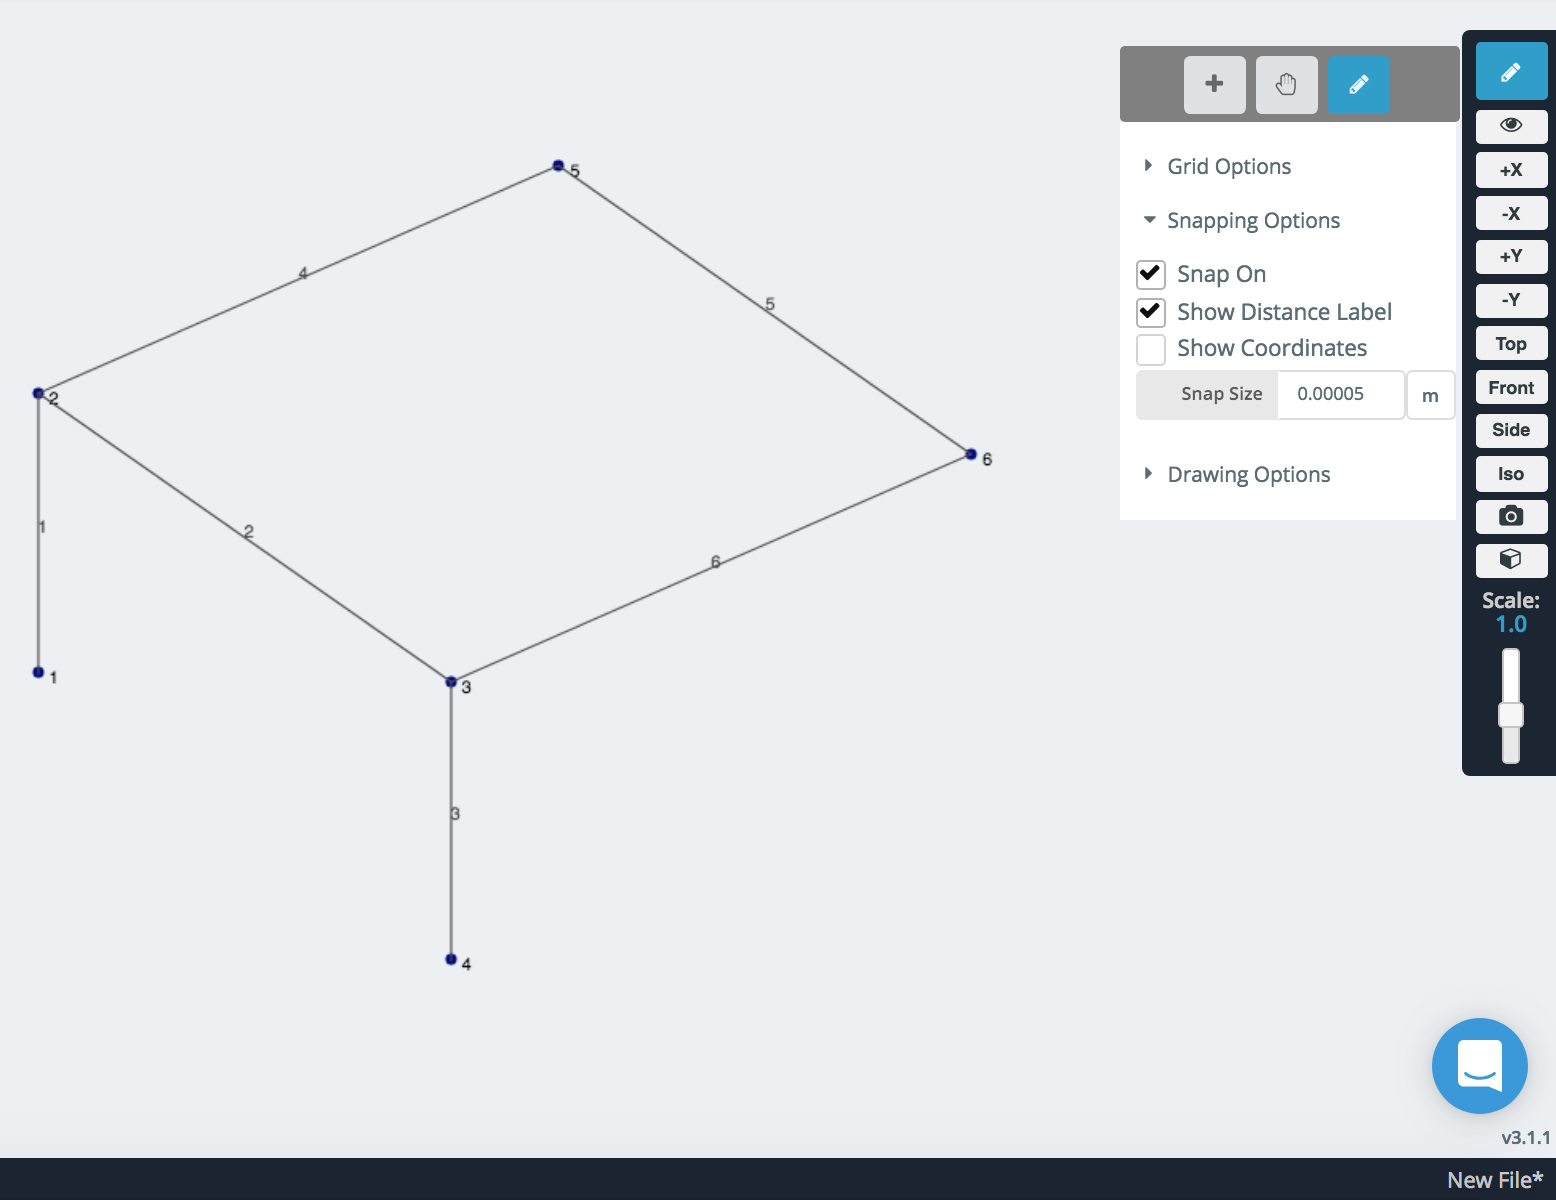
スナップは、ノードをプロットし、ペン ツールを使用してメンバーを生成する簡単な方法です。. ホバーするだけ (またはをクリックします) このノードを基準点として定義するノード. 次に、グローバル X に沿ってカーソルを移動します。, そして, または Z 軸で、その軸にスナップします – 赤の点線で表示, 緑, スナップされている軸に応じて、または青い線. スナップ ツールは二次軸も取得する場合があります, 別のノードの位置合わせなど. その参照ノードを無効にするには, スナップされていない場所をクリックするか、Esc キーを押すだけです。.
以下は、グローバル Z 軸にスナップするペン ツールの例です。, ノードを参照して 2. また、ノード 5 の Z 座標の 2 番目の軸も取得しています。:
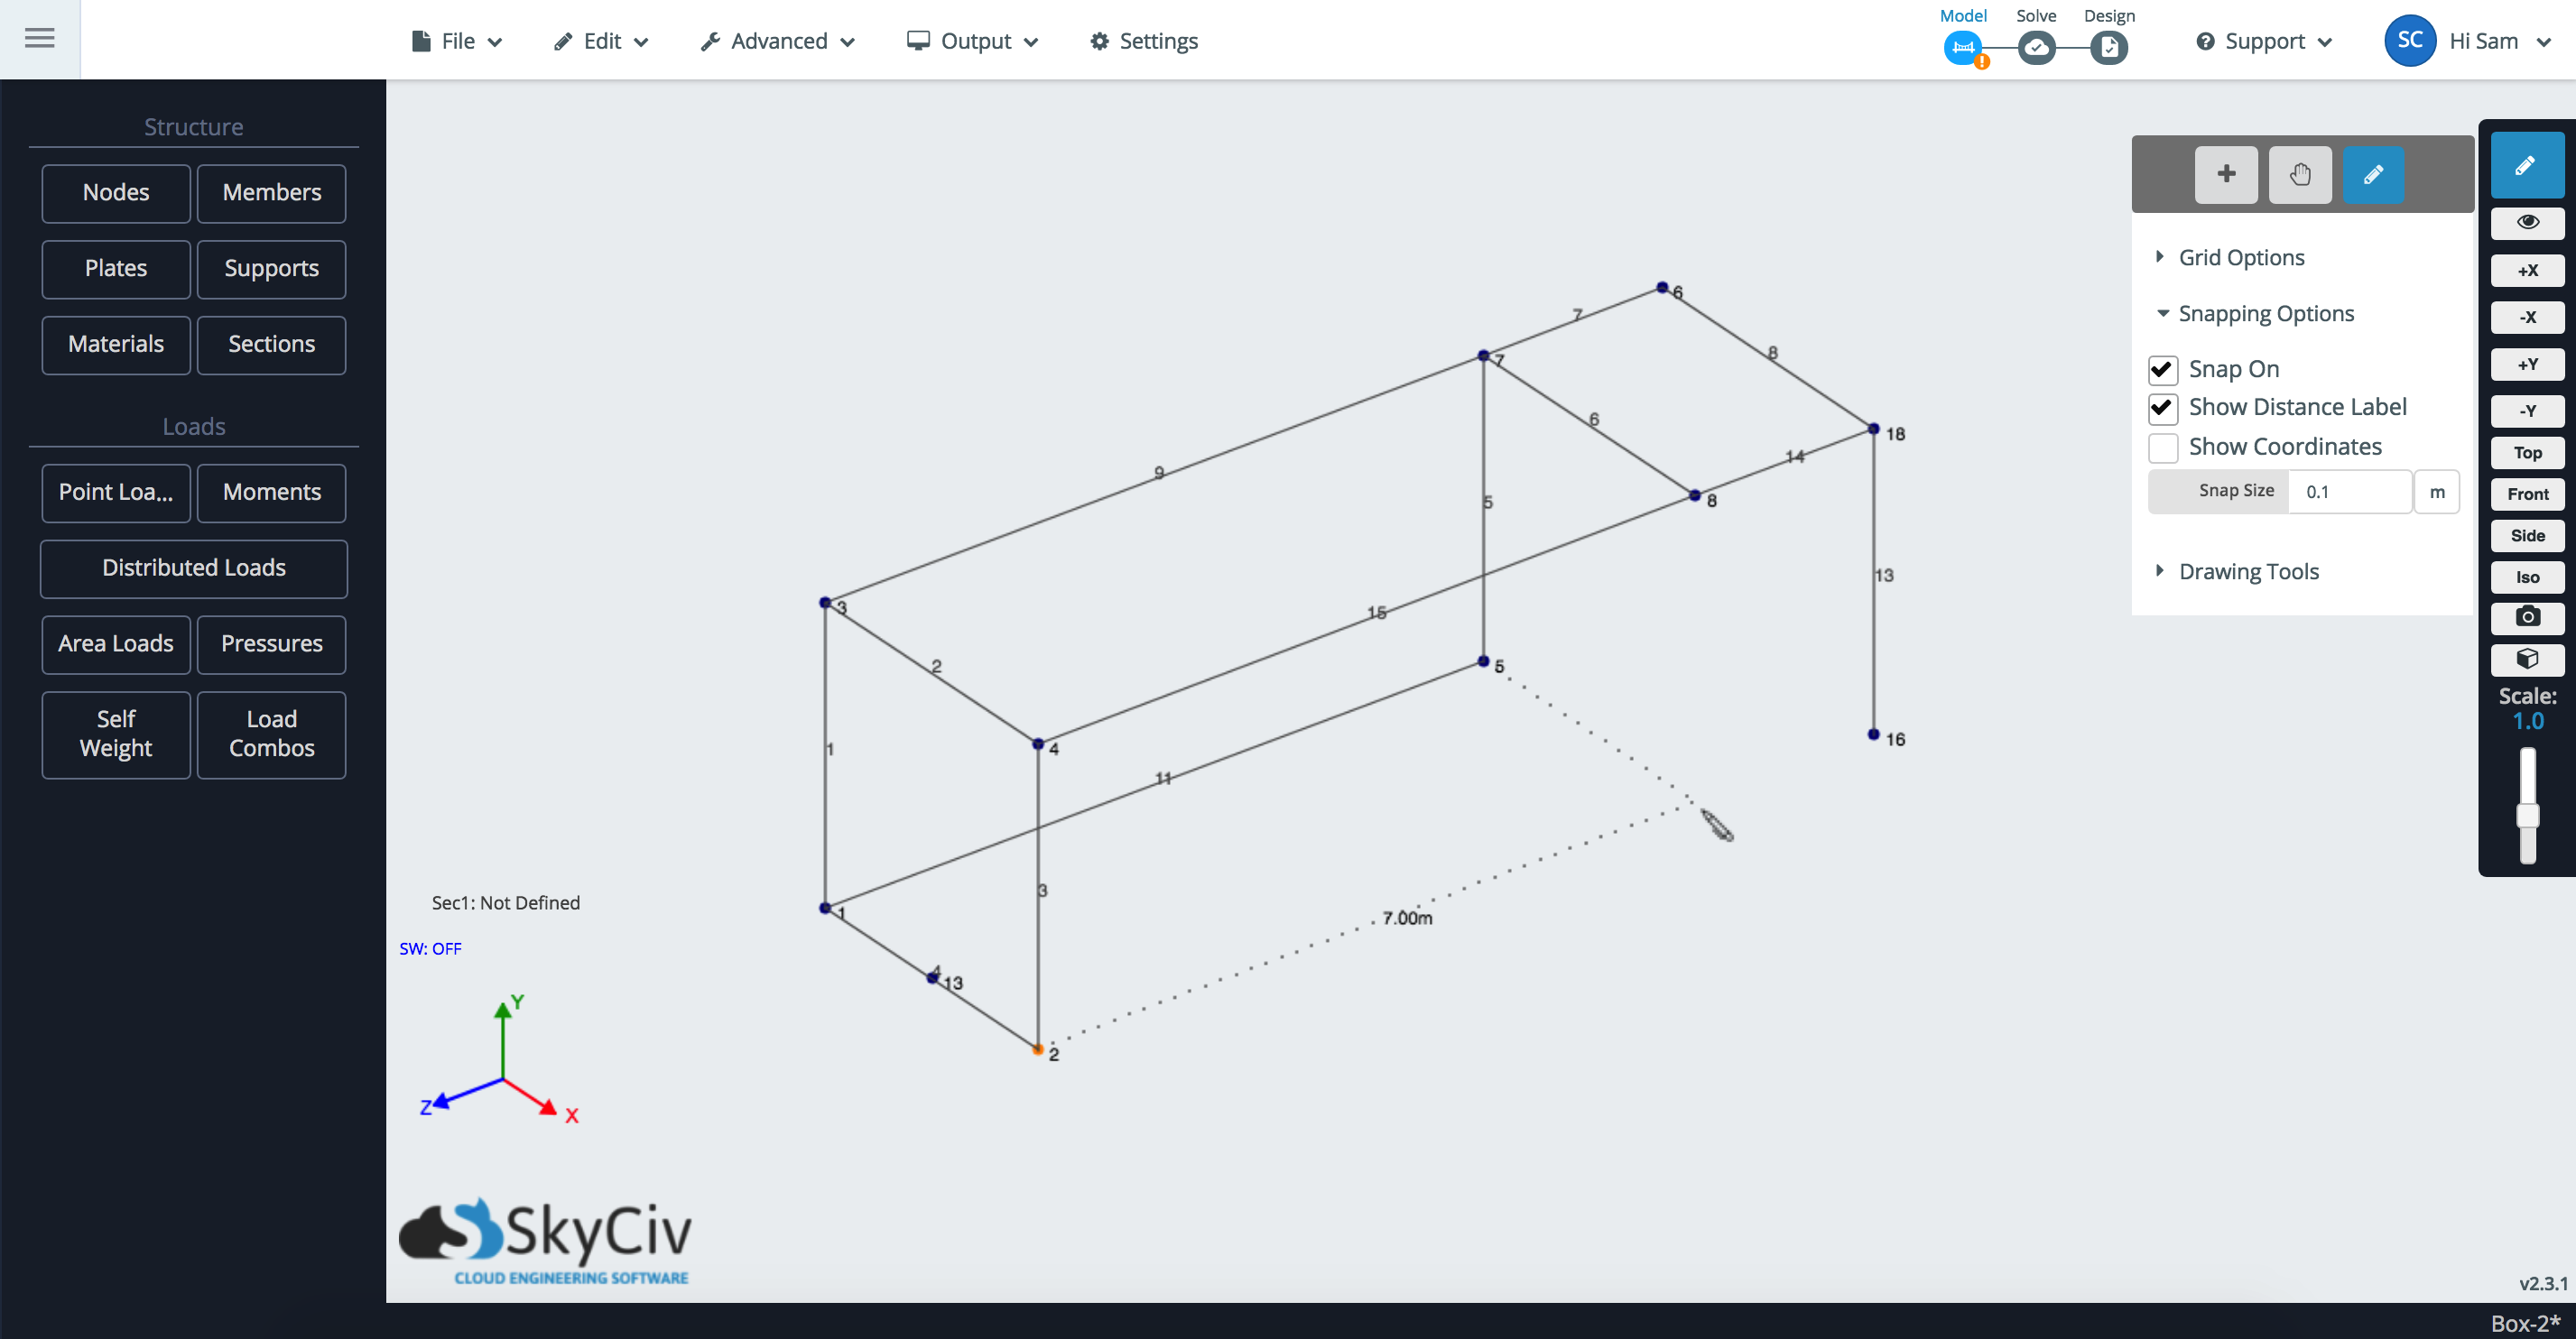
- ノードにカーソルを合わせるかクリックします, これはあなたになります 参照ノード, ここから、スナップ/グリッドを使用してノードをプロットできます:
- とともに メンバーを接続する チェックボックスが選択されました, ノードをドロップすることも、ノードをメンバーとして接続することもできます:

- スナップは第 2 軸も検出します. 例えば, ノードの X 軸を横切って移動している場合, 同じX軸を持つ他のノードをピックアップする可能性があります.
- [長さ]ボックスには、参照ノードからの距離の長さが自動的に表示されます (したがって、メンバーの長さ). いつでも長さを入力してEnterキーを押すことができます, またはをクリックします, そのメンバーの長さを適用するには.
- 長さを入力し、 (ロック) 長さをロックするアイコン. これで、この長さに固定されたメンバーを作成できます.
- メンバーの中点にスナップします
スナップオプション
- スナップオン – スナップのオンとオフを切り替えます
- 距離ラベルを表示 – このオプションにチェックを入れると、基準点から提案されたノードの距離が表示されます。 (ほとんどの場合、提案されたメンバーの長さ)
- 座標を表示 – 提案されたスナップ ノードの座標を表示します.
- スナップサイズ – 基準点からのスナップの増分を指定してください.
スナップ サイズ コントロール
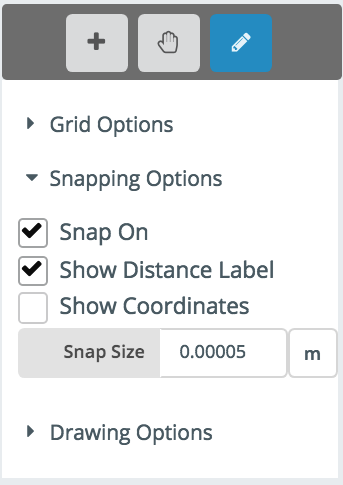
の スナップサイズ 属性は、表示されている構造のサイズを直接変更して、ユーザーが正しい増分に簡単にスナップできるようにします。. 例えば, の小さなスナップ 5 mm は、モデルを操作しやすいサイズに縮小します。. これはいつでも制御でき、次の動作を制御するのに役立ちます:
大きなスナップサイズを持つ非常に小さな構造
これはスナップ サイズを小さくすることで修正できます。