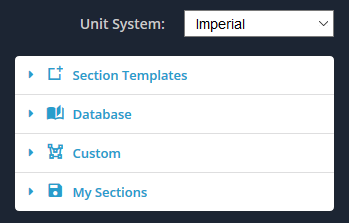
- Sectie-sjablonen
- Database
- Op maat
- Mijn secties
Elk van deze vier manieren is gegroepeerd in hun eigen menu, zoals hieronder weergegeven.
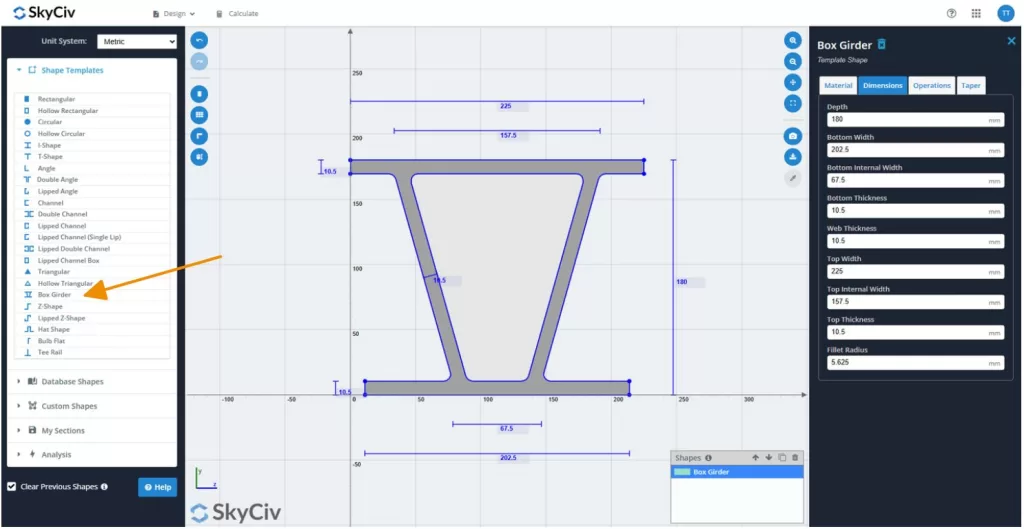
Sectie-sjablonen
Met het menu Sjablonen kunt u een van de 18 standaard vormsjablonen. Het is de snelste en gemakkelijkste manier om een vorm aan het ontwerpgebied toe te voegen. Pas eenvoudig de afmetingen aan de vorm aan die u zoekt.
Kiezen van:
- Rechthoekig / vierkant
- Hol rechthoekig / vierkant
- Circulaire
- Hol rond
- Stuur ons een e-mail als u wilt dat deze functie eerder wordt geïmplementeerd
- T-vorm
- Hoek
- Dubbele hoek
- Gelipte hoek
- Kanaal
- Dubbel kanaal
- Lipped kanaal
- Lipped kanaal (Enkele lip)
- Double -kanaal
- Lip -kanaalbox
- Driehoekig
- Holle driehoekig
- Kokerbalk
- Z-vorm
- Gelipte Z-vorm
- hoed vorm
- Bol plat
- T -shirt
Starten, vouw het menu Sectiesjablonen uit, en selecteer een van de sjabloonvormen. U kunt op uw selectie klikken om de vorm aan het bord toe te voegen.
Databasevormen
De databasevormen van Skyciv bieden gebruikers toegang tot duizenden vooraf gedefinieerde structurele secties van over de hele wereld. De afmetingen en eigenschappen van deze vormen zijn rechtstreeks afkomstig van officiële documenten - of het nu gaat om industrienormen of publicaties van de fabrikant.
Omdat het overbrengen van gegevens tussen bronnen fouten kan introduceren, En omdat de kwaliteit en volledigheid van brondocumenten sterk kan variëren, SkyCiv volgt een gestandaardiseerd proces om ervoor te zorgen dat alle geïmporteerde gegevens nauwkeurig en betrouwbaar zijn.
Importerende sectie Eigendommen
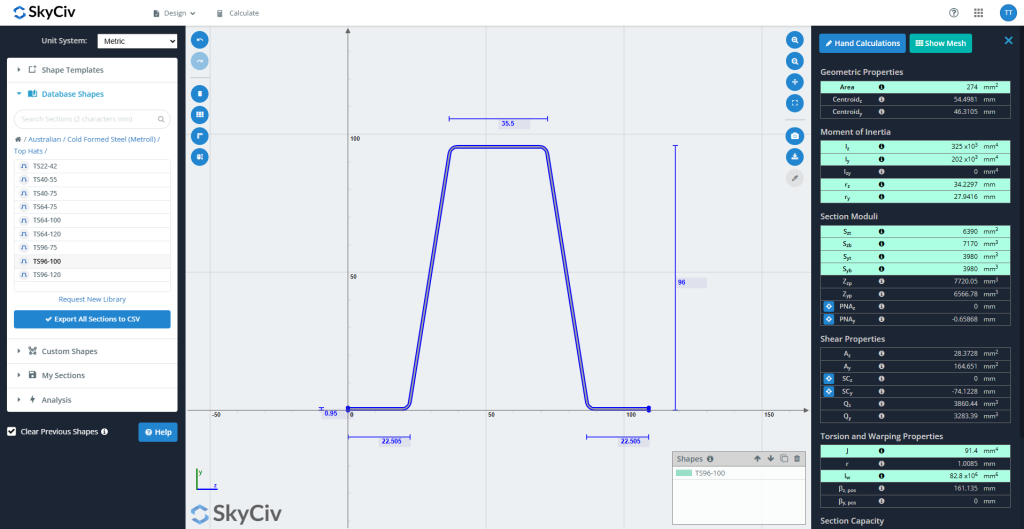
Veel brondocumenten bevatten tabellen met vooraf berekende sectie-eigenschappen. Echter, Deze laten vaak belangrijke waarden weg die nodig zijn voor structurele analyse. SkyCiv importeert alle relevante eigenschappen die in de bron worden verstrekt - behalve in specifieke gevallen (Hieronder geschetst)- en berekent automatisch ontbrekende waarden. Geïmporteerde eigenschappen worden weergegeven in wintertaling Binnen de sectie Builder.
Bijvoorbeeld, In de onderstaande schermopname, De volgende eigenschappen werden geïmporteerd uit de bron:
Oppervlakte, Iz, Ij, rz, rj, Szt, Sb.v., Sjt, SBT, J, en Iw.
Data Parsing
Zodra een beslissing is genomen om een nieuwe set secties of materialen in de databasevormen op te nemen, Het gegevensinvoerproces begint. Een skyciv -ingenieur zet de dimensies om in een formaat dat compatibel is met Skyciv's databasesjablonen. Deze stap vereist technisch oordeel, vooral op de volgende gebieden:
- Het vereenvoudigen van complexe geometrieën: Vormen met functies zoals lippen, bochten, of verstijvers kunnen latere berekeningen bemoeilijken. Deze zijn vereenvoudigd op een manier die belangrijke structurele eigenschappen behoudt, Met behoud van zoveel mogelijk geometrische nauwkeurigheid. Bijvoorbeeld, Voor een standaardstraal, Een ingenieur kan de hoogte van de sectie enigszins verminderen om het inertie moment van traagheid te behouden.
- Kiezen welke eigenschappen moeten worden importeren of berekenen: Terwijl Skyciv in het algemeen alle relevante sectie -eigenschappen van de bron importeert, Uitzonderingen treden op.
Voorbeeld: Als er alleen eigenschappen van sterke as worden verstrekt, Het is meestal beter om zowel sterke als zwakke as eigenschappen te berekenen om consistentie te garanderen. - Discrepanties oplossen: Als een significante mismatch (>20%) wordt gevonden tussen bronwaarden en de berekende waarden van Skyciv, De ingenieur zal de auteur van het document bereiken voor opheldering. Als een fout (bijv., een misplaatst decimaal) is duidelijk aanwezig, het kan onmiddellijk worden gecorrigeerd. Als er geen reactie is ontvangen, Er wordt een waarschuwing voor de gebruiker gerichte waarschuwing uitgegeven om voorzichtigheid te adviseren.
Kwaliteitsverzekering
Zodra de gegevensinvoer is voltooid, Een tweede ingenieur voert een verzekering van volledige kwaliteit uit (QA) Review met behulp van de oorspronkelijke brondocumenten om de nauwkeurigheid te verifiëren en eventuele overdrachtsfouten te vangen.
Na goedkeuring, De vormen worden gepubliceerd in de live database. Als laatste beveiliging, De QA-ingenieur voert een laatste controle uit op het client-gerichte platform om ervoor te zorgen dat de gegevens overblijft 100% Nauwkeurig en consistent.
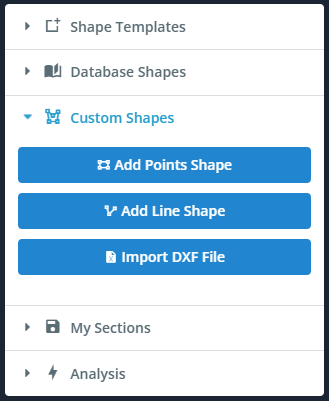
Op maat
Met het menu Aangepast kunt u uw eigen vormen maken. Dit is een handige functie wanneer de gewenste vorm niet voorkomt in de sjablonen. We bieden u drie manieren om vormen te maken.
- Punten vorm – Definieer een vorm door zijn punten. Specificeer een afronding op een van de punten.
- Lijnvorm – Definieer een vorm door een lijnpad en dikte. Specificeer een uniforme filet.
- DXF-bestand importeren – Schets uw vorm in een willekeurig CAD-pakket en sla het bestand vervolgens op in DXF om te importeren.
De manier om elk van deze functies te gebruiken zal in detail worden onderzocht in hun eigen documentatiesectie.
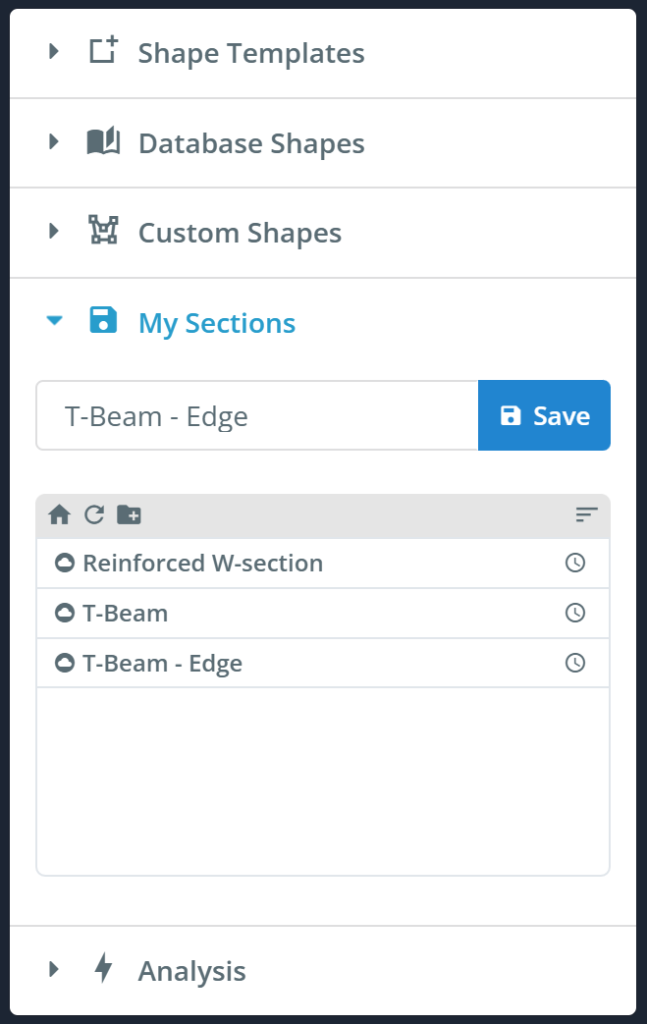
Mijn secties
Met het menu Mijn secties kunt u opslaan, laden, en verwijder je secties. Hierdoor kunt u in de toekomst snel en gemakkelijk uw secties opnieuw gebruiken of eraan blijven werken.
Notitie: Doorsnedetoewijzing aan staaf
Het is belangrijk op te merken dat wanneer een lid wordt toegewezen aan een doorsnede, de lijn van de staaf werkt altijd door het zwaartepunt van de doorsnede. Dit om duidelijk te maken dat de (0,0) coördineren (oorsprong) van de sectiebouwer is niet standaard het zwaartepunt.
U kunt uw sectie overal op het z-y cartesiaanse vlak schetsen en vertalen, en het lid wordt toegewezen aan het echte zwaartepunt. Translaties en rotaties van vormen maken relatieve positionering van vormen mogelijk bij het maken van een sectie die uit meer dan één vorm bestaat. Als u niet wilt dat de lijn van het lid door het zwaartepunt gaat, dan kun je de “Offset A” en offset B” van het lid.
Het aanvragen van nieuwe bibliotheken of secties
Skyciv breidt zijn database altijd uit op basis van gebruikersbehoeften. Als u een specifieke fabrikant nodig heeft, Slankheidsverhouding voor Axial, of aangepaste sectie die momenteel niet beschikbaar is, Voel je vrij om contact op te nemen met ons team.
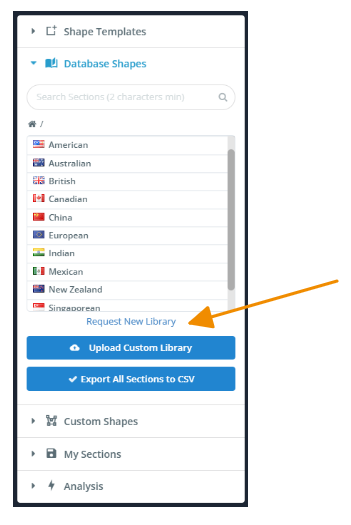
U kunt uw verzoek rechtstreeks indienen Vraag een nieuwe bibliotheek aan getoond onder de Databasevormen tabblad, zoals hieronder weergegeven, of neem contact met ons op via e -mail op [email protected].
We bespreken uw verzoek graag en kunnen prioriteit geven aan toevoegingen op basis van vraag of projectbehoeften. Of het nu een volledige bibliotheek is of slechts een enkele vorm, We zijn hier om ervoor te zorgen dat de database aan uw vereisten voldoet.