Introduction
This tutorial will walk you through how to perform tapered beam design using the SkyCiv Structural 3D and Section Builder. We will cover how to setup Non-Prismatic sections within Section Builder, model the geometry, and eventually import your designs into S3D in this tapered beam design example.
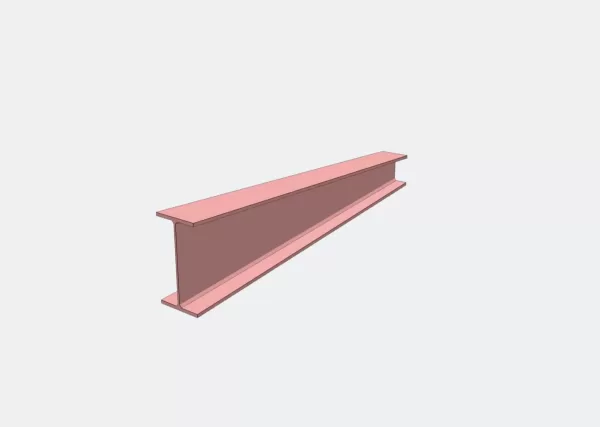
Modeling – Nodes & Members
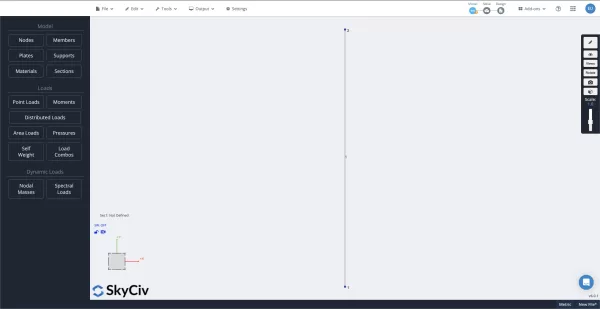
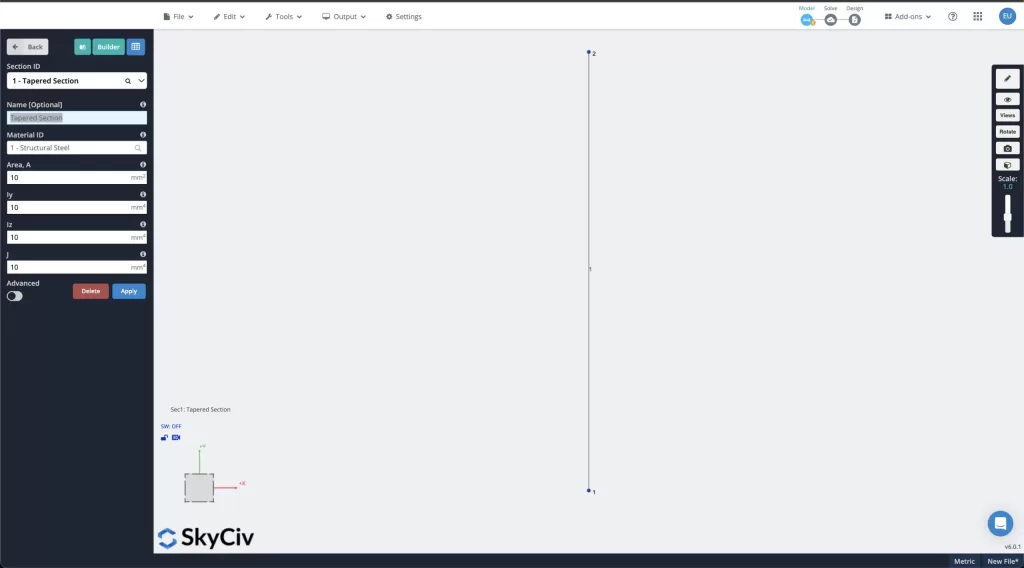
The first step in modeling your beam is laying out the nodes and members for the beam in the design space. While you can design Sections before actually modeling the beams, in this tutorial we will draw the beam out using nodes and assigning a member to connect the two points. We will then assign our future designed section to this member using Sections tab in the dashboard.
Section Builder — Taper Tab
Once our Section ID has been assigned to the beam, it is time to open up Section Builder and begin modifying our section. To do this, select the teal “Buider” button to launch the module.
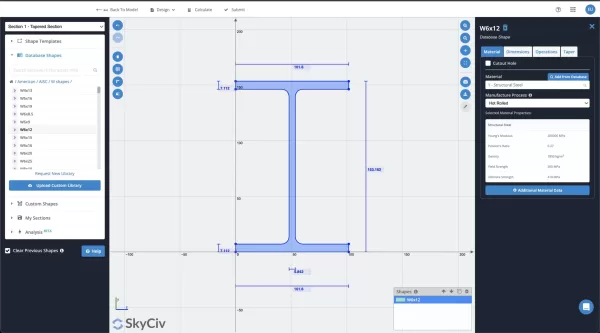
Once the module has been launched, we will first load a pre-loaded database I-Beam shape to begin. Currently, taper designs are available for I Beams, Rectangular Sections, Hallow Rectangular Sections, as well as T Beams.
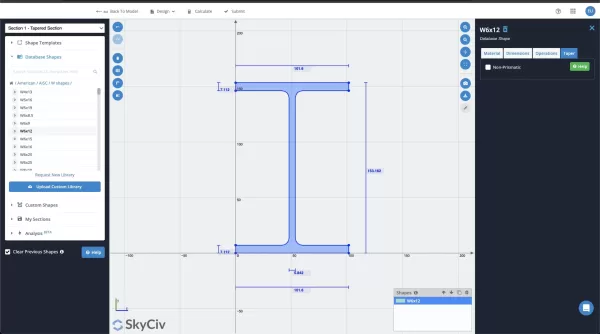
After our beam has been loaded, we will navigate to the “Taper Tab” on the right-hand side of the screen. Select the “Non-Prismatic” bubble and then the remaining options will become available.
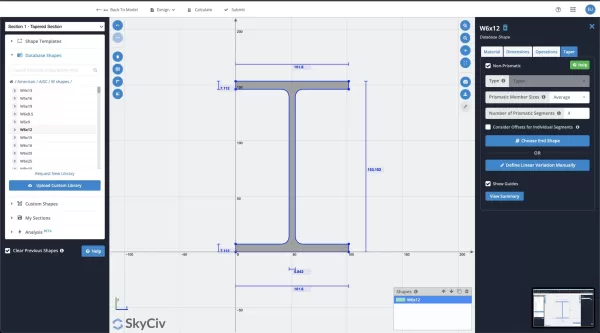
Depth Variation
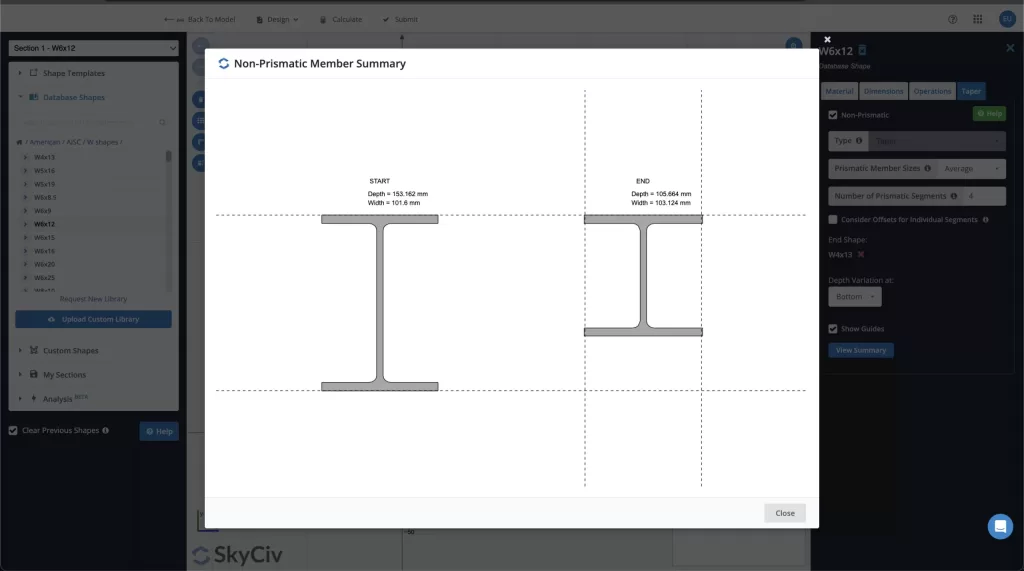
When choosing your end shape, you will first be prompted to choose the section size. Once you have selected that, you will be asked to define the final end depth of the shape. This can be defined from the “Bottom” up, from the “Top” down, or from “Both” ends.
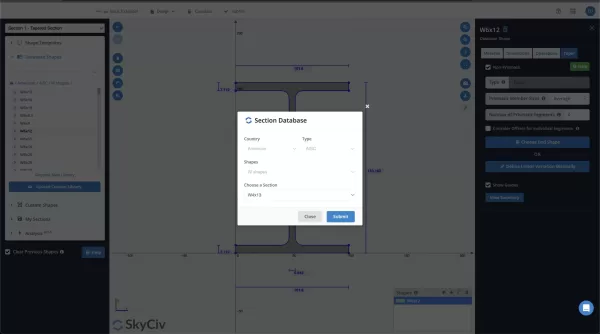
Once you have defined the depth variation of your starting and end depths, you are ready to finalize your design.
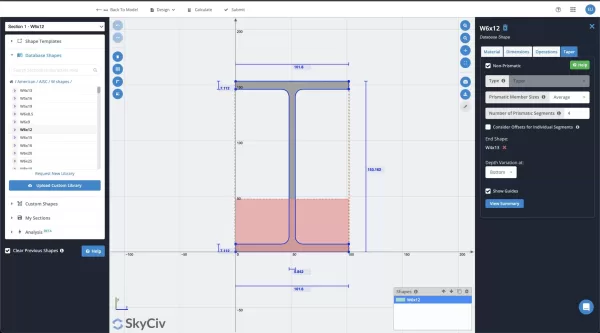
At any time, you can select the “View Summary” button to get a visual of what the final section depths will look like.
Importing to Structural 3D
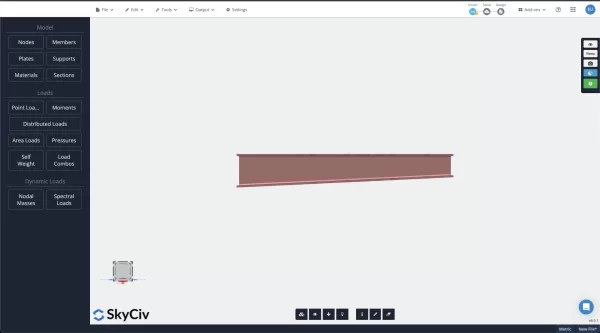
Once you have finished defining your depths, select the “Submit” button on the top toolbar. This will import your design into S3D and finish designing your beam.
Analysis & Reports
Once you finish modeling your beam, simply select “Analyze” from the top toolbar and you can run an FEA analysis of your beam. After this is done, you can additionally print a summary report or a more detailed report of your design.
Now you have finalized your design and you know how to model a Tapered Beam in SkyCiv 3D, update the depths in Section Builder, and finally analyze your design and print reports!

Bonus: Member Design Finite Element Analysis
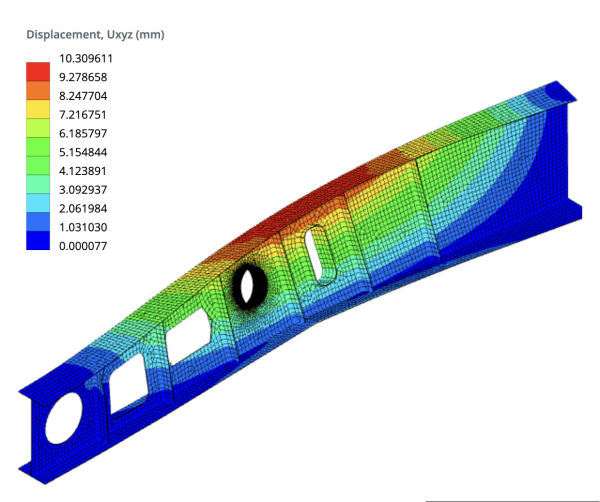
Another approach to analyzing beams using SkyCiv is making use of our Beam Shell FEA module. Using this will allow you to produce a more fine-tuned and detailed design as well as lay out the web, flanges, and stiffeners as needed. To learn more about using the Beam Shell FEA module, you can check out the documentation page, or our Beam with web-opening design example.
FAQ
1. What types of tapered sections are supported in Structural 3D
Tapered sections are supported for the following section types:
- I Beams
- Rectangular
- Hollow Rectangular
- T Beams
Learn more in our Tapered Sections tutorial.
2. Can I import custom section shapes into Section Builder?
Yes, you can import custom shapes using the import function of Section Builder. You can read more about this on our documentation site or in the example page on Importing Custom Data into Section Builder.
3. Is SkyCiv Section Builder a separate module and will I have to pay extra to use it?
Yes, Member Designer is a separate module from S3D but it is fully integrated and comes included with the purchase of a professional or enterprise license plan.
4. What is the monthly cost of using SkyCiv?
You can view our pricing for a monthly subscription here.

