Retaining Wall Design Example
If you are looking to use SkyCiv to model a concrete retaining walls, this is the best place to start!
Introduction
This tutorial will walk you through how to design a simple retaining wall using SkyCiv Retaining Wall module. We will cover how to update material selections, dimensions of toes and walls, as well as make measurements, and print a final report for your design.
Control Panel
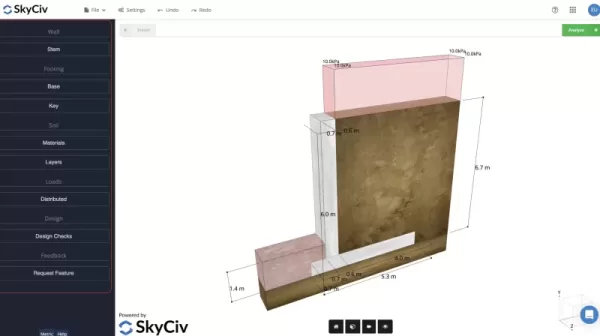
The control panel is located on the left hand of your initial screen and will allow you to change and modify all the data you need for your retaining wall. This includes updating the stem walls height, toe offset, as well as the base thickness or width of your footing.

Materials
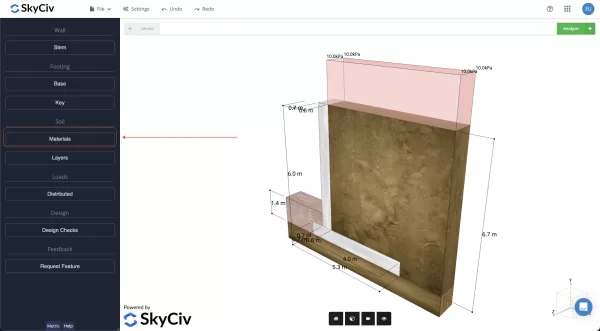
Once you’ve finished designing the retaining wall it is time to update the soil material properties. The are many options available for you under the Materials menu. You can adjust the color you would like for the soil, as well as update the friction angle, and unit weight.
Under the advanced option section, you can further update the material properties of your soil by defining the soil cohesion, allowable bearing pressure, and soil friction coefficient.
Once you’ve defined the values for the different soil types, you can assign them to different layers of soil or in different locations of your model. This will allow you to optimize and better fine tune your design to the unique specifications of your soil’s conditions.

Soil Zones
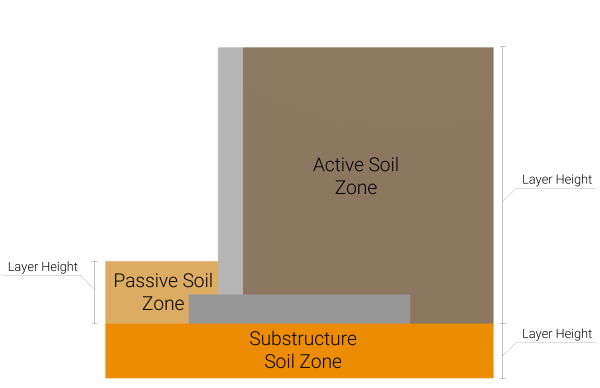
After filling in the data for each soil it is now time to define which soil zone features which soil type. Each of the three zones of your soil will need to have a defined soil type laid out in this section.
The Passive Zone will be on low side of wall above the footing.
The Sub-Structure Zone will be below the footing over the entire length of the model.
The Active Zone will be on high side of wall above footing.
The SkyCiv documentation page features a lot of information on each of these zones. Feel free to read more about the various zones to better understand the analyses in our documentation website. By selecting each zone, you can update the soil type based on what we modified in the material section along with the soil type.

Adding Loads
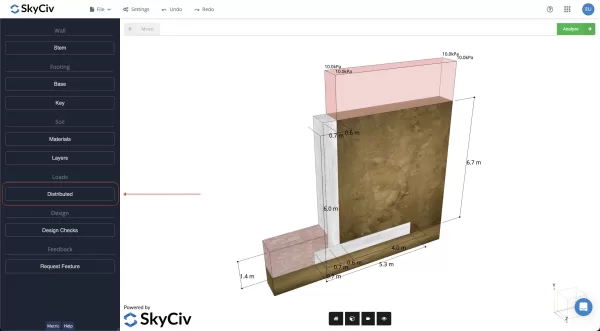
After you’ve modeled your stem wall shape, soil zones, and material conditions you are ready to add loads. The loading sign convention for SkyCiv Retaining Wall is (-) negative for downward gravity pressure loads and (+) for uplift pressures. In most cases, you will utilize downward (-) loading.
The loading in this model is laid out as a uniform design load (you can multiply by your desired width to find the final loading condition). After you have finished adding your loads, you can move onto the final step.

Analyzing & Final Report
Once you are done adding loads, you can click on the analyze button to run your calculations. This will complete an analysis for your chosen design and analyze whether your design succeeded or failed. A final summary will lay out whether your design can support the load based on an analysis against overturning, sliding, as well as bearing. Finally, you can print a final report detailing your findings once you are done. Congratulations, you’ve successfully completed a Simple Retaining Wall Design using SkyCiv Retaining Wall module!.
FAQ
Yes! Our software analyzes overturning, stability analysis, and sliding.
Yes – SkyCiv Retaining wall is a free module available to the public to use.
Yes! Feel free to call us at 1-800-838-0899 or send an email to our onboarding engineer at emeka@skyciv.com to schedule a live demo with you and your team today.


