1. Join the dots!
After you add your nodes, simply click and drag between them to create members! This function allows you to model a structure in a matter of seconds. The member will be created with Section ID #1 by default and have fixed connections at each end. Modelling your structure can sometimes take a long tim, so join the dots to save time and let your structure come to life!
2. Click and Drag Labels
We hate when labels clash and you can't read what's going on. That's why we've made it easy for you; simply click and drag to move labels! This enables the user to easily identify analysis results from the diagrams, without having to dive deep into the report analysis results.3. Single Click Results
Remove the clutter and focus on the member you are interested in. After you solve, simply click a member to only show that result. This makes interpretting the results extremely easy. You can also take screenshots of this and include it in your reporting - rather than screenshooting an ilegible diagram with multiple results.
4. Share your Project with the World!
Want to show off your structure to the masses? Click "Share" in the 3D Renderer of Structural 3D. You will be given a link that allows anyone to view the file you are working on! They will be able to interact with the model, view results and take screenshots of your structure. Here's an example: Frame Structure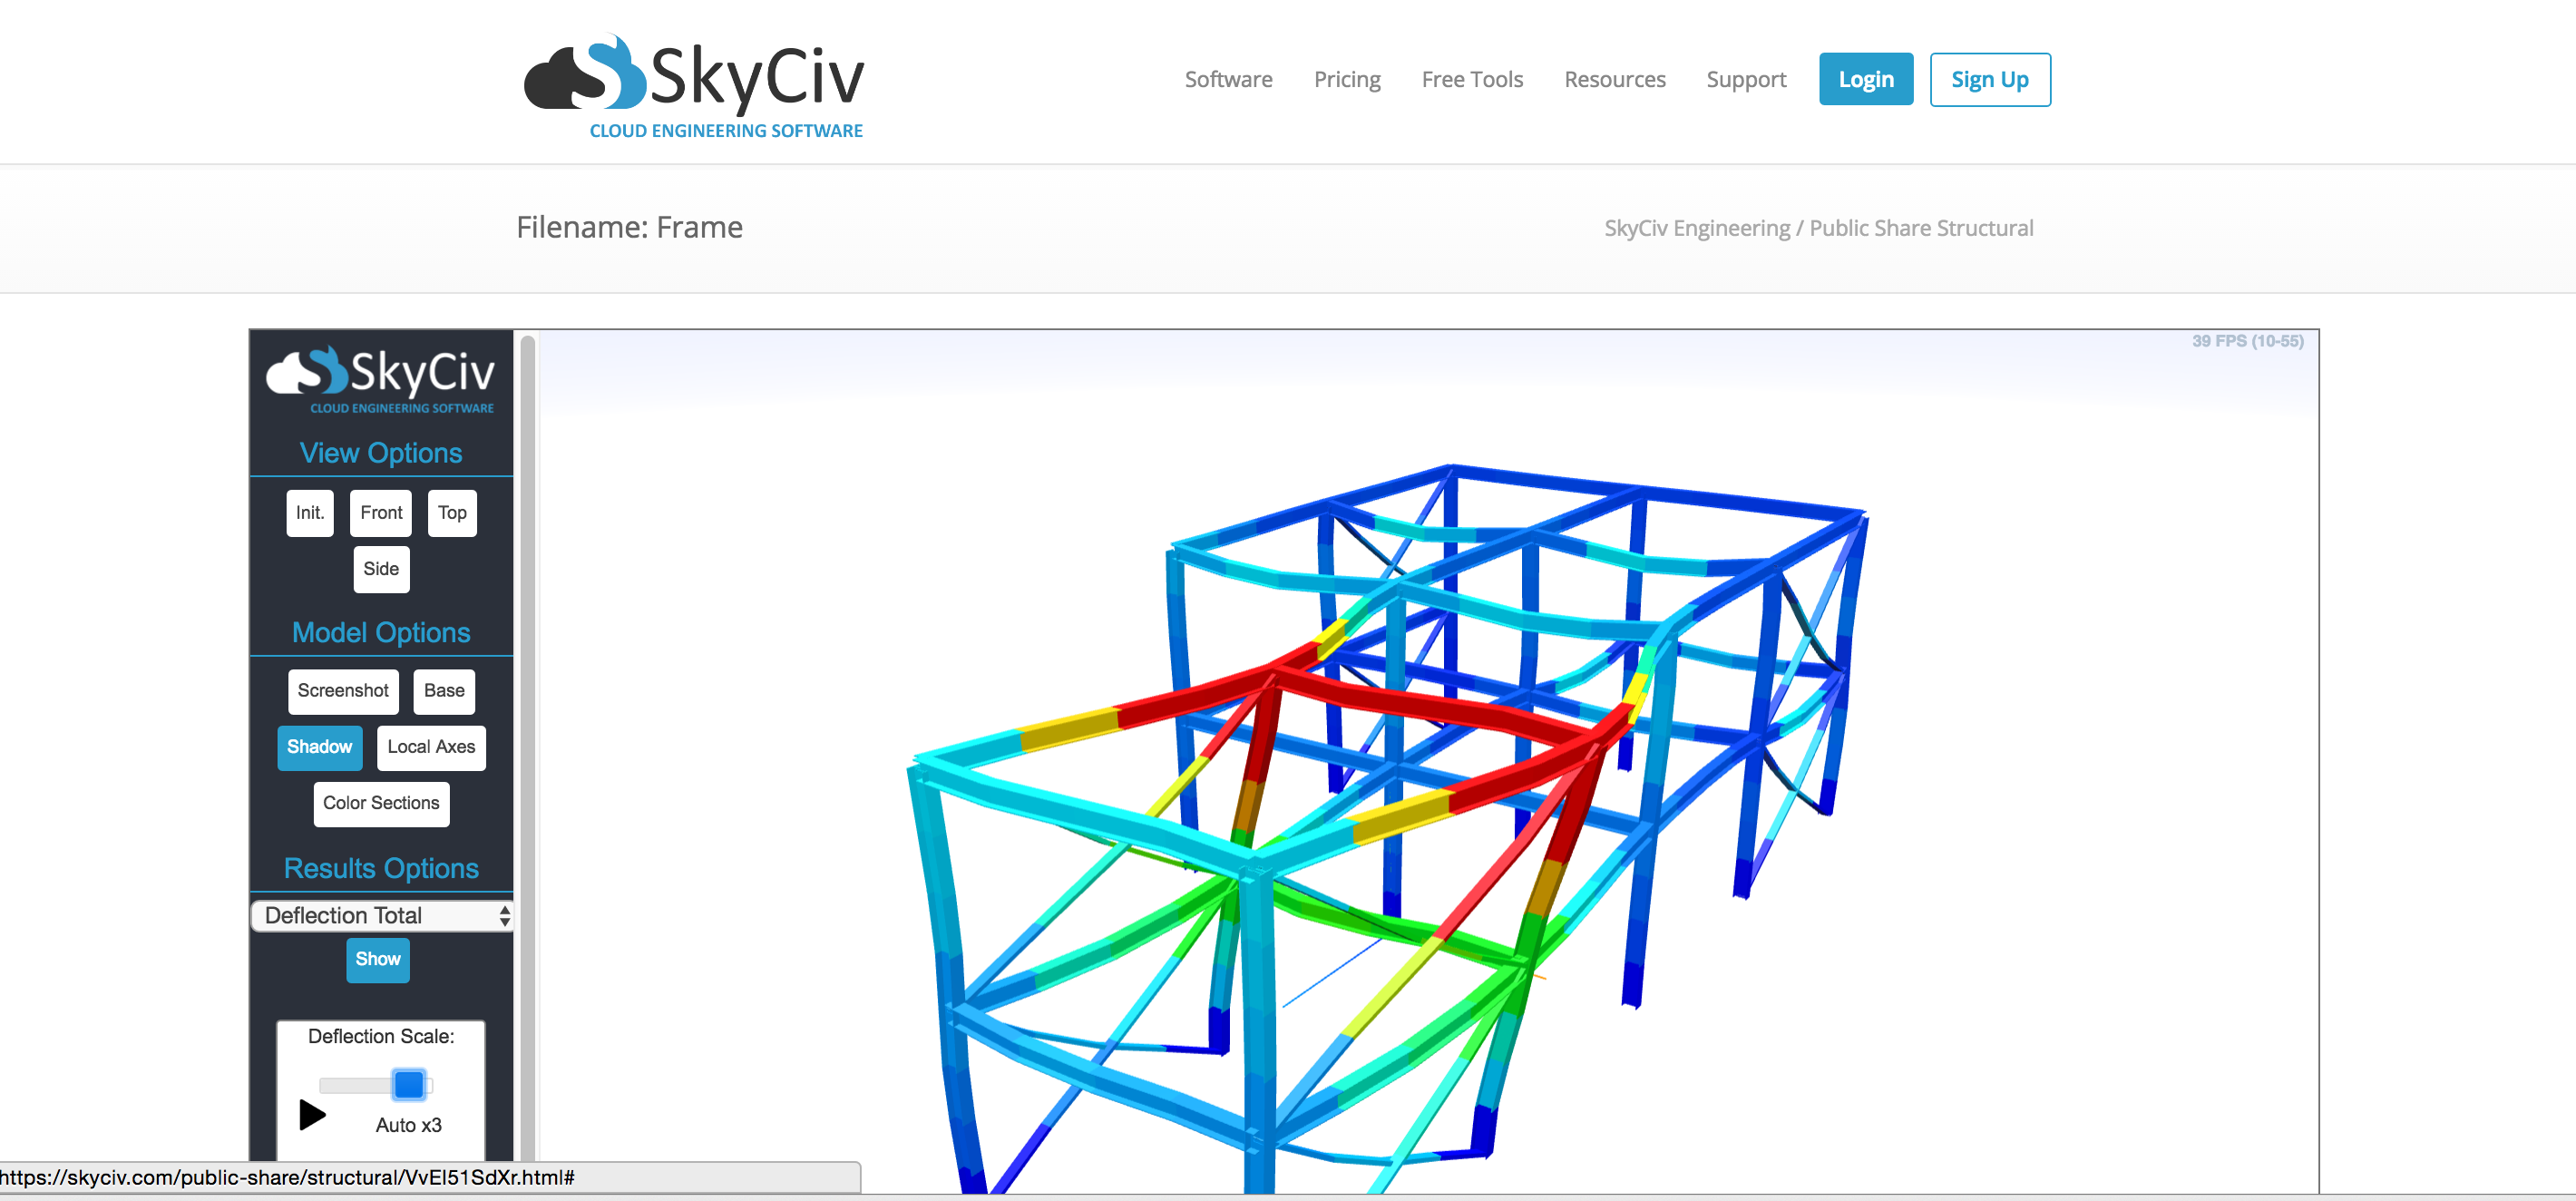
5. Split Members by Nodes
Sometimes when importing a DXF file or just building a structure, members may span over multiple nodes. This will not work in the solver - i.e. each member needs to have its own start and end node. The Job Cleanup function in the Edit Menu will automatically seperate a member by its intersecting nodes: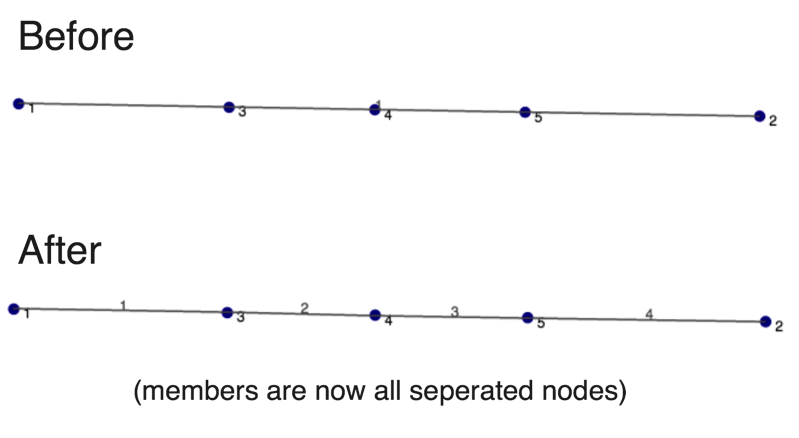
6. Highlight Member to Edit/Delete
Click a member and it will display all the information regarding that member. It will also allow you to easily edit the info or delete simply by clicking the "delete" button. Need to copy more than one member? Hold Control and Click and Drag to select multiple members, nodes and loads!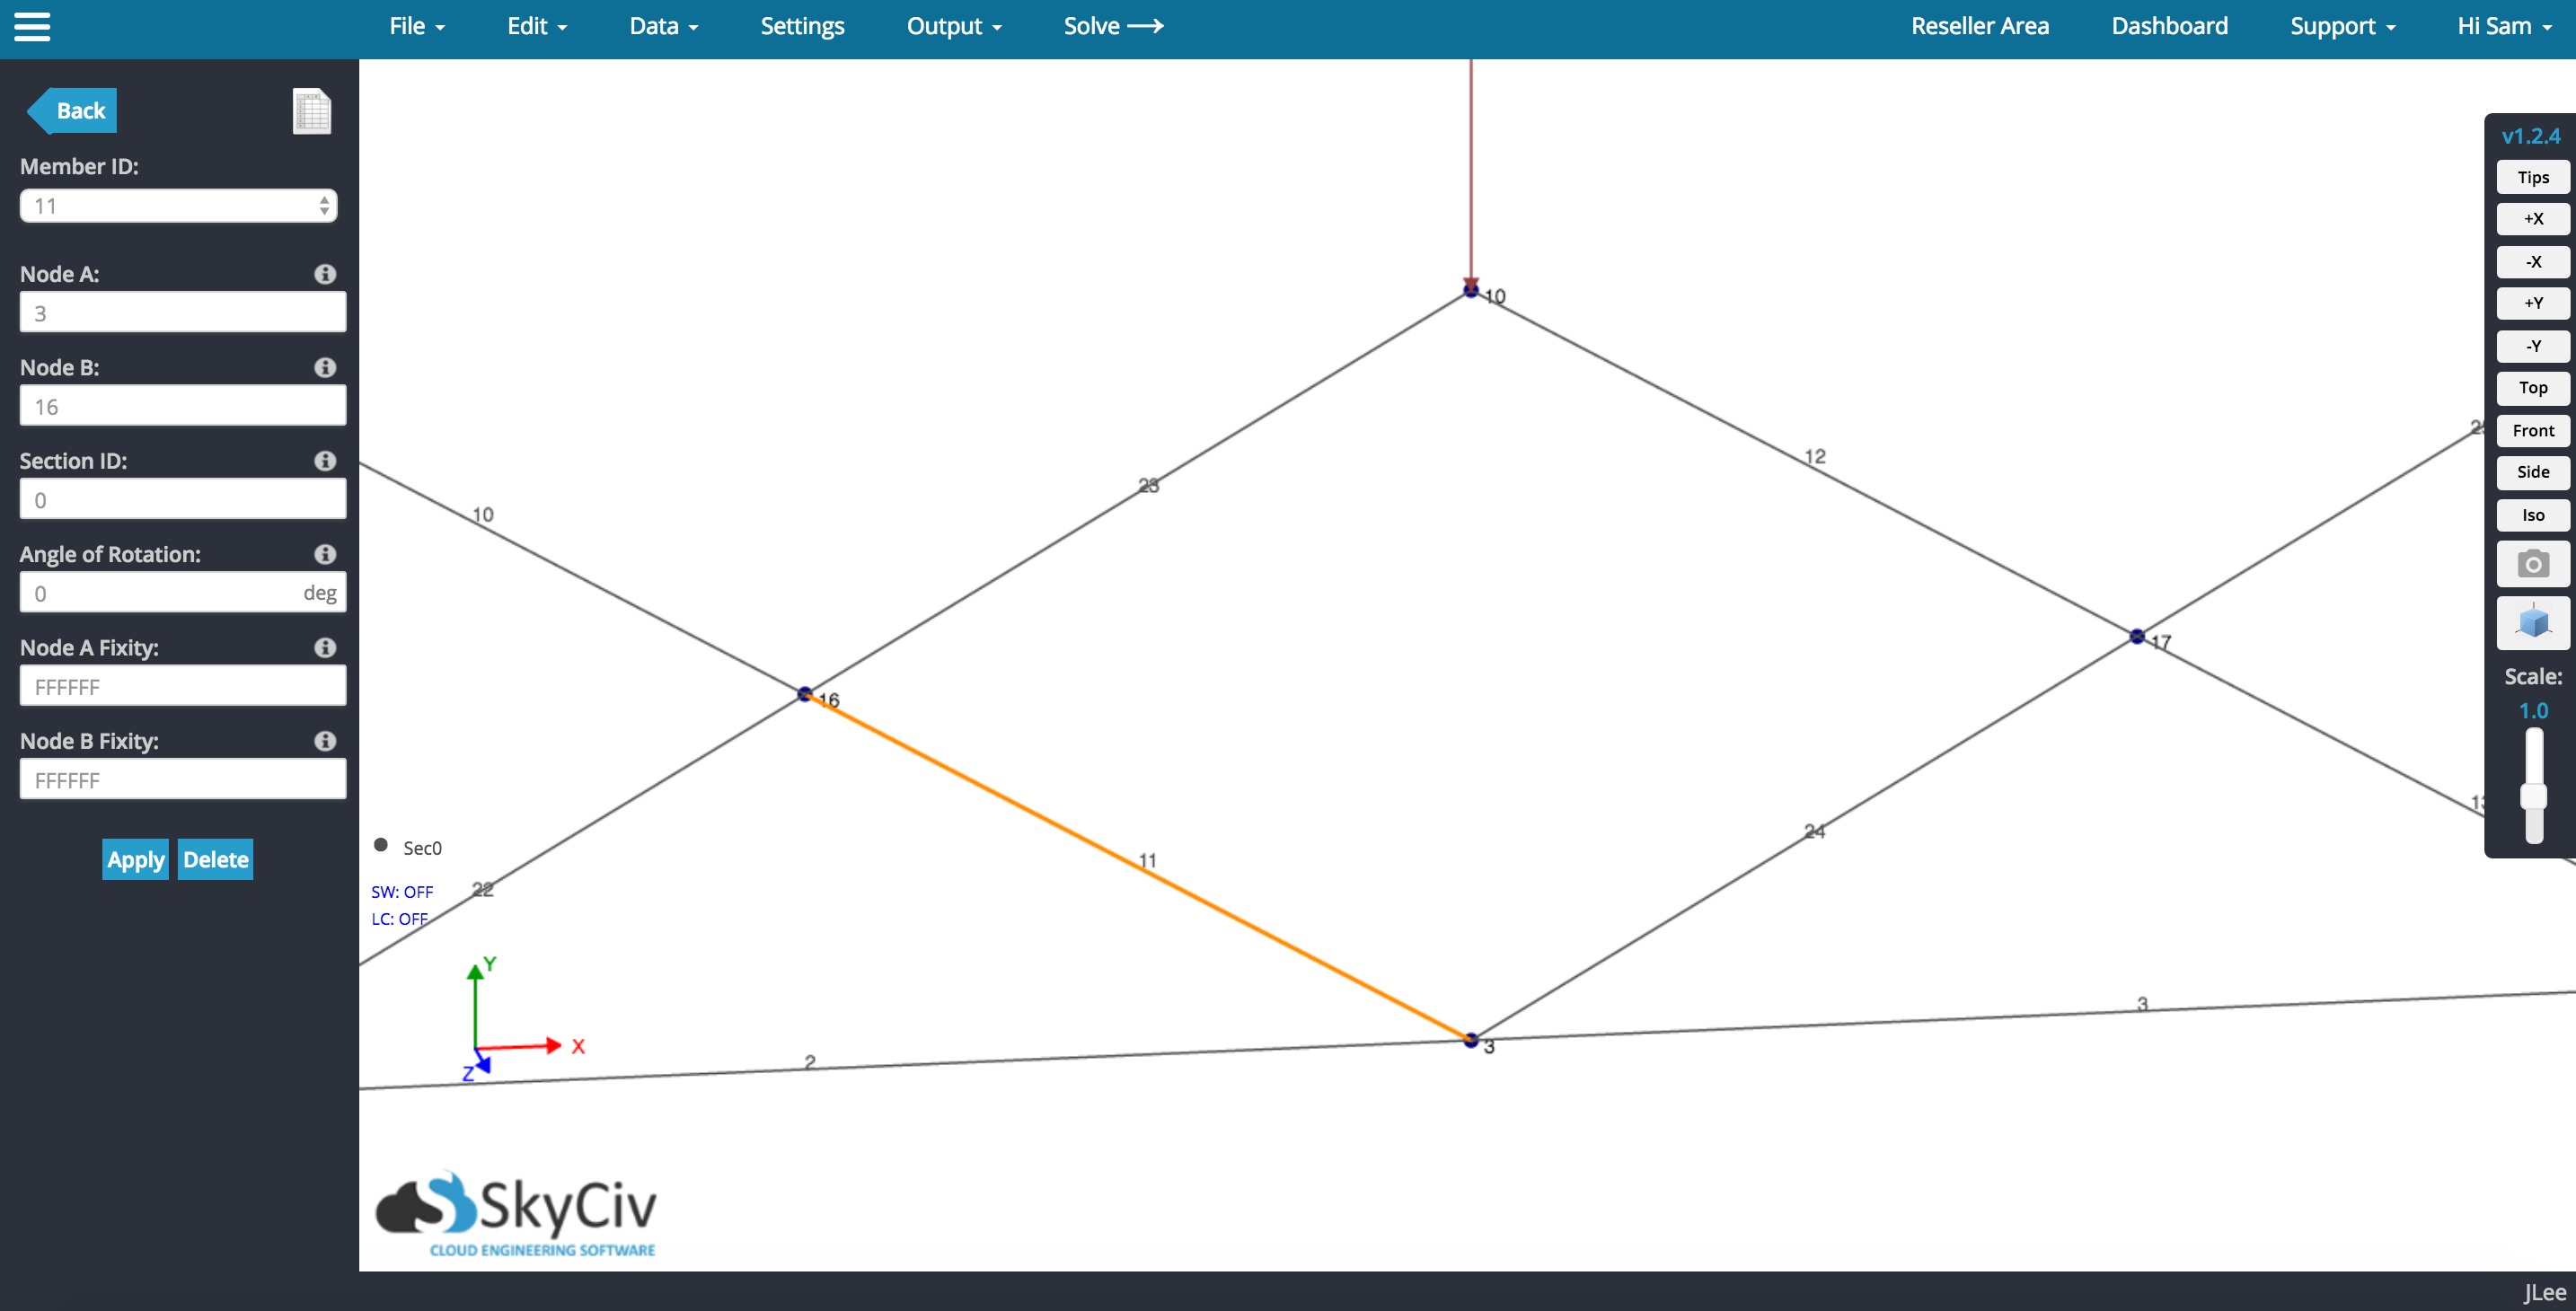
7. Include Custom Screenshots in your Reporting
Report like a pro by including relevant screenshots of your structure in your reports. Your reports will look more professional and it will add a little bit of life to the numeric analysis.You can easily include custom screeshots in your report with SkyCiv following this steps: Under Output -> Screenshot or the camera button on the right view buttons, you can save screenshots to your camera roll. These can later be added to your PDF reporting by visiting Output -> Analysis Report. This function allows you to make nice, clean reports to present to your clients. It allows you to select the information you want to display in an easy to interpret way.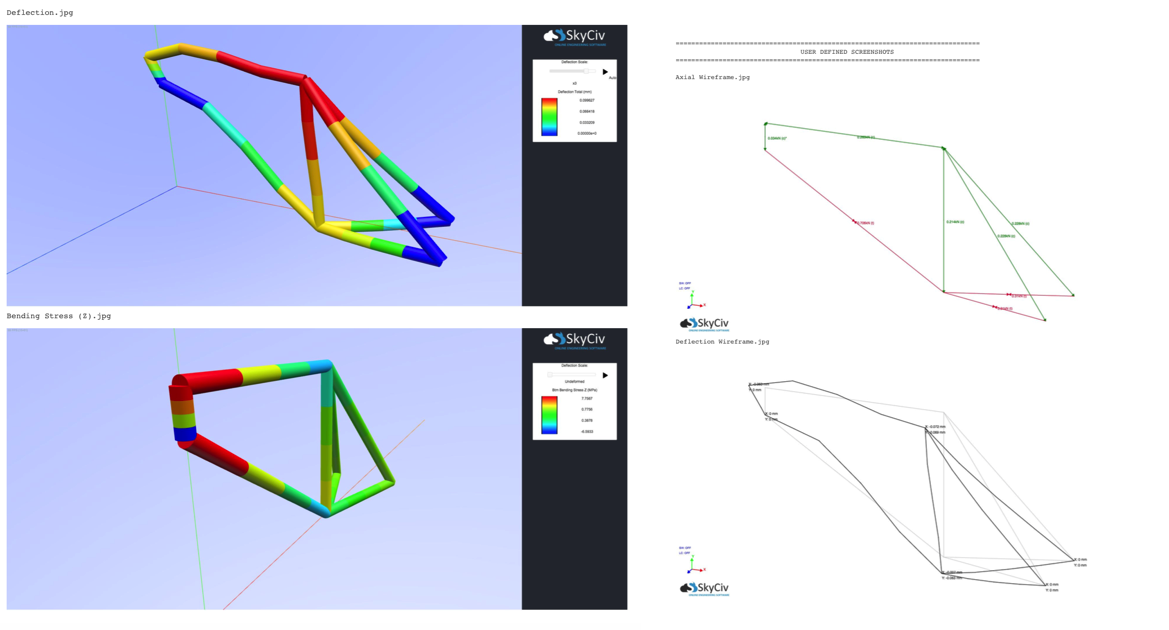 But if you are presenting your reports in word, screen shot your screen, edit your image on photoshop or just include it on your word documents and edit it there! Align the image with the text for a more tidy look.
Sam Carigliano
CEO and Co-Founder of SkyCiv
BEng (Civil), BCom
LinkedIn

CEO and Co-Founder of SkyCiv
BEng (Civil), BCom