File ManagerAccount SettingsAccessing The SoftwareSupportTeam ManagementFull Demos
Certification
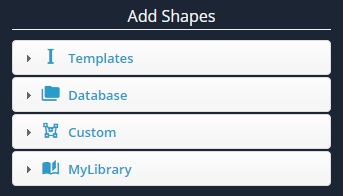
SkyCiv's Section Builder allows you to create sections by adding shapes onto the design area. All members only have one section, however each section can be made up of one or more shapes. Adding shapes can be done in one of four ways.
Each of these four ways are grouped in their own menu as shown below.
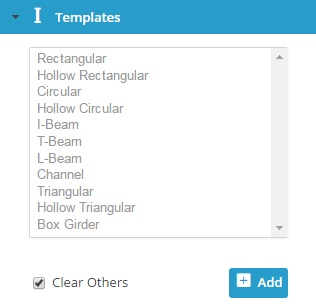
The Templates menu allows you to use one of the 11+ standard shape templates. It is the quickest and easiest way to add a shape onto the design area. Simply adjust the dimensions to suit the shape you are after.
Choose from:
To get started, expand the Templates menu, and select one of the template shapes. You can double click your selection, or single click and click the 'Add' button to add the shape onto the board.
If the 'Clear Others' checkbox is ticked, it means that every time a new template shape is added, it will remove any previously added shapes. This checkbox is ticked by default. To add more than one template shape, make sure this checkbox is unticked.
The Database menu provides access to an international collection of section catalogs from America, Australia, Britain, and Europe.
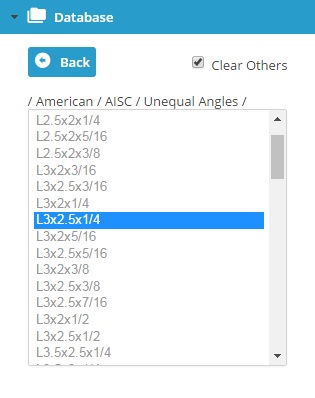
To get started, click through the various catalog options. Use the breadcrumbs to navigate
In a similar way to the Templates menu, a 'Clear Others' checkbox is present. If ticked, then every time a new Database shape is added, all other shapes will be cleared from the design area.
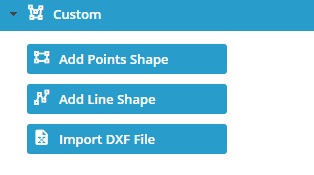
The Custom menu allows you to create your own shapes. This is a useful feature when the shape you are after does not exist in the templates. We provide three ways for you to create shapes.
The way to use each of these features will be explored in detail in their own documentation section.
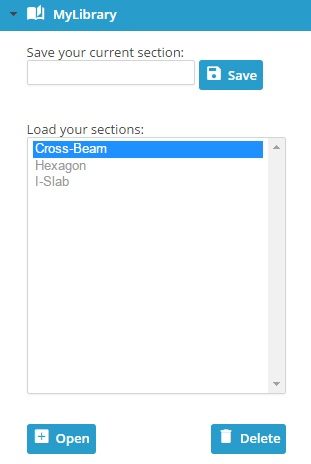
The MyLibrary menu allows you to save, load, and delete your sections. This will allow you to quickly and easily reuse or continue to work on your sections in the future.
It is important to note that when a member gets assigned to a cross section, the line of the member always acts through the centroid of the section. This is to clarify that the (0,0) coordinate (origin) of the section builder is not by default the centroid. You can sketch and translate your section anywhere on the z-y cartesian plane, and the member will be assigned to the true centroid. Translations and rotations of shapes allow for relative positioning of shapes when creating a section that is made up of more than 1 shape. If you don't want the line of the member to pass through the centroid, then you can use the "Offset A" and Offset B" of the member.