Packages
The SkyCiv Team has developed packages for some of the popular languages to help keep your code clean!
We highly recommend the use of these packages and we will further develop them to include useful tools in the future.
We support packages for Javascript, Python 3 and NuGet, with the following package technologies:
NPM - JavaScript#
Please refer to the example on the NPM website for usage.
Package documentation#
SkyCiv NPM Package docs:
New to NPM?#
We've provided a crash course for NPM below. If you have any questions, then get in touch with our team!
What is NPM?#
NPM (Node Package Manager) is a package manager for the JavaScript language. It allows developers to bundle up some useful code for others to use. There is two components to NPM:
- The website where you can browse publicly available packages and;
- The command-line client, allowing you to add packages to your project via the command-line.
To demonstrate its awesomeness, the SkyCiv NPM package turns over 100 lines of code into a single function and will also provide some verification on your input. This is very useful when trying to keep your code clean!
Installing NPM#
If you haven't used NPM before, there is a couple of things to get going which we will run you through here.
Node.js#
Node.js is an open source server environment which uses JavaScript so you don't have to use a browser to run JavaScript!
You will need to install Node.js to your machine. Download the right version for your machine on the Node.js website.
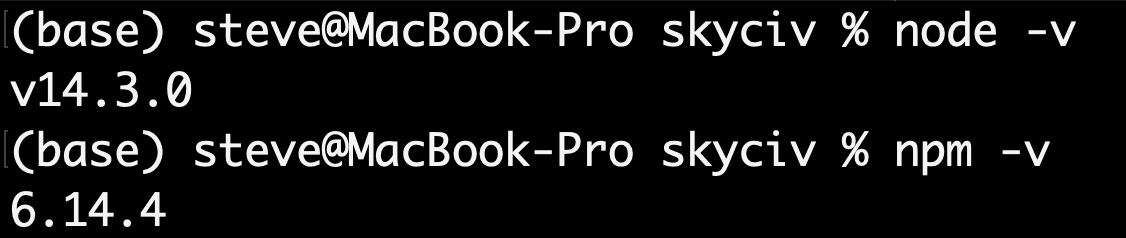
Once you have installed Node.js, open the command terminal and type in node -v. The terminal should print a version number confirming that it has been installed. Likewise, you should now have access to the npm command, so type in npm -v and the terminal will print the NPM version number.
Creating a project#
We can now create a project and add the skyciv dependency to it, so lets do that!
- Go to your Desktop and create a new folder with your project name such as
sample-project. - Open this folder in your preferred code editor. VS Code is great (and free) for this purpose.
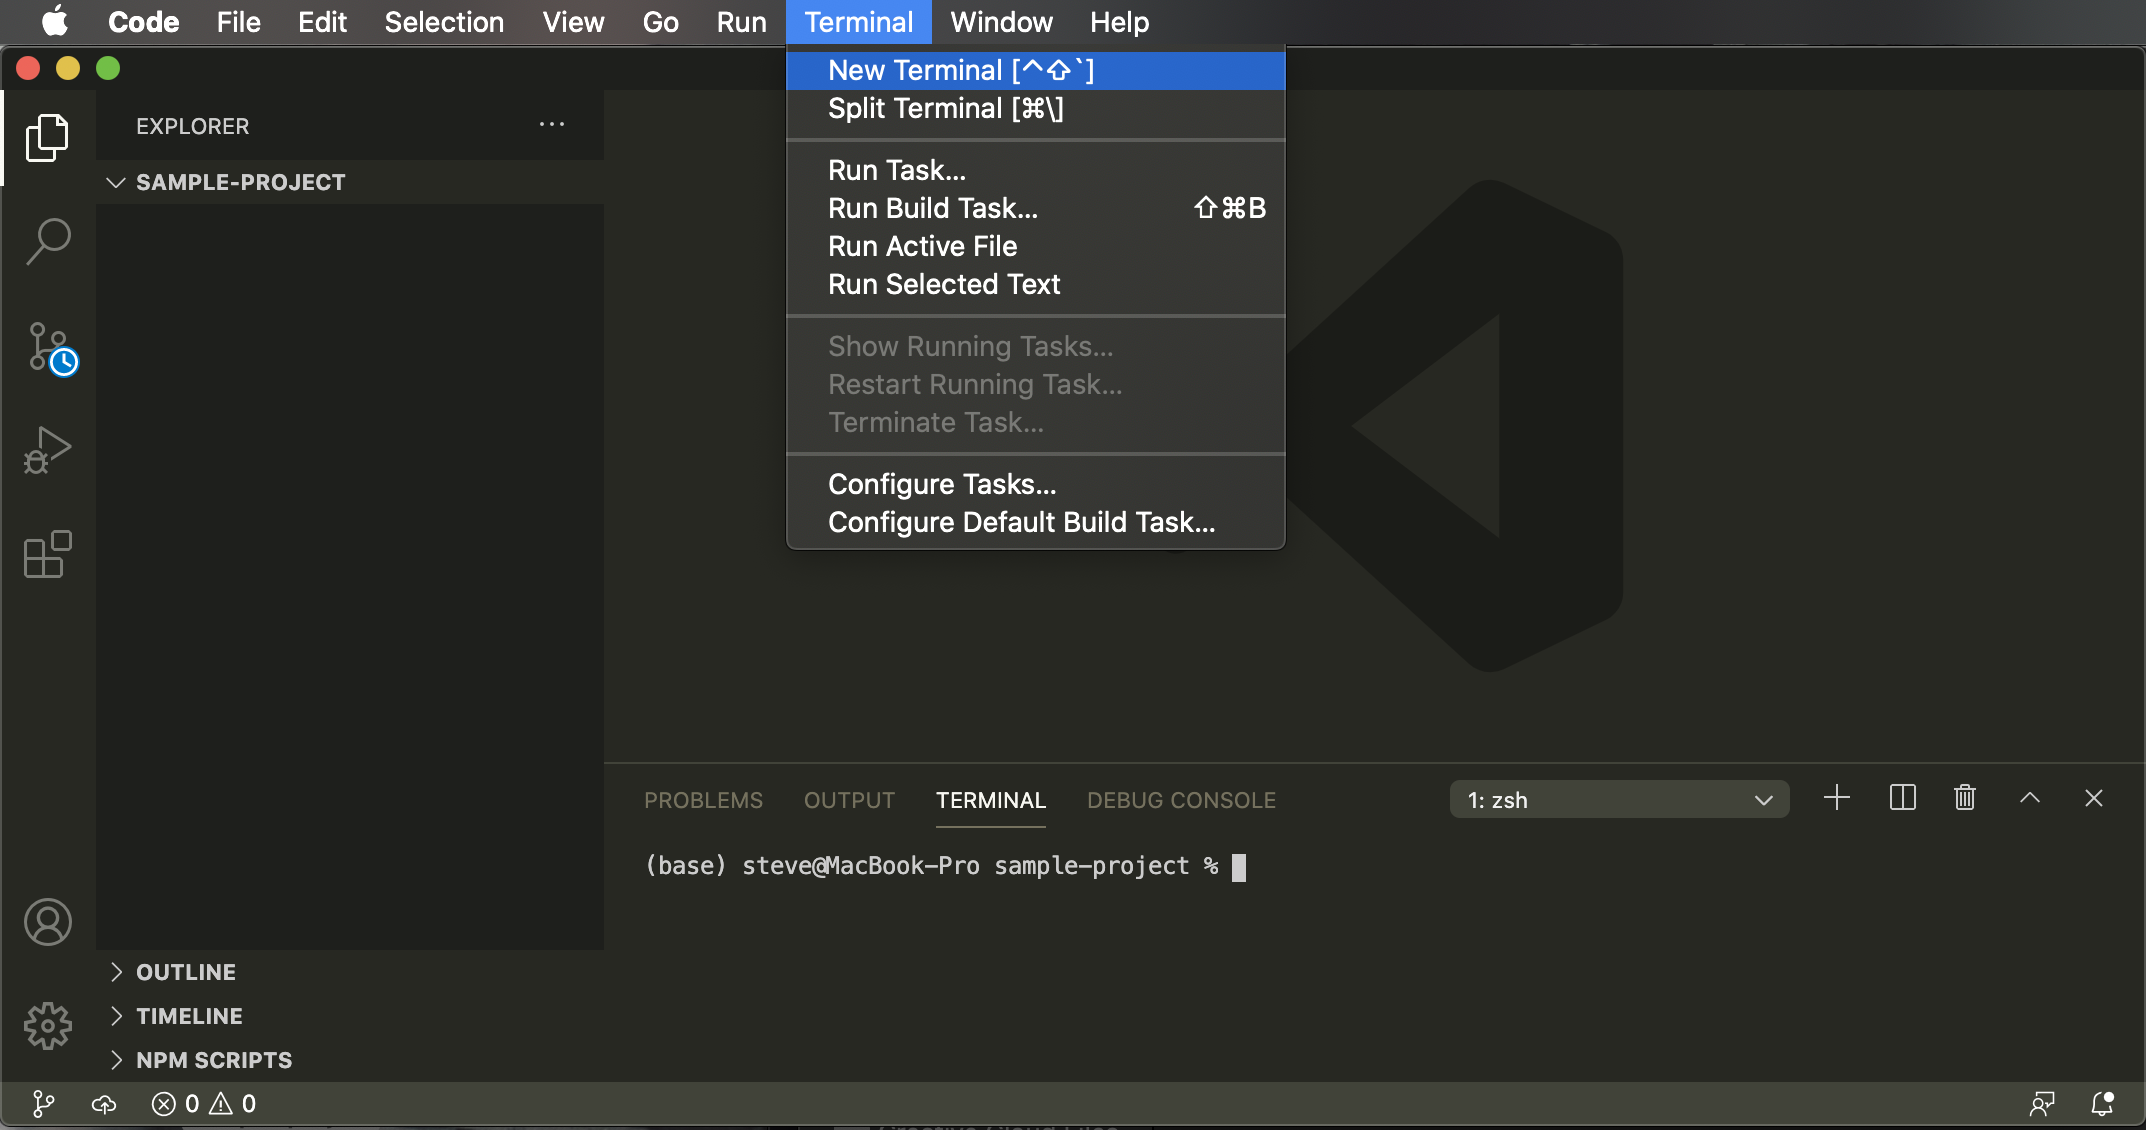
- In the VS Code menu, click
Terminal > New Terminaland your will now have a command-line available at the bottom of the window.
- In the terminal, you should see the path that points to your
sample-projectdirectory. Enter the commandnpm init -y. The option-ymeans "answer yes to all the following questions". This will create the npm file named package.json which will contain those answers. By default the entry point to your app will now be the file named index.js which is common convention. You can see this under the "main" key in the package.json file.
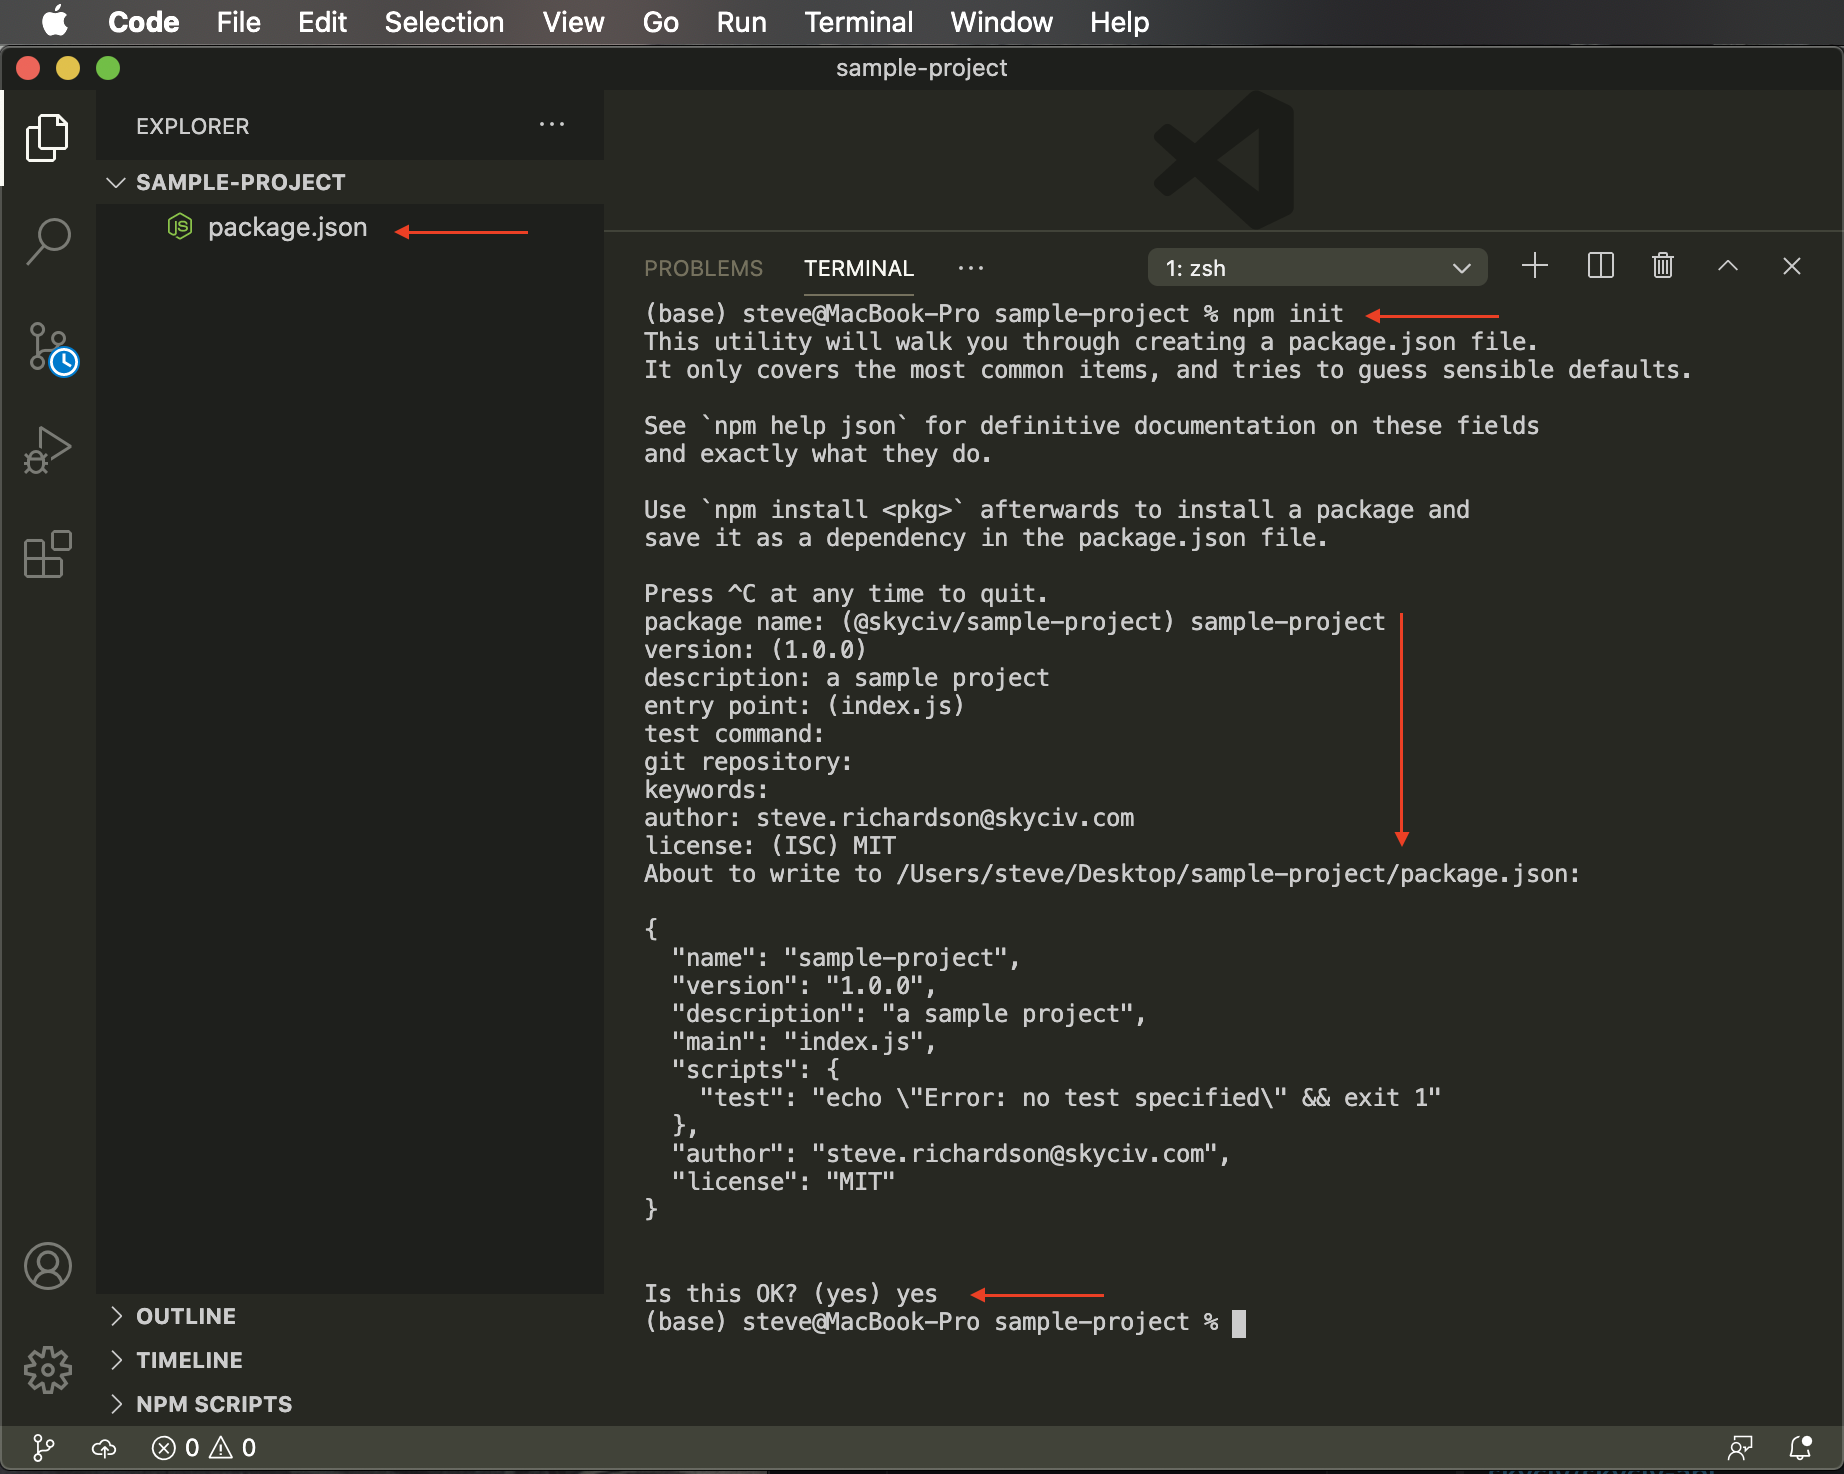
Quick note: The package.json file means you can send the project to other people without the nodemodules folder and they will know what dependencies the project relies on. These can automatically be installed by using the command npm i (or npm install) from within the project directory. The node_modules folder can get **_very** big so its nice to not include it therefore only making copies of the dependencies where they're required.
- In the terminal, enter the command
npm i skyciv. A folder called node_modules will be added to your project containing the skyciv package. Another file called package-lock.json will also be added. - In the file explorer to the left, create a new file named
index.jsin the top level of the project. This is where your project code will live!
Using the SkyCiv Package#
Now you have a project ready to go, we can add some code. This is the cool part!
With the SkyCiv package, you now have access to a bunch of powerful classes. Head over to the NPM website for a detailed example.
To use NPM packages in the future, you can start from Creating a project as you now have Node.js installed!
Useful links#
Pip - Python 3#
Please refer to the Pypi website for a detailed example of the SkyCiv Pip package.
New to Pip?#
What is Pip?#
Pip is a package manager for the Python language. It allows developers to bundle up some useful code for others to use. There is two main components to Pip:
- The PyPI website (the default source) where you can browse publicly available packages and;
- The command-line client allowing you to add packages to your project via the command-line.
To demonstrate its awesomeness, the SkyCiv Pip package turns dozens of lines of code into a single function and will also provide some verification on your input. This is very useful when trying to keep your code clean!
Installing Pip#
Note: Python 3 is required to use the skyciv package.
Check if you have Python#
If you have previously installed Python 3 onto your machine, then it is likely that you already have Pip. To check if you have python, use the following command in the terminal:
Windows: python3 -V
MacOS: python3 -V
If the terminal prints a version number then move on to checking if you have pip. Otherwise, head over and download the latest version of Python 3 and then continue to check if Pip becomes available.
Check if you have Pip#
Windows: pip3 --version
MacOS: pip3 -V

If the terminal doesn't print a version number then you will need to install it. The Python Packaging Authority provides a walk-through here.
note
From Python 3.9, Pip is included in the installer.
Creating a project#
We can now create a project and add the skyciv dependency to it, so lets do that!
- Go to your Desktop and create a new folder with your project name such as
sample-project. - Open this folder in your preferred code editor. VS Code is great (and free) for this purpose.
- In the VS Code menu click
Terminal > New Terminaland your will now have a command-line available at the bottom of the window.
- In the terminal you should see the path that points to your
sample-projectdirectory. Enter the commandpip install skyciv.
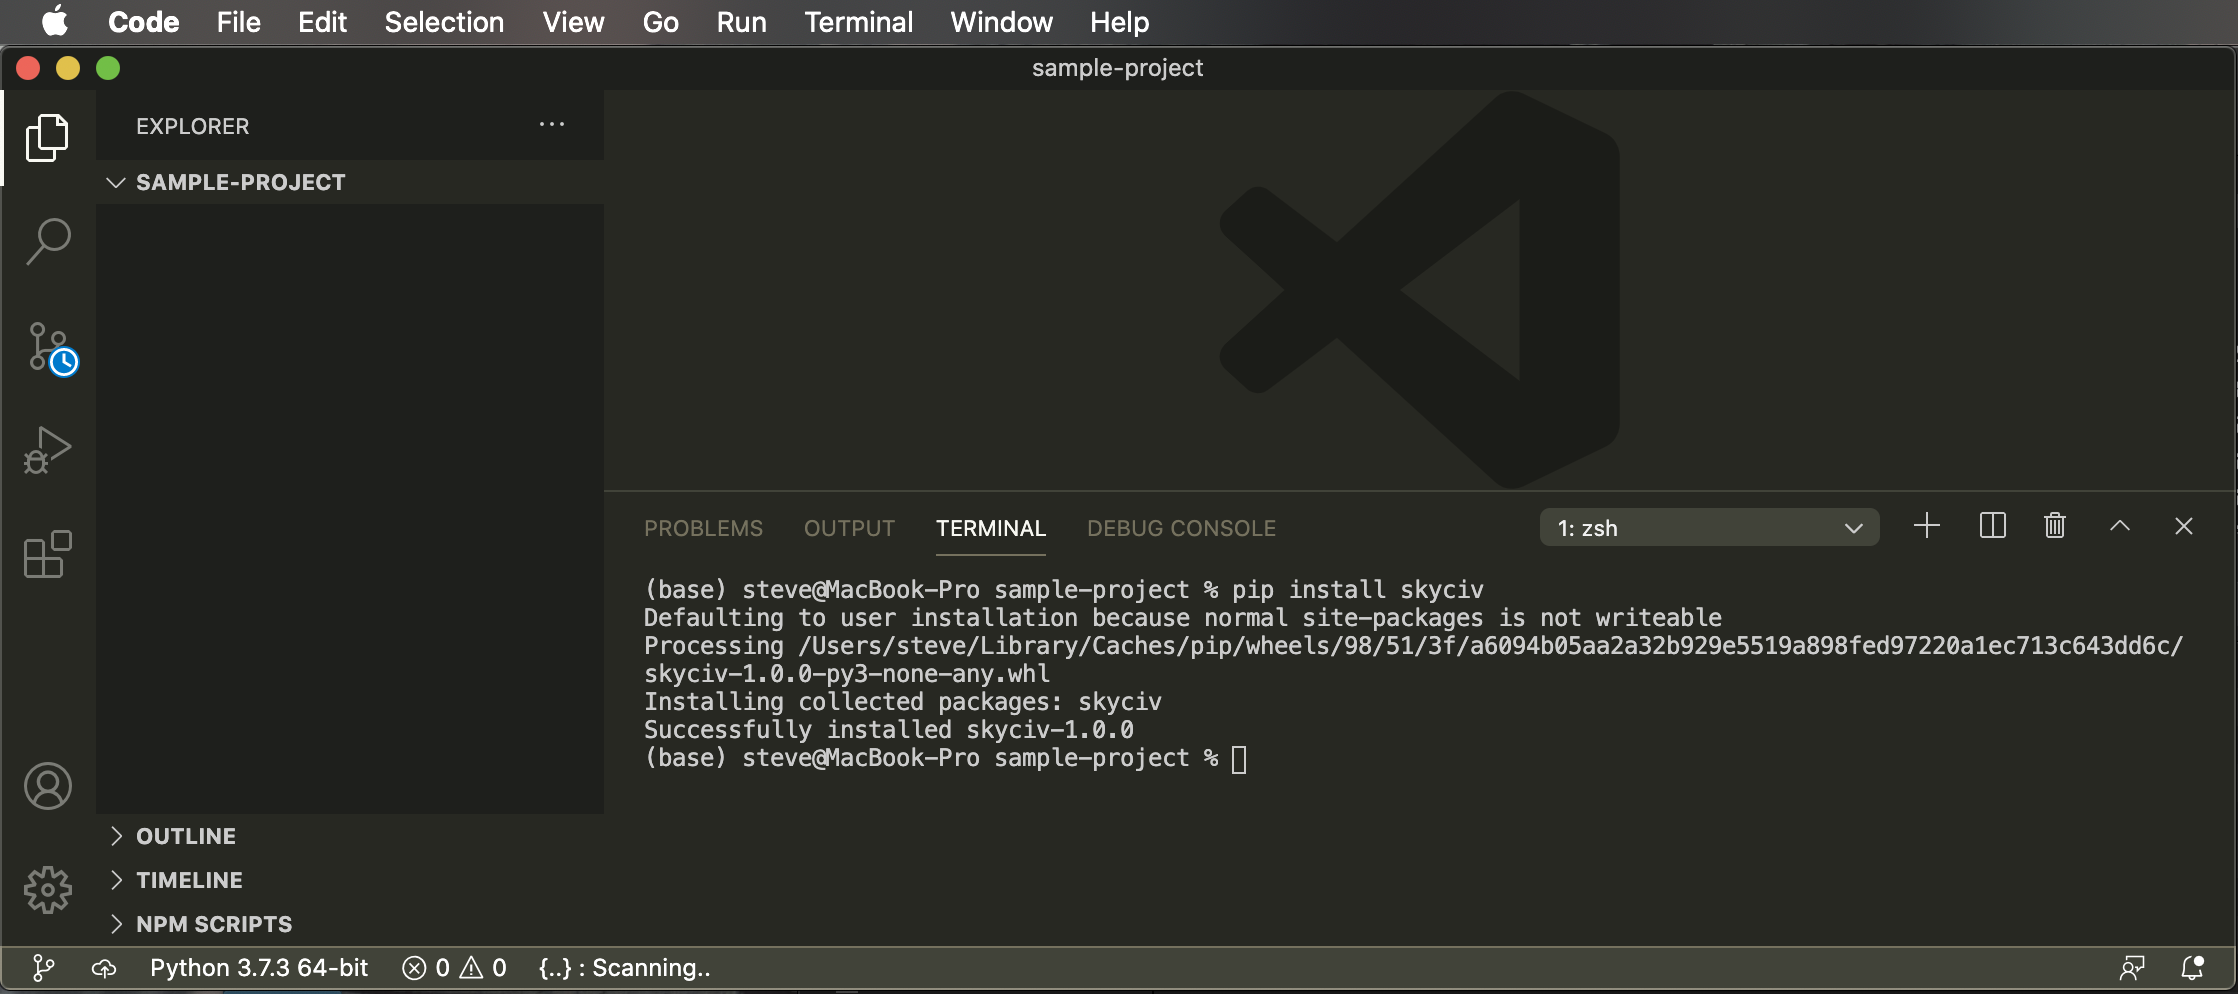
The important part of the output is Successfully installed skyciv-x.x.x. This means the skyciv package has been added to your Python directory and is available to use in any Python project.
- In the file explorer to the left, create a new file named
main.pyin the top level of the project. This is where your project code will live!
Using the SkyCiv Package#
Now you have a project ready to go, we can add some code. This is the cool part!
With the SkyCiv package, you now have access to a bunch of powerful classes. Head over to the Pypi website for a detailed example.
To use Pip packages in the future, you can start from Creating a project as you now have Python and Pip installed!
Useful links#
NuGet - C##
What is NuGet?#
NuGet is the package manager for .Net languages. NuGet allows developers to package up code, especially libraries, for others to use.
The easiest way to install NuGet packages is using Microsoft Visual Studio.
How do I get NuGet?#
The NuGet Package Manager is installed automatically with Visual Studio.
If you wish to use NuGet with another IDE, such as Visual Studio Code, you must download the .Net Core SDK.
Installing the SkyCiv API Package#
How you install the SkyCiv NuGet package depends on whether you are developing with Microsoft Visual Studio, or with another compiler/IDE, such as Visual Studio Code.
Note: Microsoft recommends Visual Studio for getting started with C# code development, and Visual Studio Community is freely downloadable.
Installing from Visual Studio#
If you are developing in Visual Studio, the easiest way to install the SkyCiv NuGet package is through the NuGet Package Manager in Visual Studio:
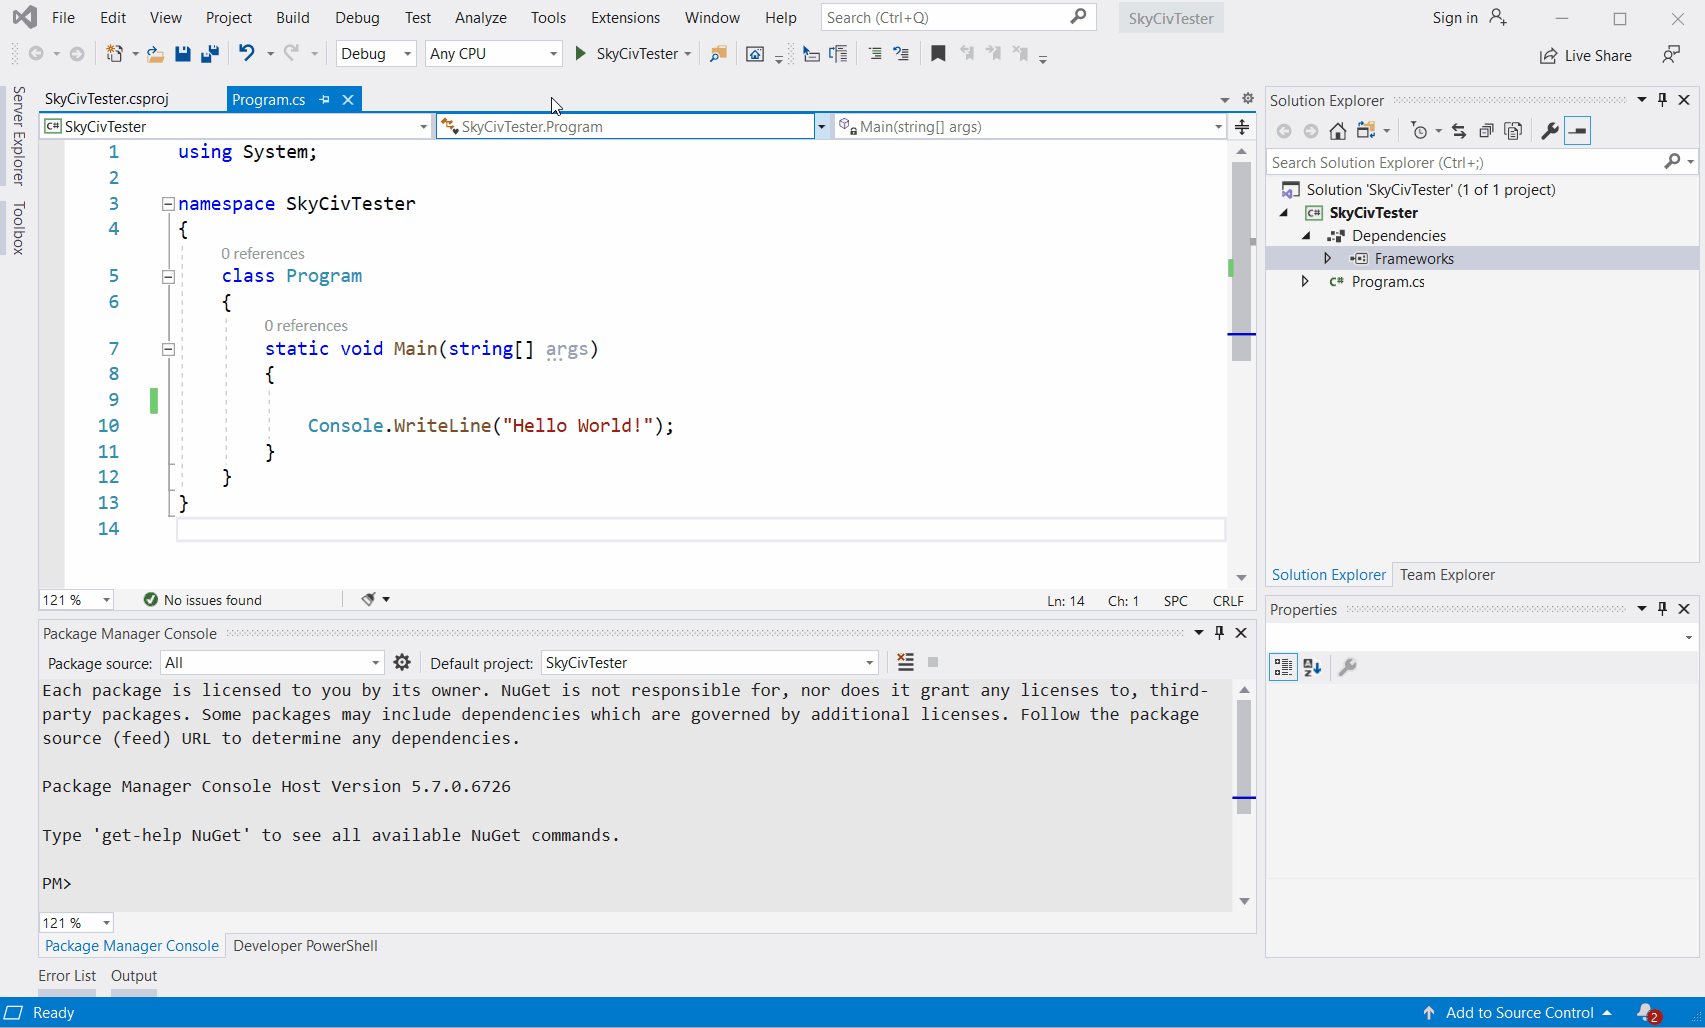
Alternatively you can install the SkyCiv.API NuGet package from Package Manager Console:
Installing from the Command-Line#
The simplest way to install the SkyCiv NuGet package for another IDE is from the command-line. First ensure you have the .Net Core SDK installed. Then run:
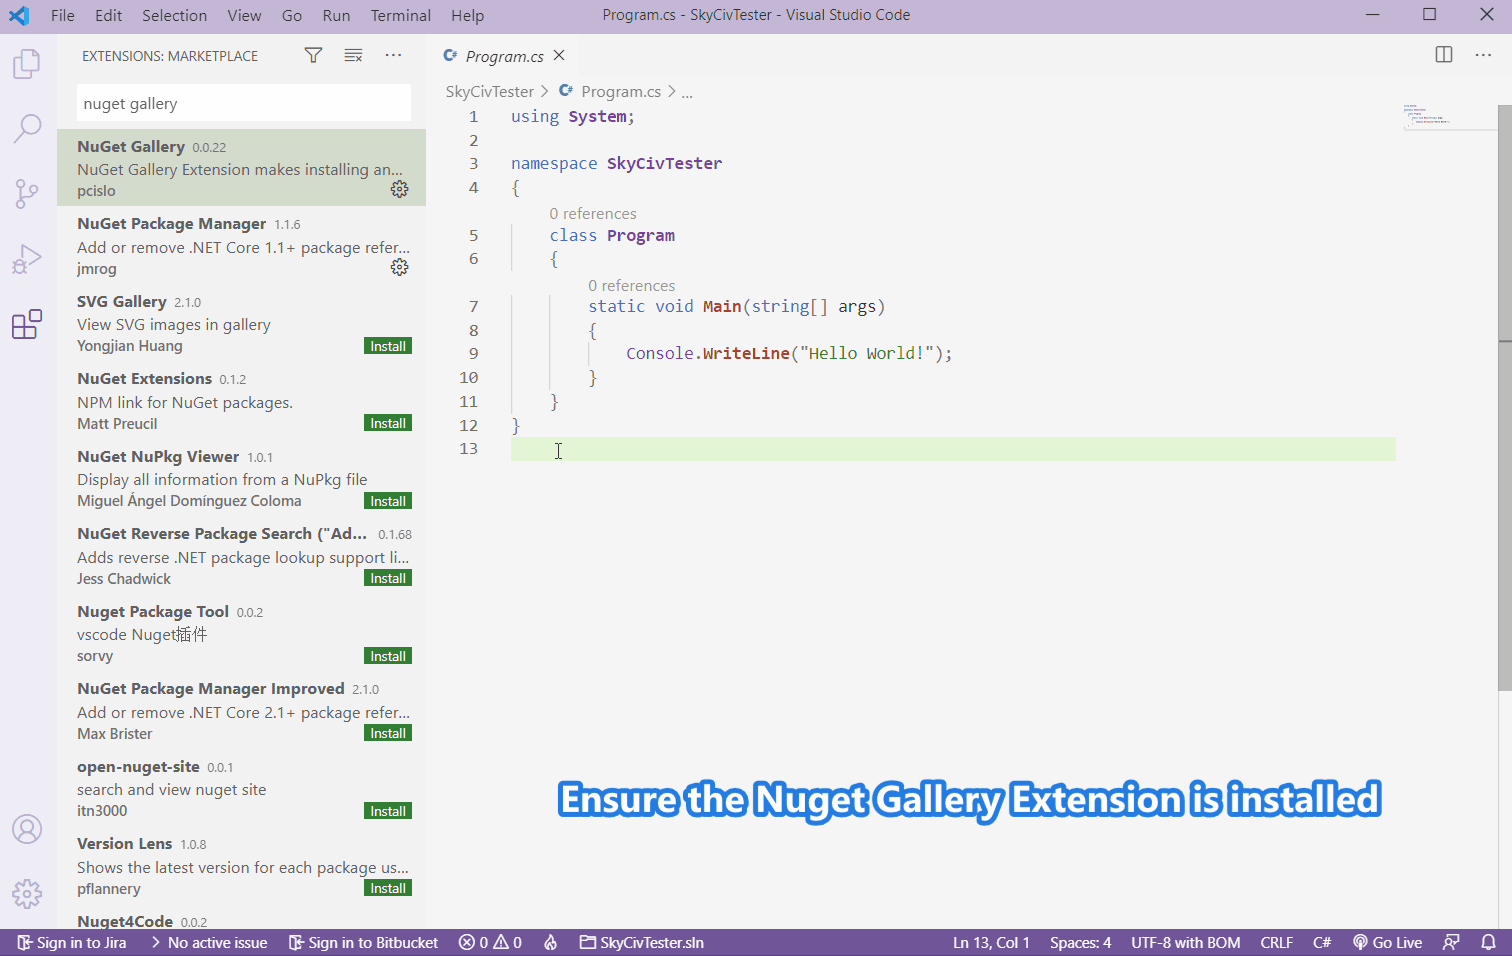
Installing in Visual Studio Code using the NuGet Gallery Extension#
If you are working with Visual Studio Code, there are a few Extensions that make installing the SkyCiv API easy.
The first is the Nuget Gallery Extension:
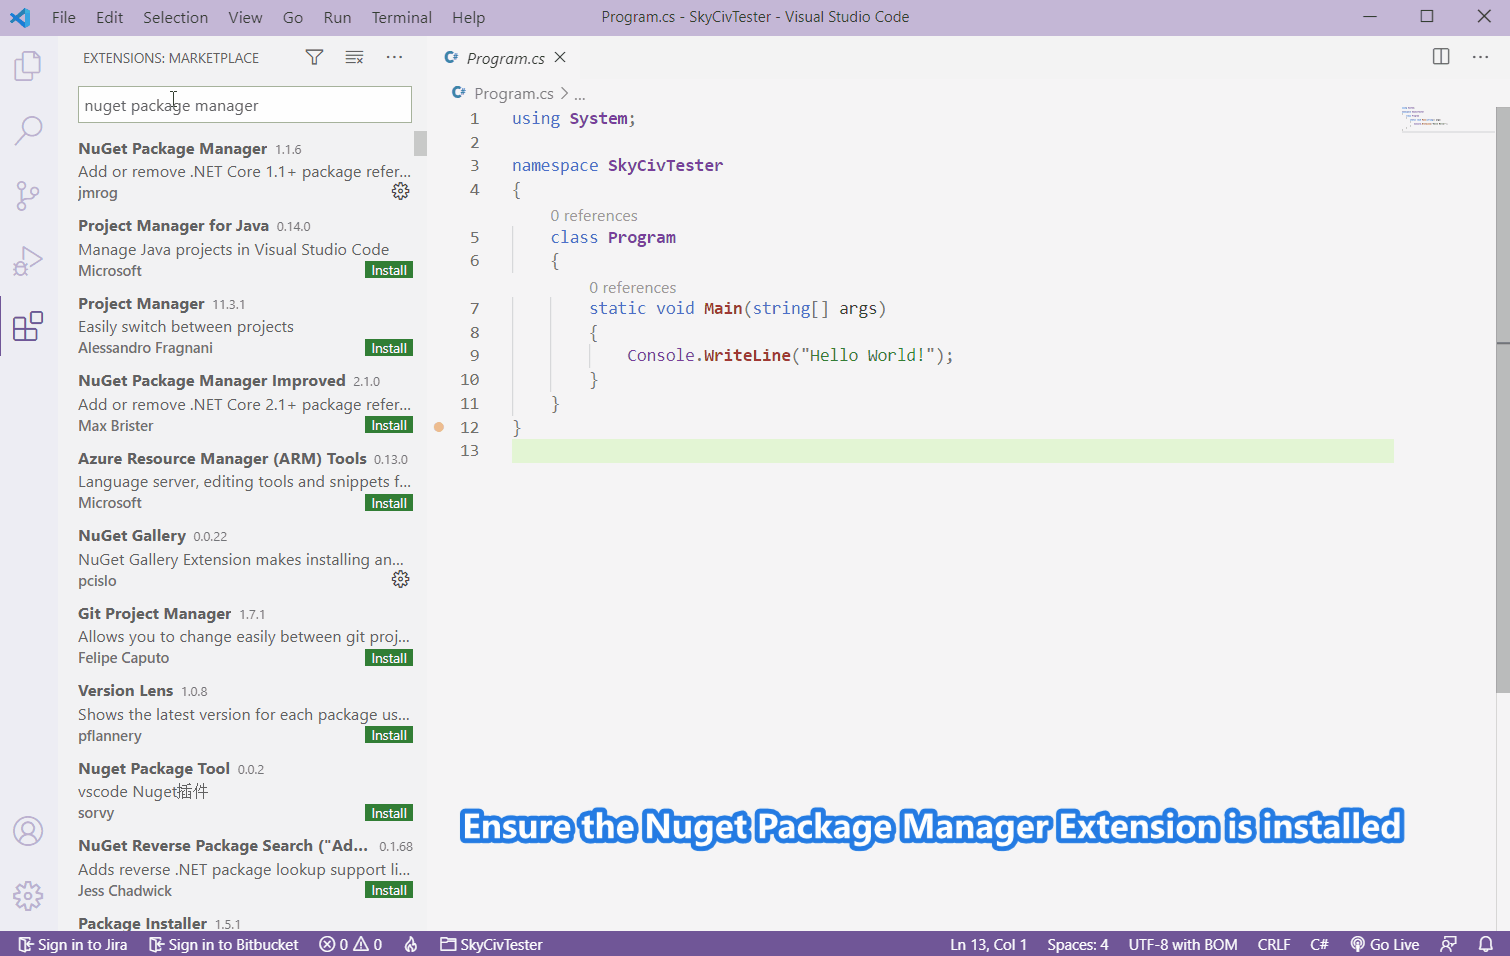
Installing in Visual Studio Code using the Nuget Package Manager Extension#
Alternatively, you can use the Nuget Package Manager Extension:
Using the Package#
Using the package is as simple as referencing the namespace SkyCiv & static class SkyCiv: