Lesson 1 - Project Setup
Let's step through creating a SkyCiv App. The aim of this tutorial is to familiarize you with implementing various functionality into your app.
You'll need the following things for this tutorial:
- A code editor - in this tutorial we will be using VSCode.
- Structural 3D open in the browser for testing your app.
- Basic understanding of JavaScript language.
What we will be creating#
By the end of the next few tutorials we will have an application that looks like the image below.
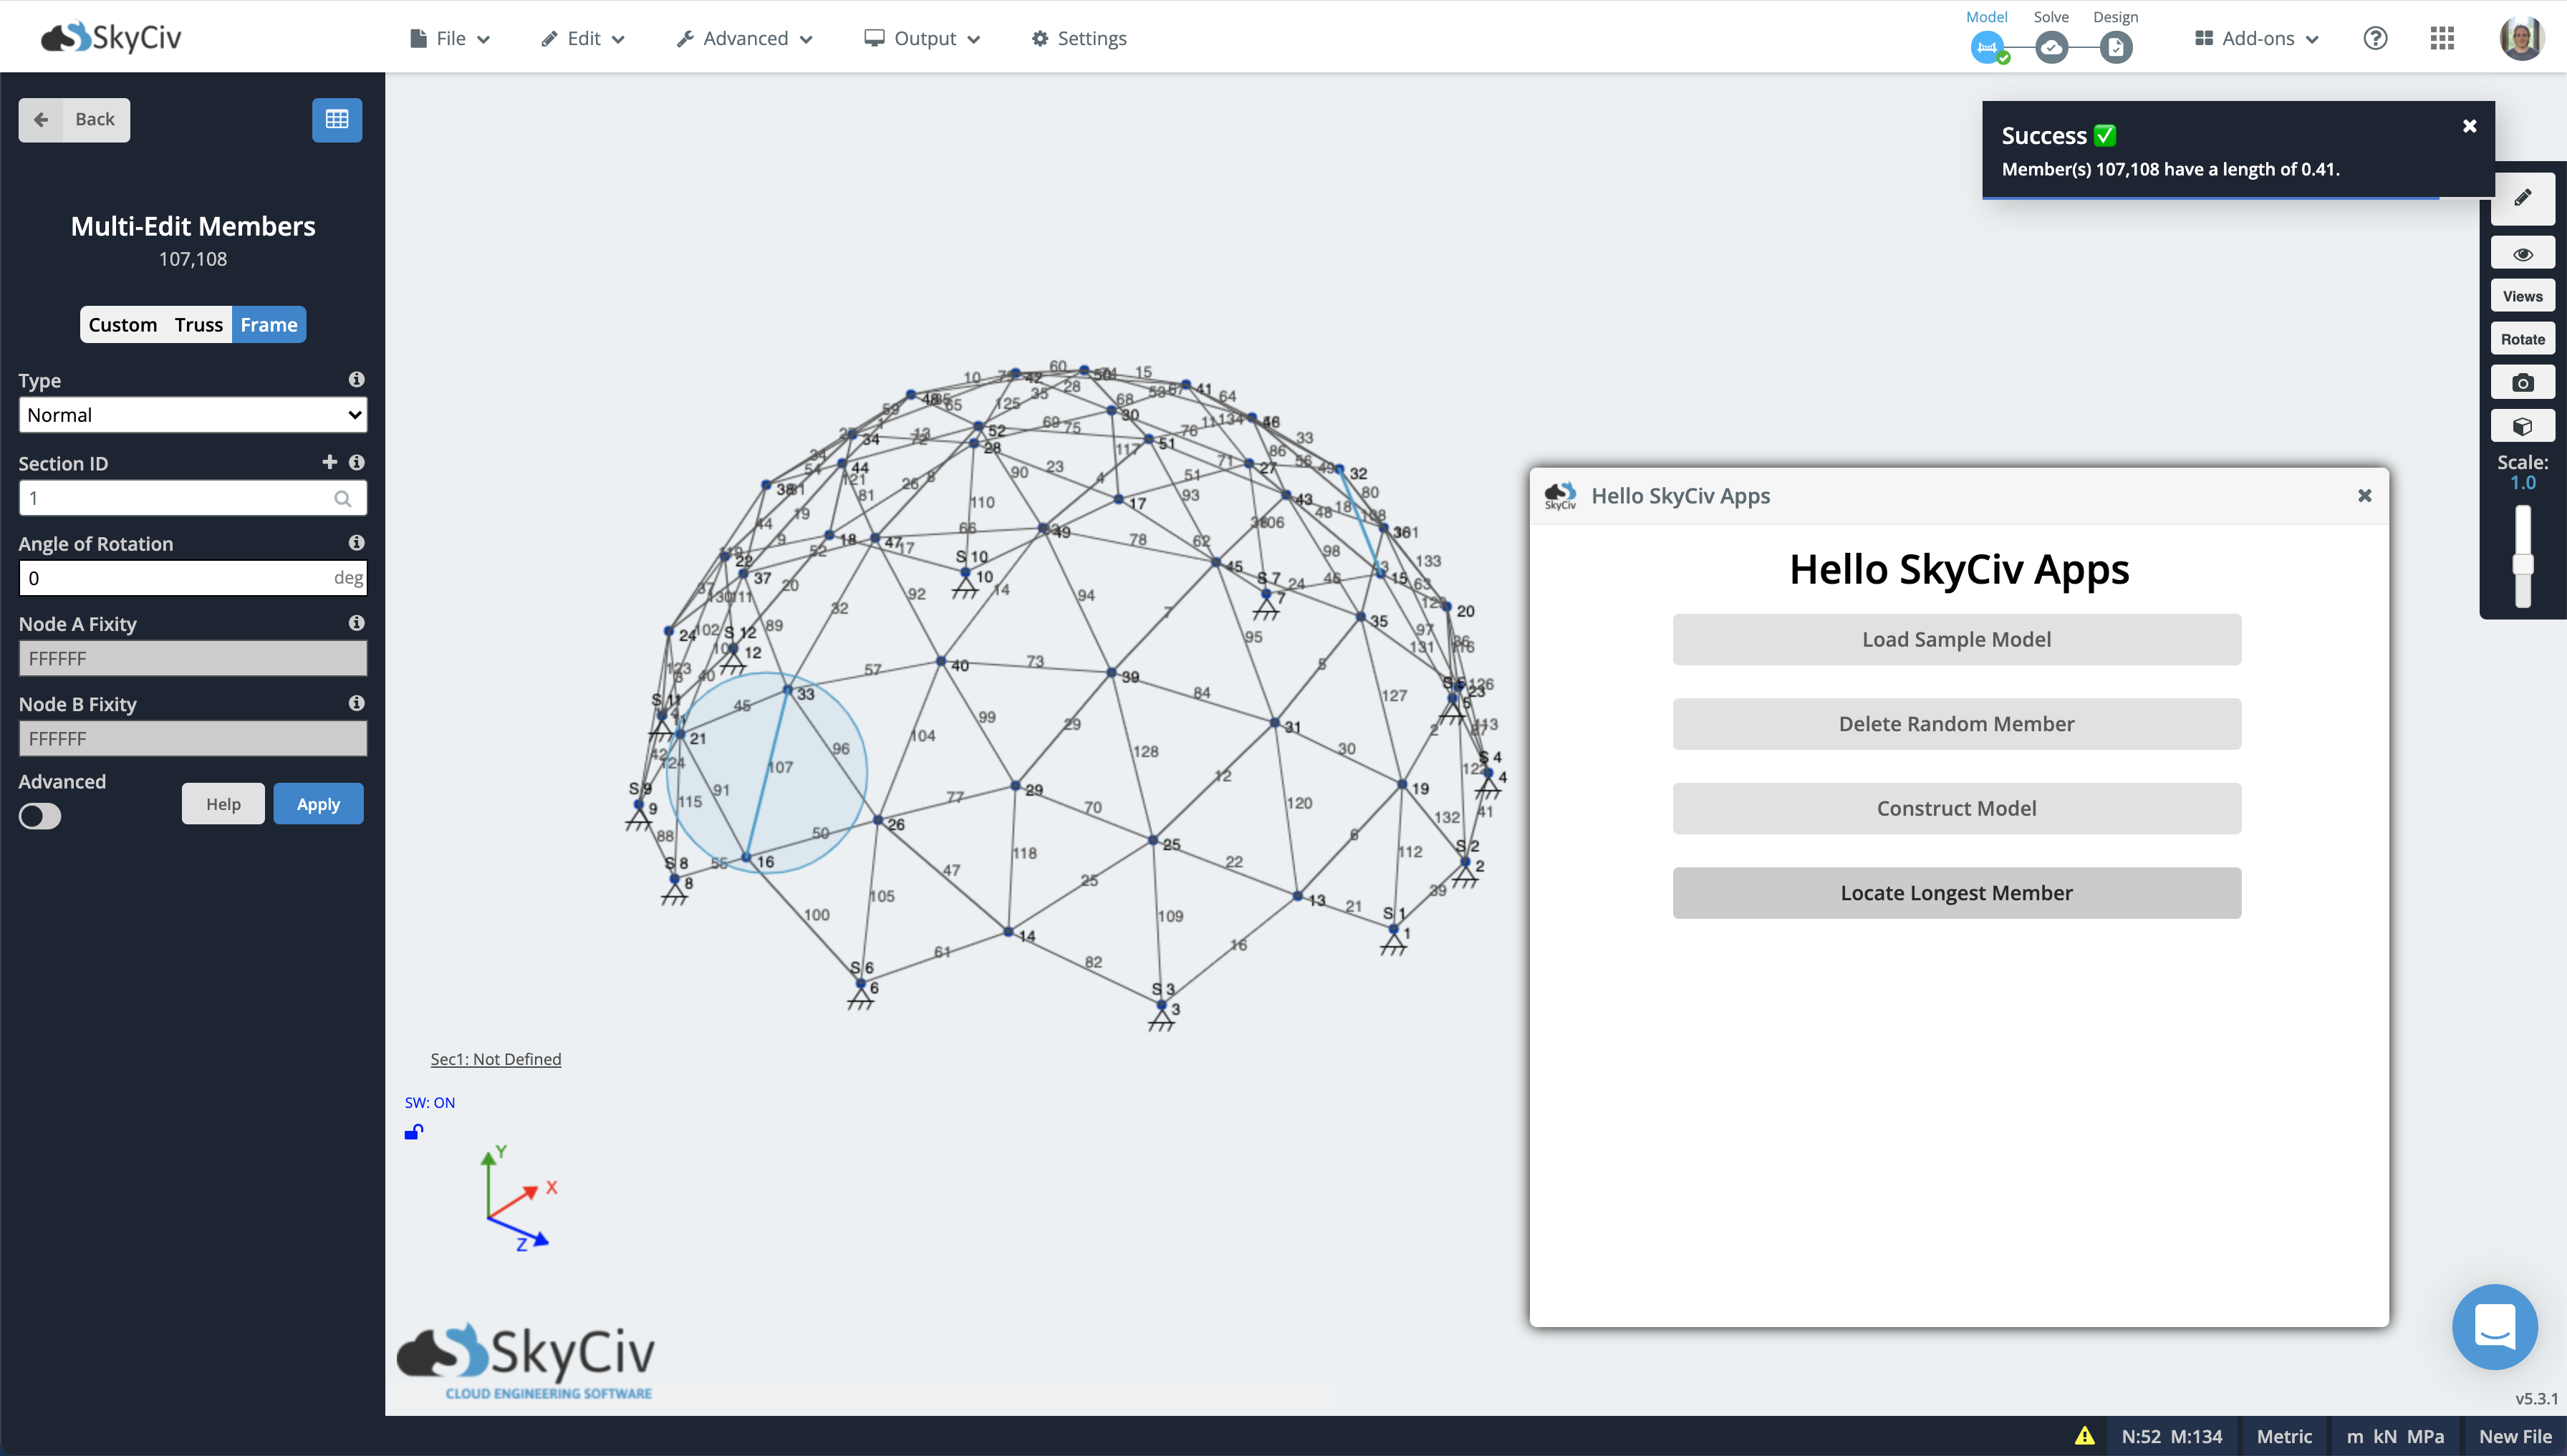
The application will have the following functions attached the buttons.
Load Sample Model#
When clicked, a sample model will be loaded into the UI.
Delete Random Member#
When clicked, a random member in the model will be removed.
Construct Model#
When clicked, the model will be built piece by piece appearing as an animation.
Locate Longest Member#
When clicked, the longest member in the model will be located.
Project Setup#
Create a Project Folder#
Start by creating an empty folder on your desktop named skyciv-app-demo (or anything you like). Open VSCode, then drag and drop the empty folder from the desktop onto VSCode.
Create a JS and HTML File#
Open the explorer pane if it isn't already open and create two new files with the plus button at the top of the pane. Name one of these files index.js and the other index.html. Although the HTML must be embedded in the JavaScript (which we will see soon), it will be much nicer to write it in an HTML file then copy it across. This way we will be prompted by any formatting errors.
Next to the "New File" button, click the "New Folder" button and name the folder src. This stands for source. Drag the two files you created into your src folder.
You should have a project that looks something like the following image. Note that your icons and some other minor things may look different, that's ok.
Next, go ahead and take the sample code from the Overview page and drop it into your index.js file.
Automate the HTML injection#
This step is optional if you choose not to implement it, then you will need to manually copy your index.html contents into the content key of the config object in your JavaScript file whenever you make changes to index.html.
If you are a beginner, you might find this helps reduce the likelihood of creating bugs.
To prevent our JavaScript file from getting too bloated during development and, avoid all the copy and pasting of the HTML contents into the JS file, we can create a utility script.
Install Node.js#
You will need Node.js installed for this step. Find a quick explanation to install Node on the packages page.
Create an HTML Placeholder#
Cut the template HTML from the config.content key and paste it into the HTML file. Change the content key to have a string value of HTML_PLACEHOLDER.
The config.content line will look like this:
Create a Build Script#
Create another JavaScript file named generate.js in the root of the project folder. Add the following code into the file.
Although the script is not so relevant to the tutorial, here is a quick overview of what is happening for the curious:
- We are pulling in the file system module
fsfrom the Node Standard Library. This helps us read and write files amongst other things. - We are using
fsto read the contents ofindex.htmlandindex.jsas a string. - We create a new string under the
appvariable by taking thejs_stringand replacing our template string'HTML_PLACEHOLDER'with the contents of the HTML file. We wrap this in a template string (backticks) so we can insert variables in the HTML such as${app_id}which you can find in there now. - We write this string to a JS file called
app.jswhich we place inside abuildfolder.
Test the Script#
Awesome, we can now just type node generate.js to compile our app.
Make a new folder in the root of the project called build. Open the integrated terminal View > Terminal and run the command. To run the command again, you can click the terminal, press the up arrow and it should show the last command.
Inspect the build/app.js file and you should now see the HTML has been injected into the JS.
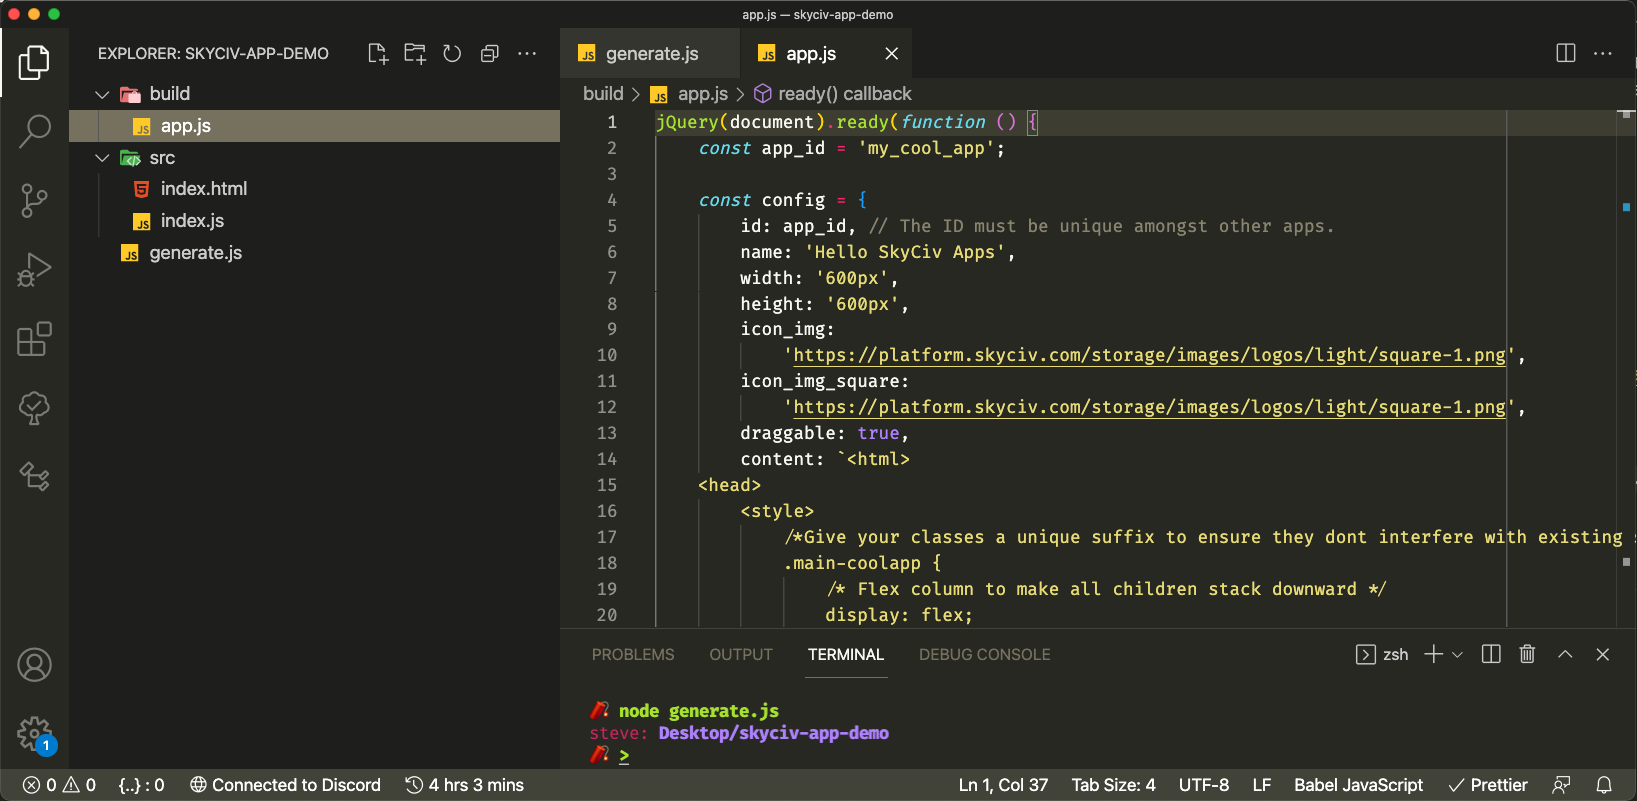
The project structure and app.js file should look something like this.
Run the App#
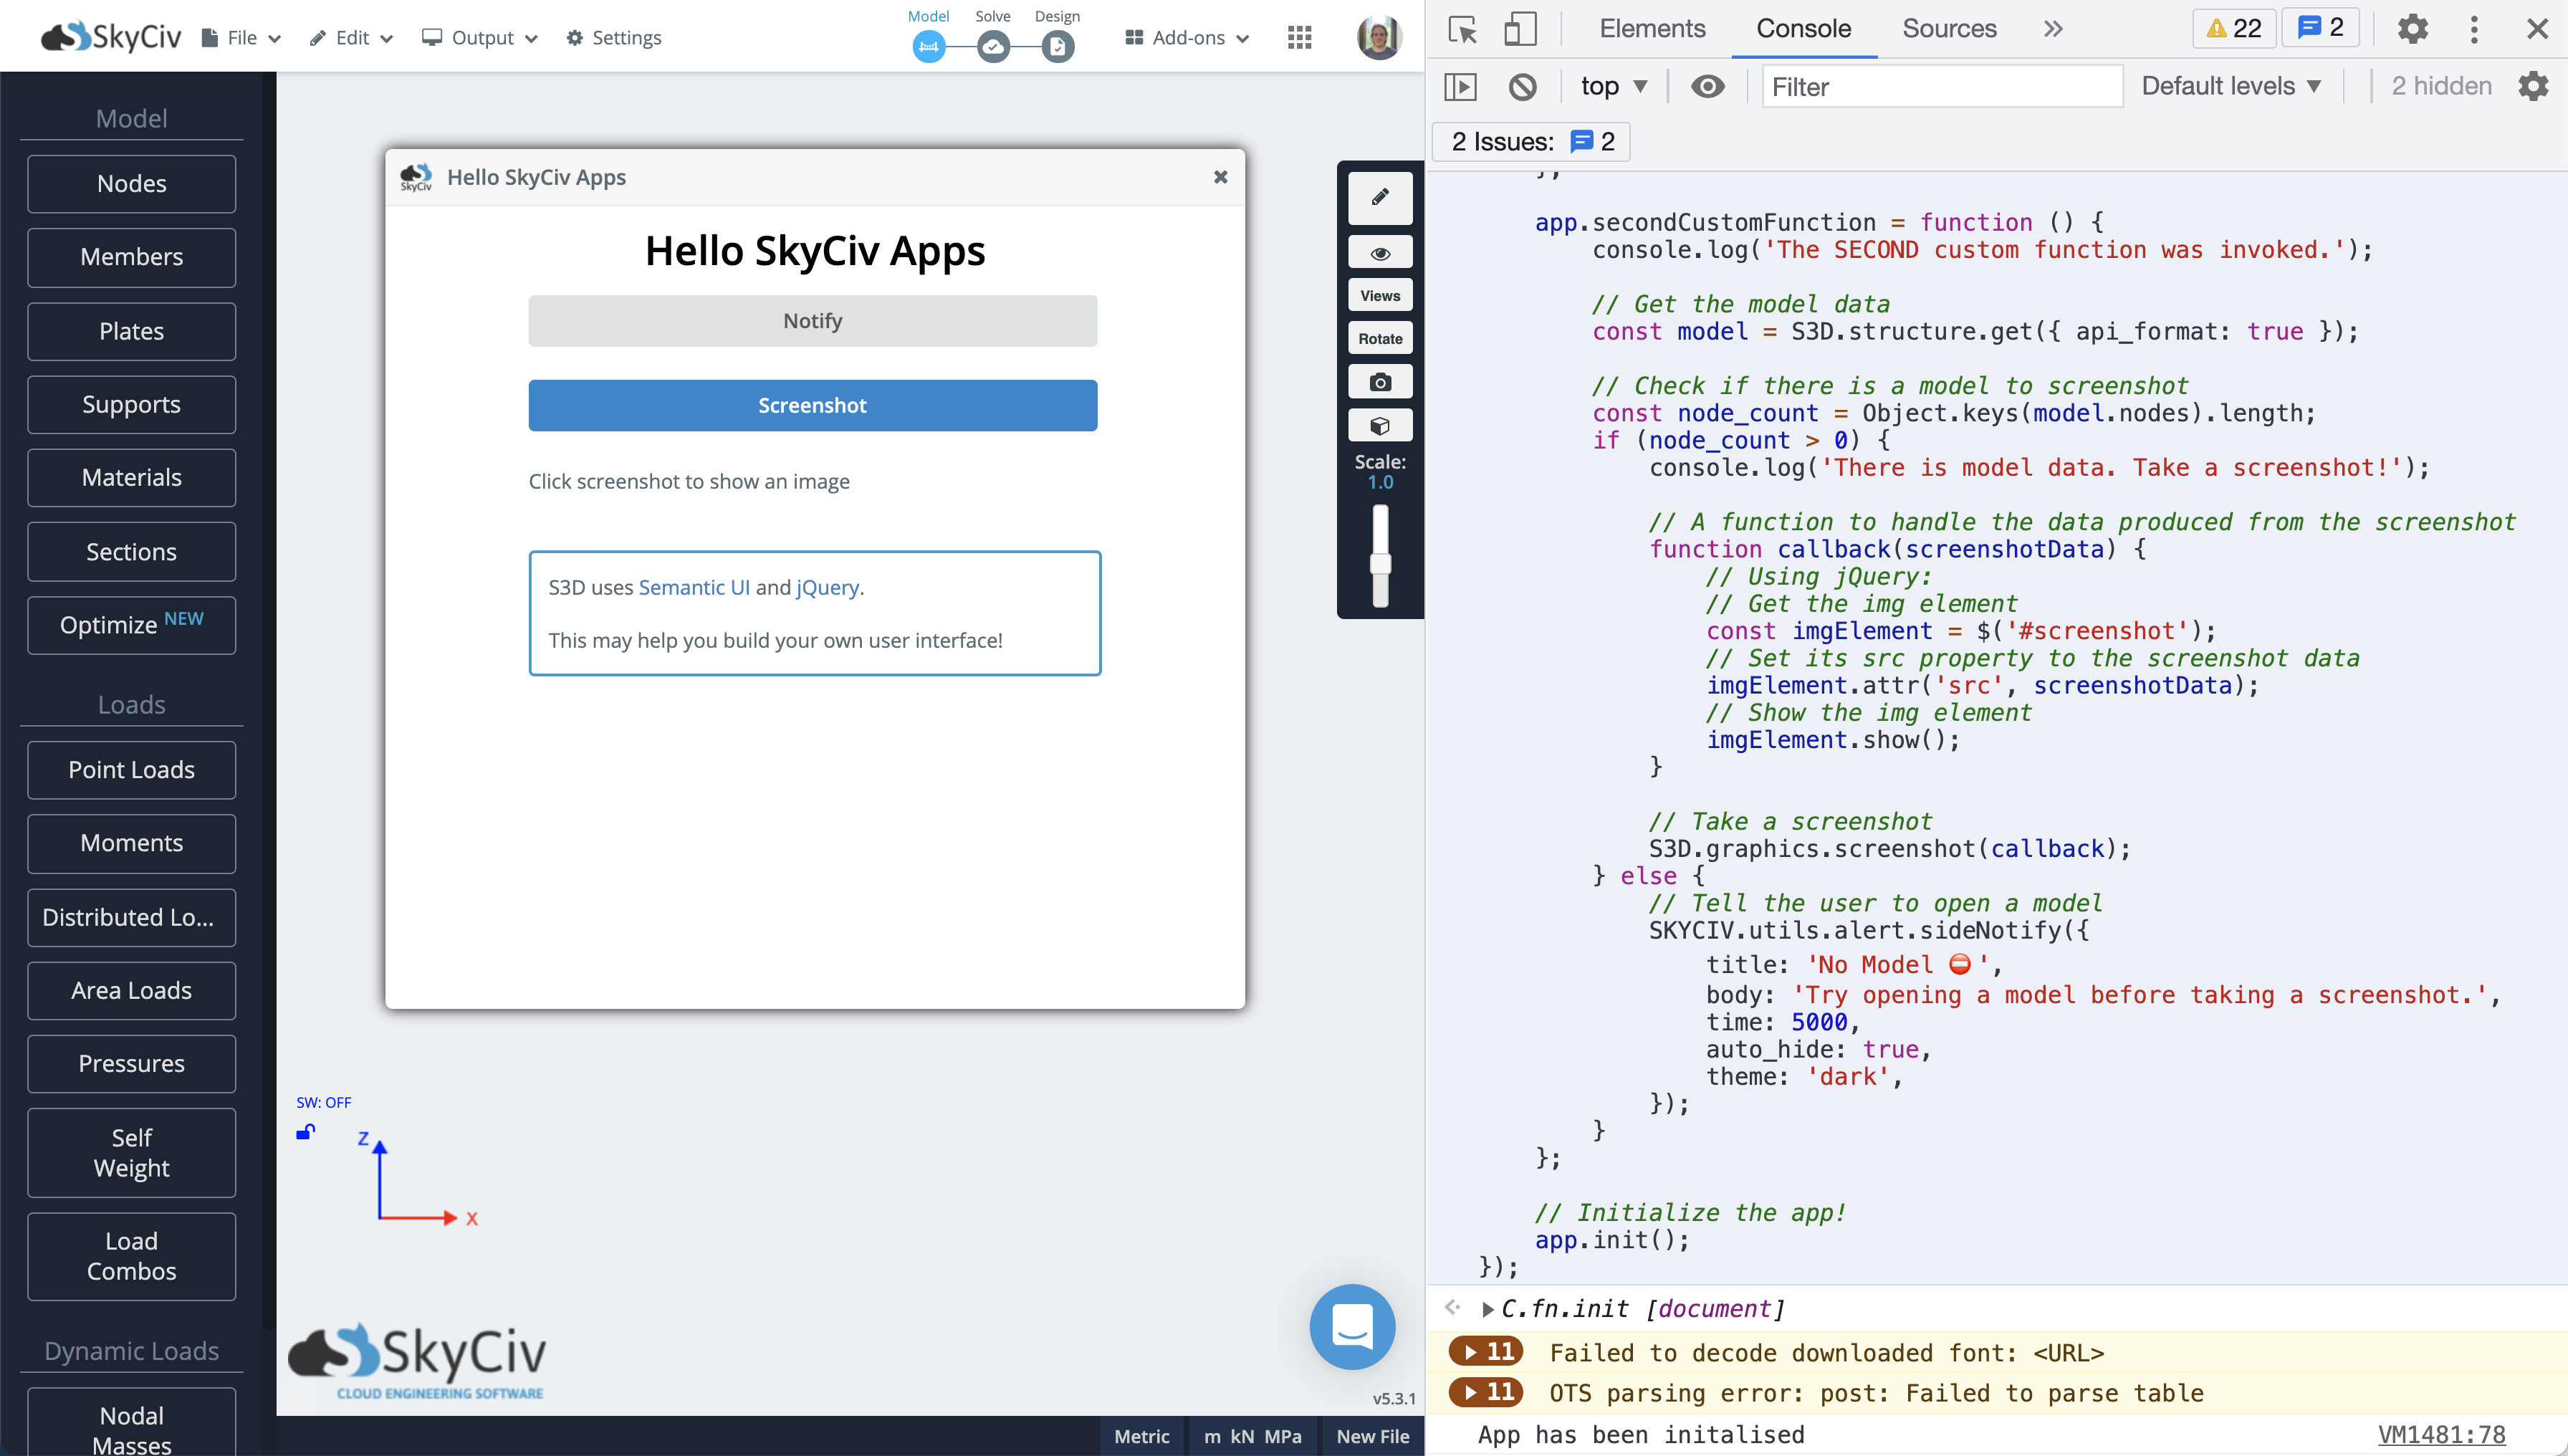
Just to check everything is working as expected. Navigate to Structural 3D in the browser, open the developer console and paste the contents of app.js into the console followed by pressing enter.
You should find another app in the dropdown menu showing the template application.
Next Section#
In the next section, we'll start creating a UI to suit our project.